Children, Art and the Natural World
Ages: Suitable for age 3 years upwards
Art, the natural world and children’s development
Discovering art through nature is a great way to aid children’s development. It brings the opportunity to learn names of flowers, berries and other natural objects; and introduces simple maths terminology, such as: larger than, smaller than. It also supports planning, decision-making, problem-solving and reaching goals, helping children to realise satisfaction and pride when working on their task – and that it’s not just the end result. It also promotes discussion and conversations leading to a brighter mind.
Let’s begin…
Did you know that nature has all the mediums and materials readily available, free-of-charge if you only look in the right places? You don’t need to spend a lot of money on tools and equipment to get children starting to paint and create works of art.
Children are very curious and imaginative and are drawn to everyday natural items. With this, spontaneous creativity begins – A stick becomes a brush and mushed berries some paint!
So take your child on a walk in your garden, the woods or a park, pay attention to all the little things that, as an adult, you’ve not noticed for a long time; look at the colours and textures with your child, there’s a whole world of creativity just waiting to be found.
Foraging for your materials
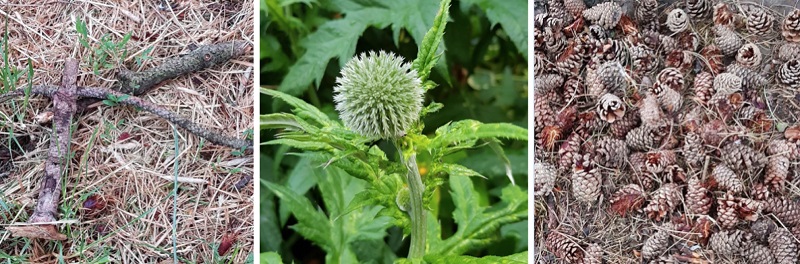
Nature provides plenty of natural objects that are both tactile and wonderful, whether pinecones, sticks or prickly thistles they all make exciting tools for children to paint with.
WARNING: Please remember that although berries, plants and flowers are all natural some are toxic, so make sure that everyone washes their hands after touching plants and don’t leave small children alone when they are foraging or using the paints.
Ideas for nature’s paints
Basically, all paint is a type of dye that is mixed from natural or manmade pigments to create different colours.
Centuries ago one of the first mediums used to paint was soil or mud, and depending on where you lived, the type of land – sand, chalk or clay – it would create different shades from dark brown to grey and reddish-brown. You can still do this today by mixing some soil with a small amount of water to produce a ‘paint’, but you will find the colours are rather dull.
So, let’s create a colourful pallet of natural paints – all we will need to get started are the three primary colours: red, blue and yellow. We can then mix these colours to form more exciting shades: red and blue, become purple, blue and yellow create green and, red and yellow, orange – it’s fun to experiment.
Making natural Primary Colours
Below are examples of fruits, berries and vegetables that can be used to create your primary colours, but you can experiment with other natural items too to see whether you can obtain any pigment from them – Depending on the season, it may occasionally be necessary for you to raid the kitchen cupboard as well.
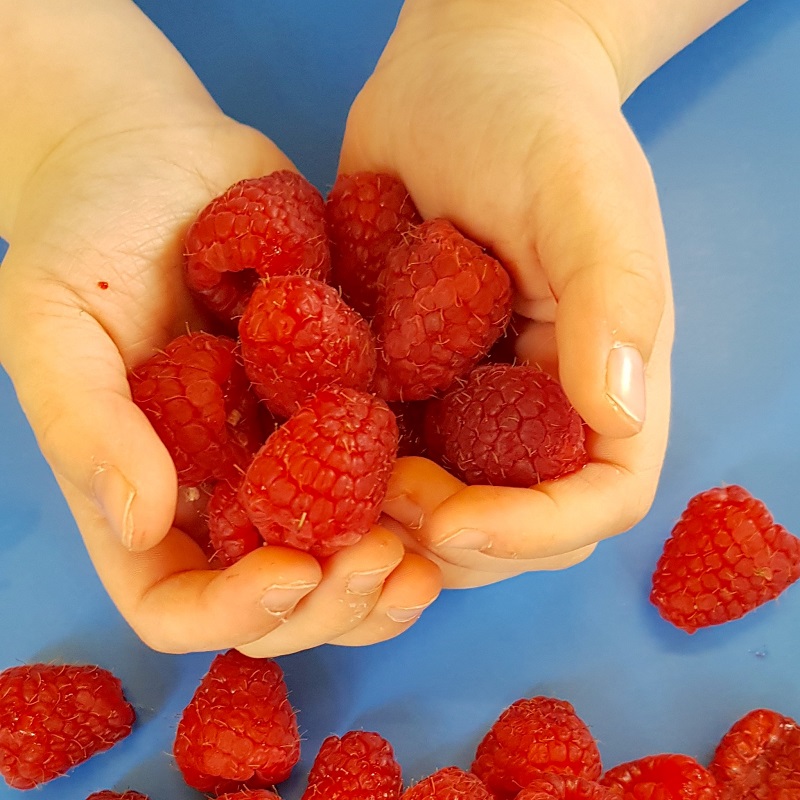
RED – Raspberries, cranberries, beetroot, cherries, rose or poppy petals
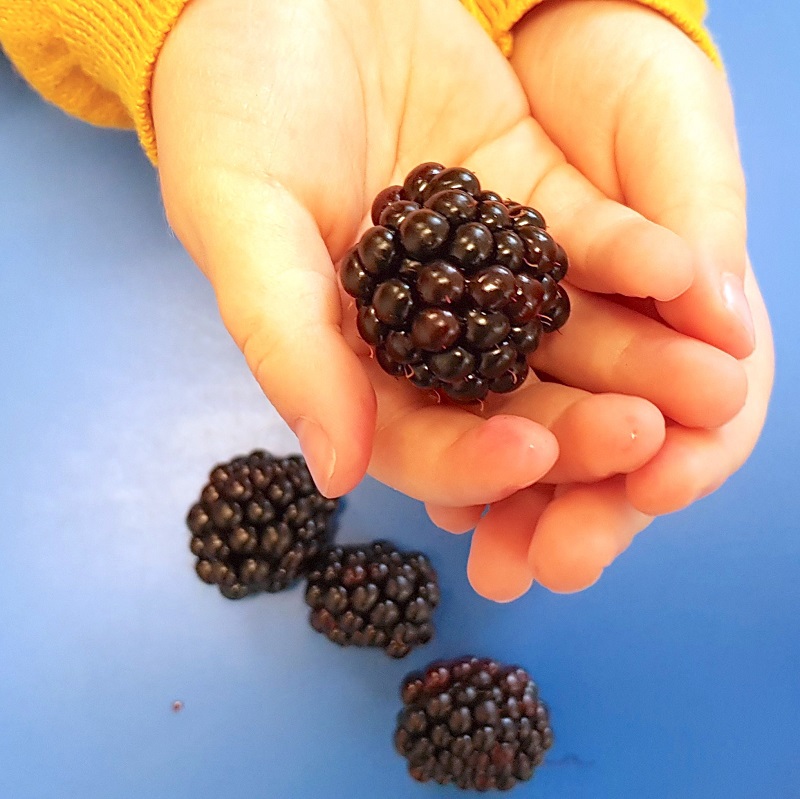
BLUE – Blackberries, blackcurrants and blueberries
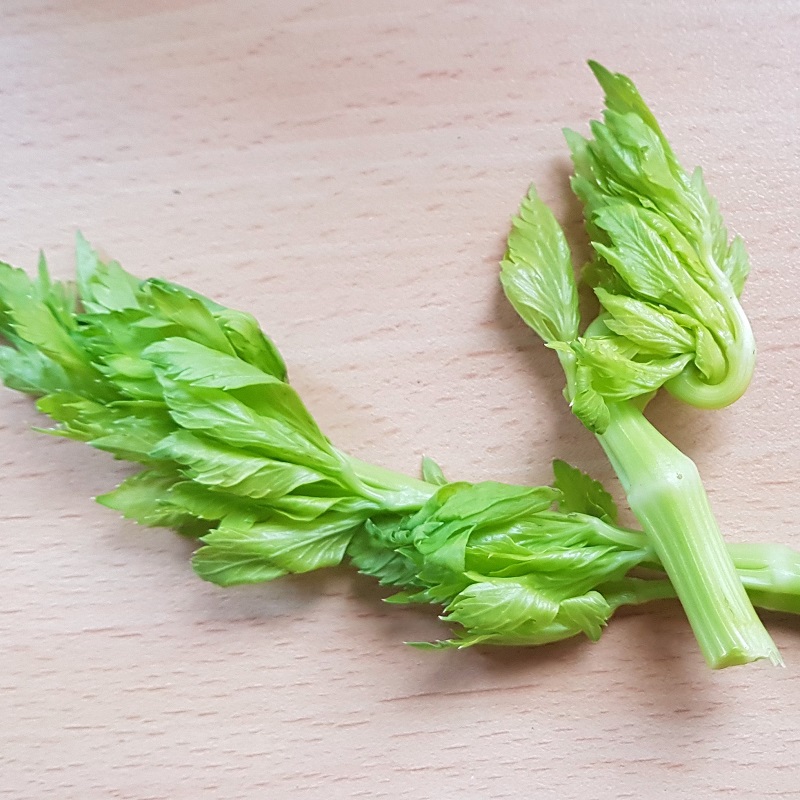
YELLOW – Pumpkin, dandelions; celery leaves, turmeric, mustard powder
Extracting colours
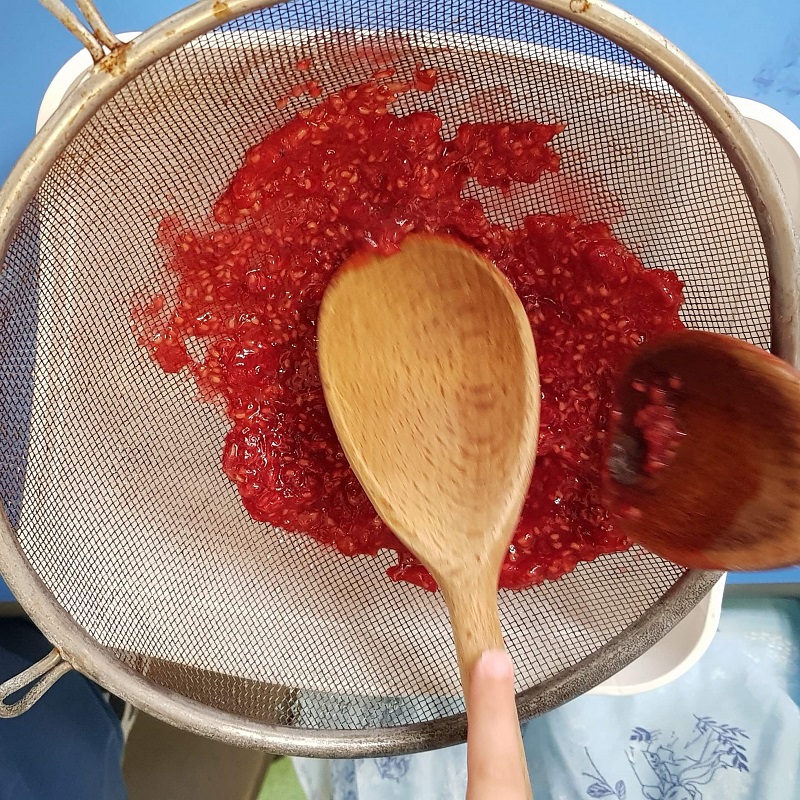
Berries: The juice of berries can be obtained by squashing down the fruit before pushing it through a sieve to extract the pulp from the juice, or just mashing it up for extra texture.
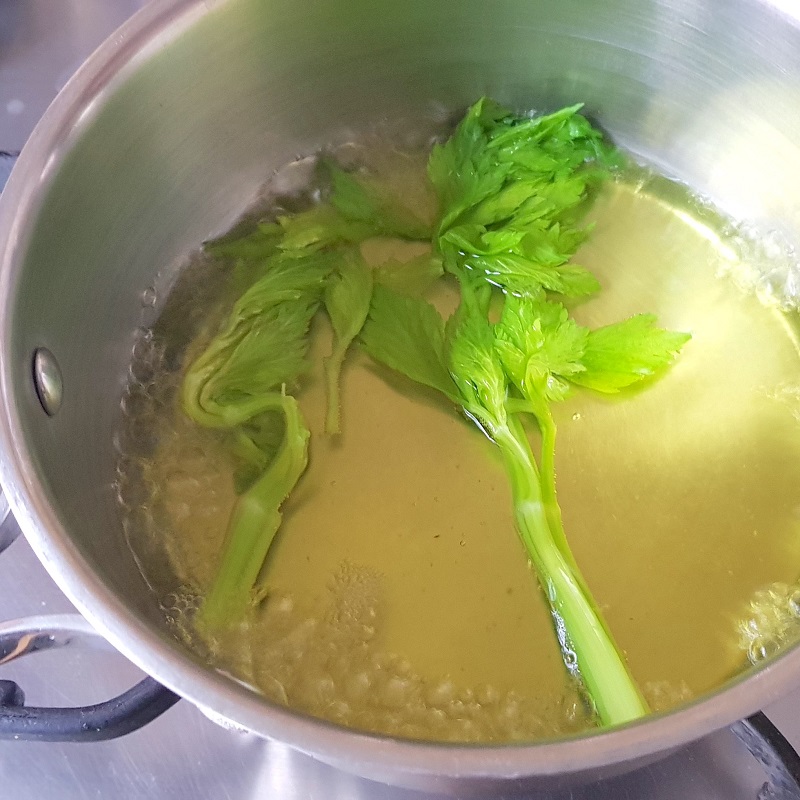
Petals, leaves and vegetables: Petals, leaves and other dry items can be ground in a mortar and pestle with a little bit of honey or, boiled in a small amount of water for about 20 minutes; adult supervision is needed for this. Once you have the coloured liquid, let it cool down and then, squeeze or strain to extract the liquid.
Powders: If you are using dry powder, such as mustard, carefully mix into a paste with a little water, but don’t add too much! Or use a binder (see below).
Binders and Thickeners
If the pigments you have extracted are very runny, then it might be best to add a binder or thickener.
- The most common of these is egg yolk, which makes your paint glutinous and stick together better.
- You can also use a small amount of flour and mix until you have the required consistency.
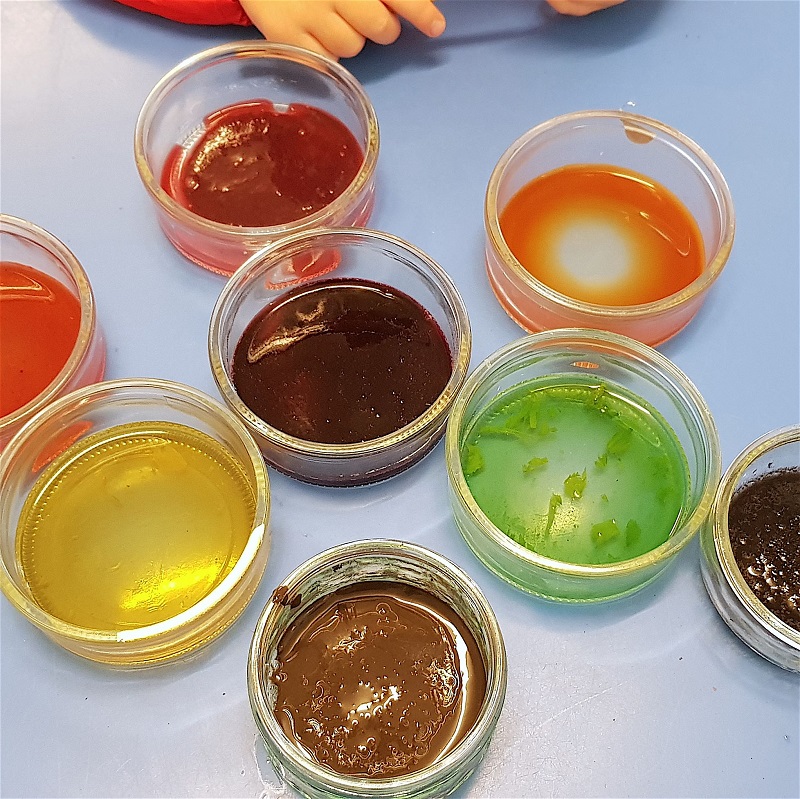
When you add binder and thickener this will change the colour and texture of the paint.

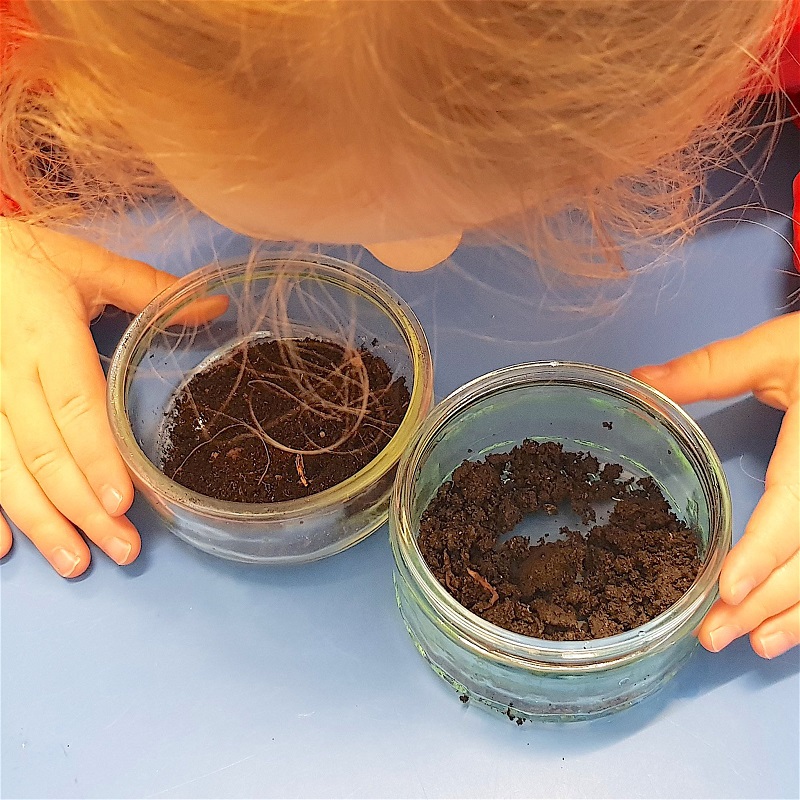
The above colour pallet illustrates how the binder or thickener can change the appearance of the paint. From left to right: the original colour, mixed with egg yolk and then the flour.
The powders such as tea, soil and compost are shown on the right of the palette and are mixed with just a drop of water.
Painting with Nature
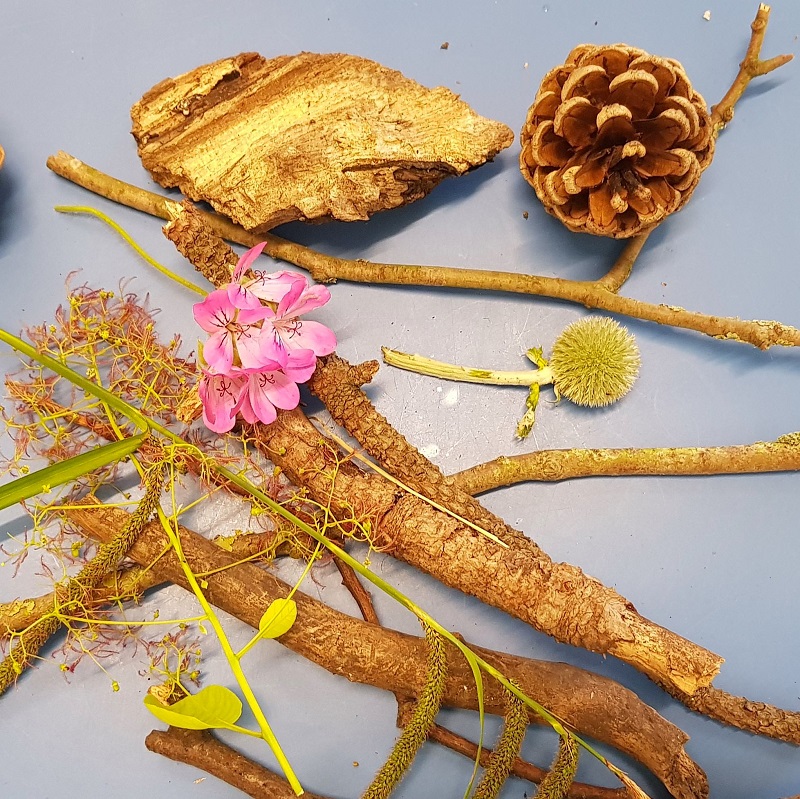
When you have gathered as many natural objects as you need, it’s time to get creative…
You will need:
- A selection of sticks, tree flowers, catkins, flower heads, and pinecones
- Selection of berries
- Ziplock polythene bag
- Large wooden spoon
- Large sieve
- Large bowl
- Ramekin dishes
- Paintbrush
- Egg yolk or flour, as required
- Artist’s sketch paper – This is not absolutely necessary and you can use whatever paper you have to hand, however thinner qualities of paper will produce varying results
CAUTION: Whenever you are mixing and messing with paints make sure that you wear an apron and/or old clothes. Some of the natural paints will stain and part of the fun is getting messy and experimenting.
Making the paints:
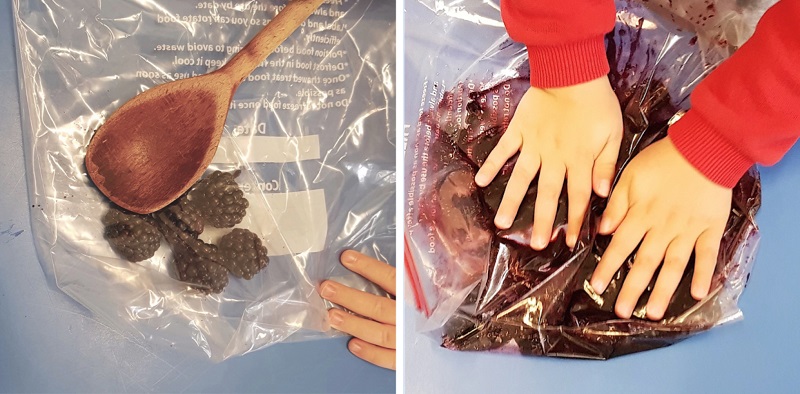
1. Place your berries in the polythene bag and fasten the top securely. Bash the berries with the wooden spoon, before squashing large lumps with your hands. Children love to be actively involved in things, so they will really enjoy this bashing and squishing.
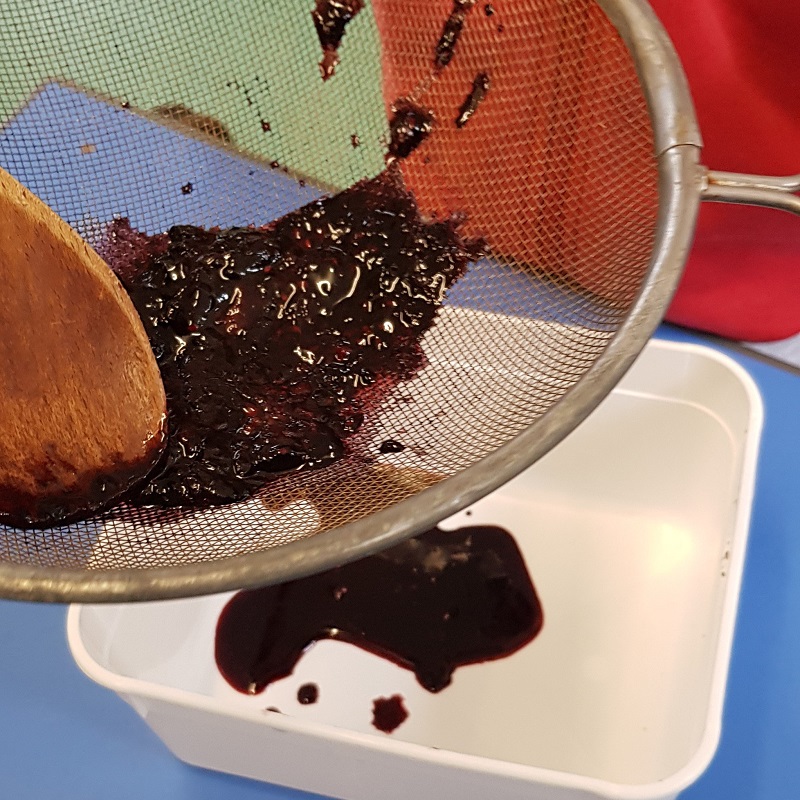
2. Open the bag and tip the squished berries through a large sieve and press the fruit through using the wooden spoon, to release the juice into a large bowl.
3. Before you begin to start painting, prepare a varied selection of ‘paint’ colours. Small ramekin dishes make perfect paint pots for storing and mixing, plus they show off your beautiful colours. Add a binder if any of the ‘paints’ is too thin.
Let’s paint

4a. Experiment applying paint to paper using the different tools, start by using a brush, where you can create simplistic ‘flower’ like pictures…
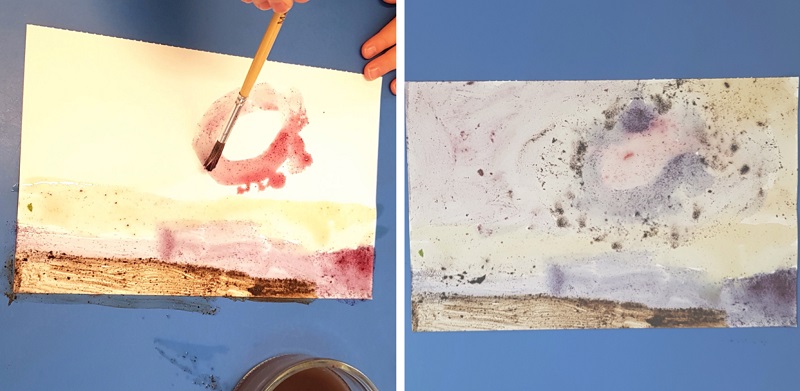
4b. Alternatively, still using a brush, encourage them to be more creative and use the whole of the paper to produce a masterpiece.
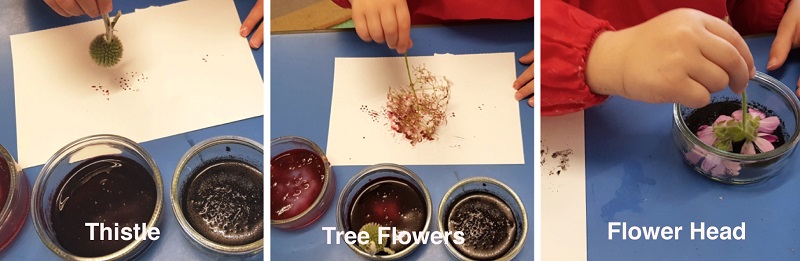
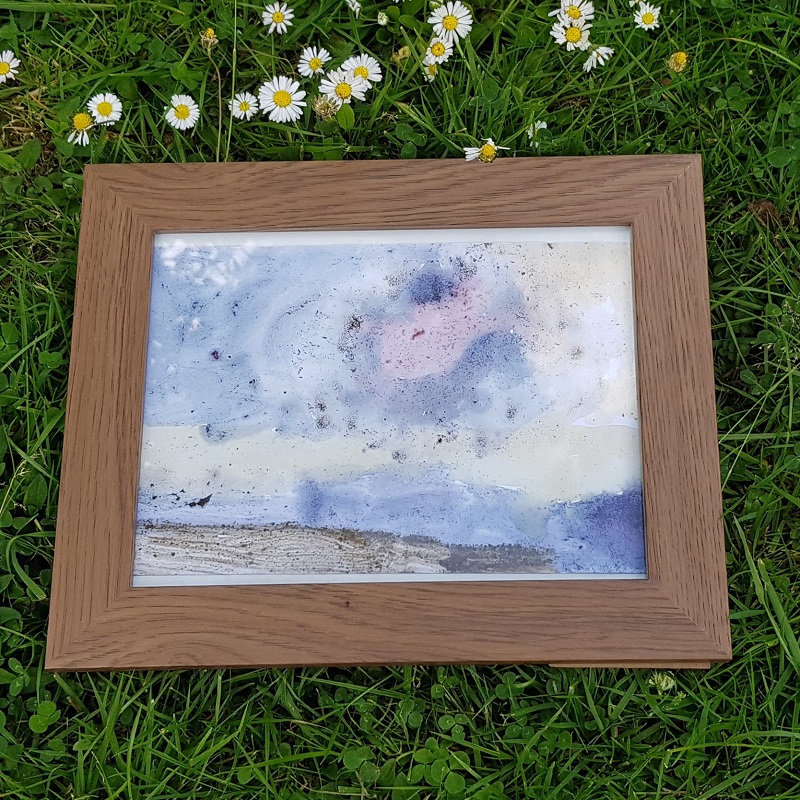
5. Children’s curiosity and creativeness can be fully expressed by letting them experiment with the collected natural brushes, enabling them to produce exciting and imaginative abstract pictures.
6. When happy with the finished ‘painting’ let it dry, then pop it in a frame and enjoy. Remember to add the date on the back of the painting, it’s good to look back and see how your child’s creativity has progressed over the years.
Design: Ruth Ryan, Director of Stanhope House Day Nursery, Leicester