Rag Rug Tea Cosy
Rag Rug Tea Cosy
Take time for your cuppa this winter! Your teapot will certainly stay warm wearing this rag rug tea cosy.
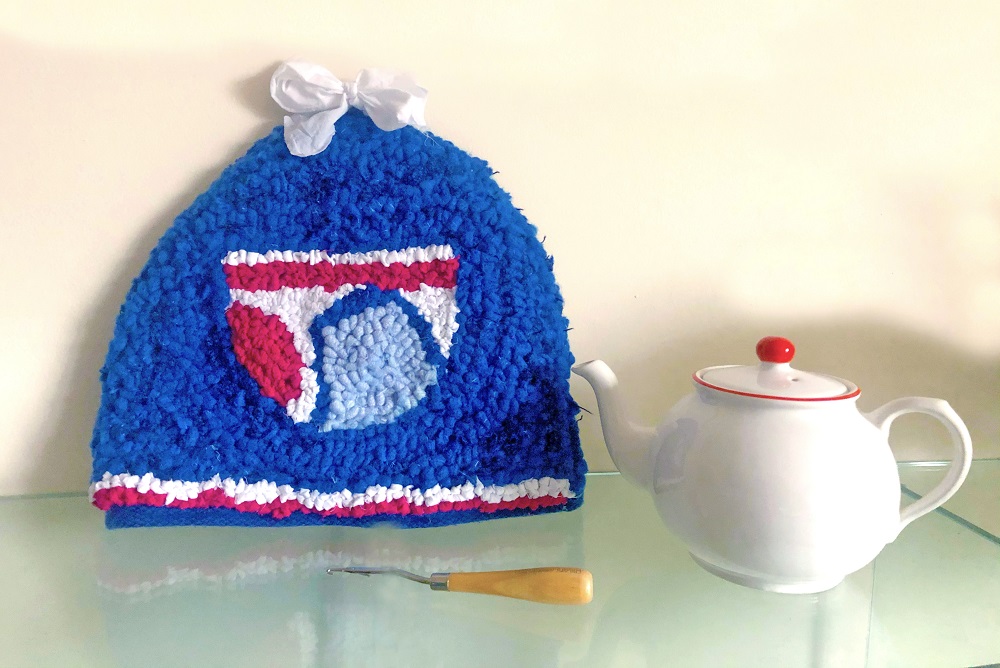
You will need
- Marker pen
- Hessian – a piece approx. 45 x 70cm (depending on the size of your teapot). The weave should be approx. 10 holes per inch.
- Sewing machine and thread
- Needle and thread
- Pins
- Fabric offcuts / old clothing - you can use any old clothing or fabric offcuts, but thinner and softer fabrics like jersey and cotton are easiest to work with. For this project a mixture of fleece, cotton and blanket yarn (offcuts from blanket production) has been used. You will need a whole t-shirt for the background colour.
- Ribbon or blanket yarn – a 10cm length for the handle
- Bias binding or blanket yarn – two pieces 50mm wide by the length of the bottom of the tea cosy.
- Fabric scissors
- Latch hook
- Abstract design template
- Lining fabric – two pieces 45 x 35cm (Optional)
To make
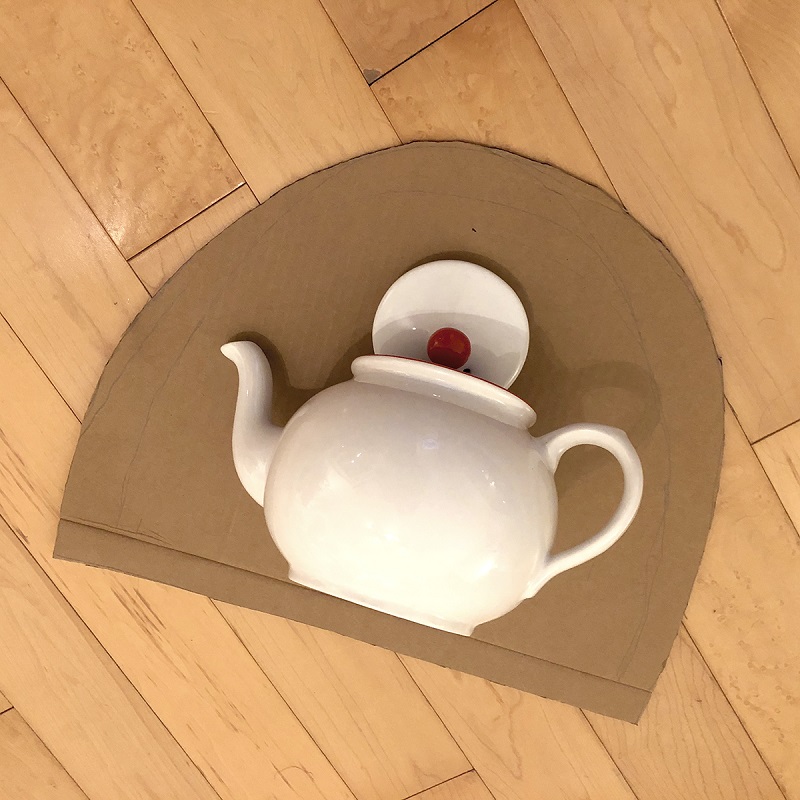
Place your teapot on its side on a large piece of card (eg. an old cardboard box). Roughly sketch a semi-circle around your teapot adding approximately 7cm extra on each side. Neaten up your semi-circle to make it as symmetrical as possible then cut it out.
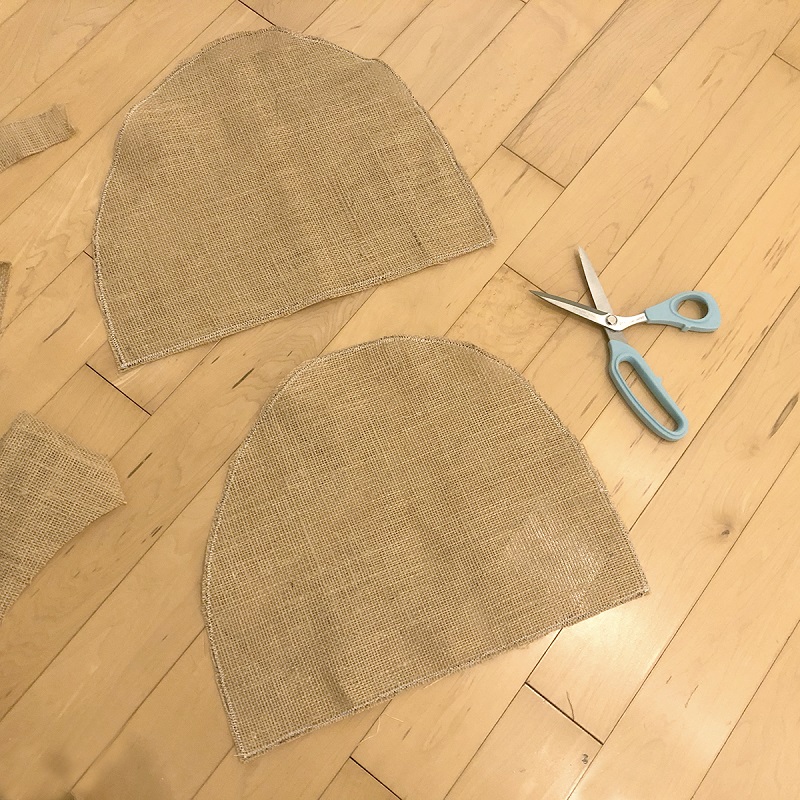
Place the template onto the hessian and mark out two semi-circles onto the hessian. Sew around the drawn templates using a wide zig-zag stitch. This is to keep the hessian from falling apart later on. Cut out the stitched shapes.
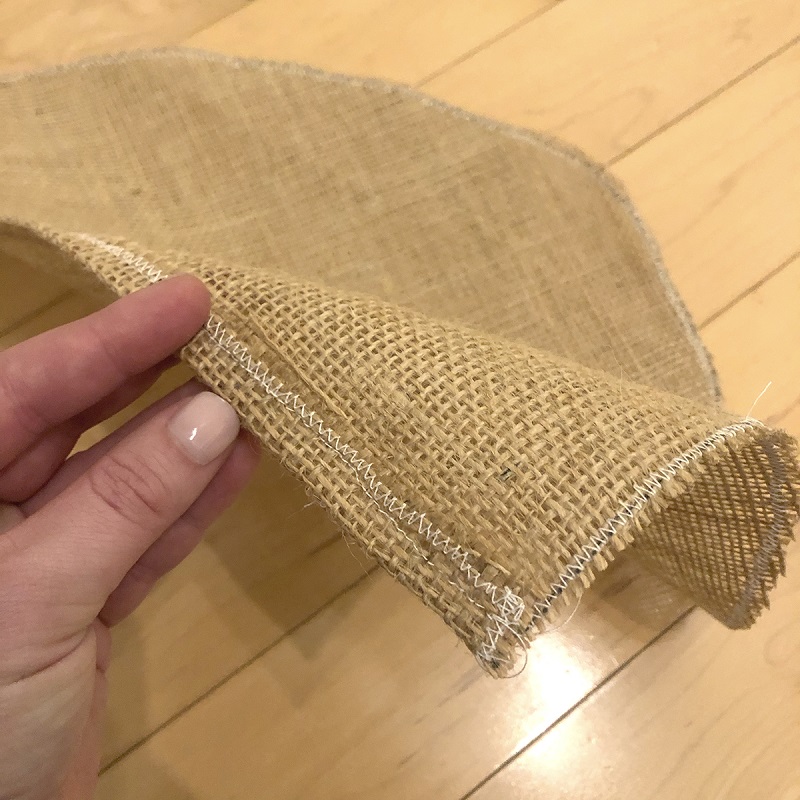
Fold the bottom of the hessian semi-circles over 1cm, pin and stitch in place.
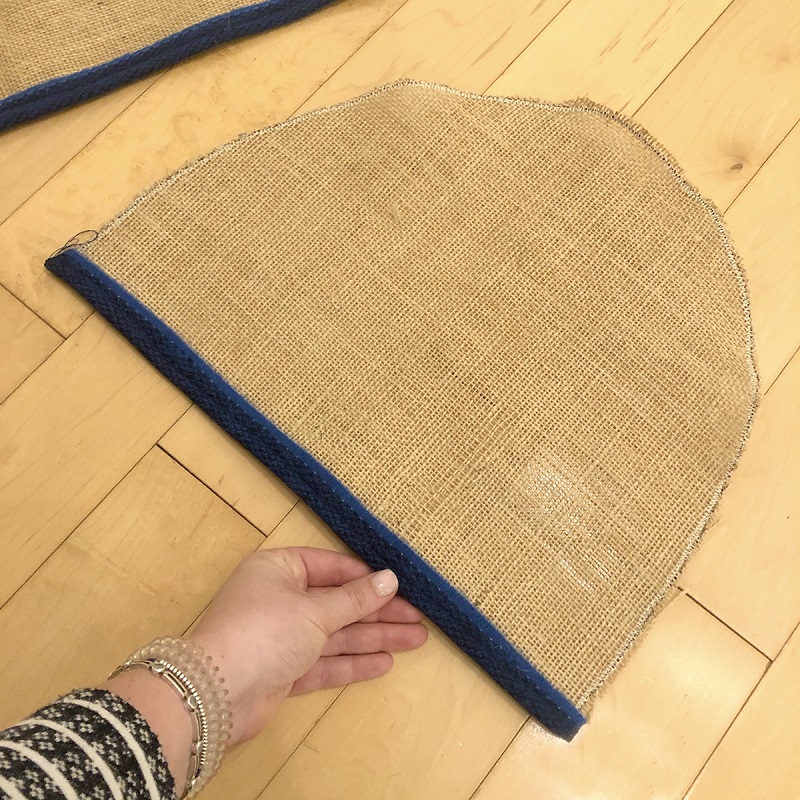
Sandwich the folded over hemming you’ve just created between the bias binding or blanket yarn and pin in place. Stitch in place using one row of running stitch, so that the thick hemming is covered.
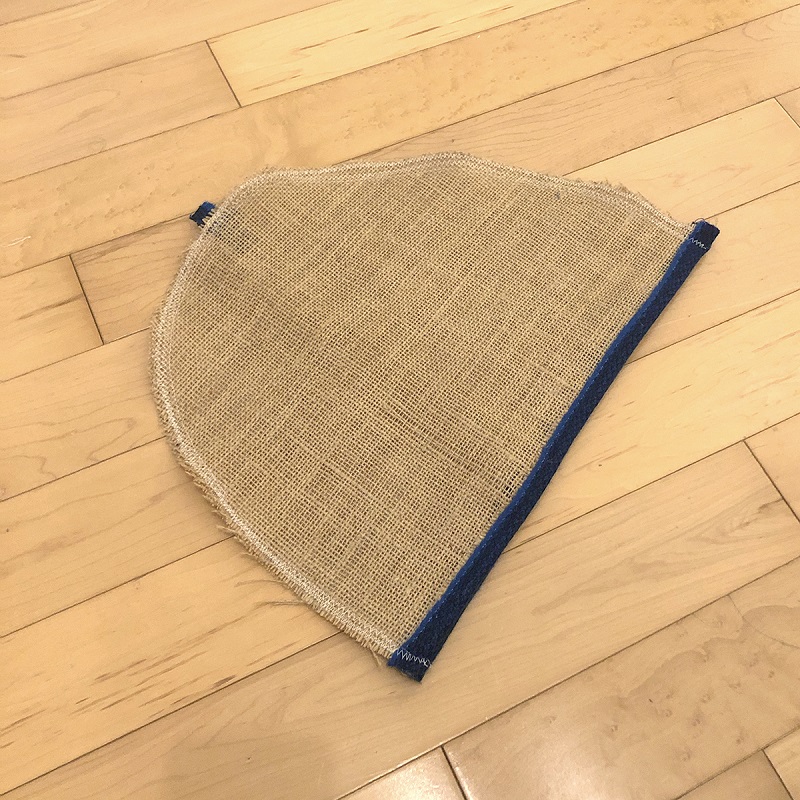
Fold the 10cm length of ribbon or blanket yarn into a loop then sandwich it between the two semi-circles of hemmed hessian, right sides facing each other. The cut edges of the loop should be just poking out the top of the semi-circles. Pin the curved edges in place.
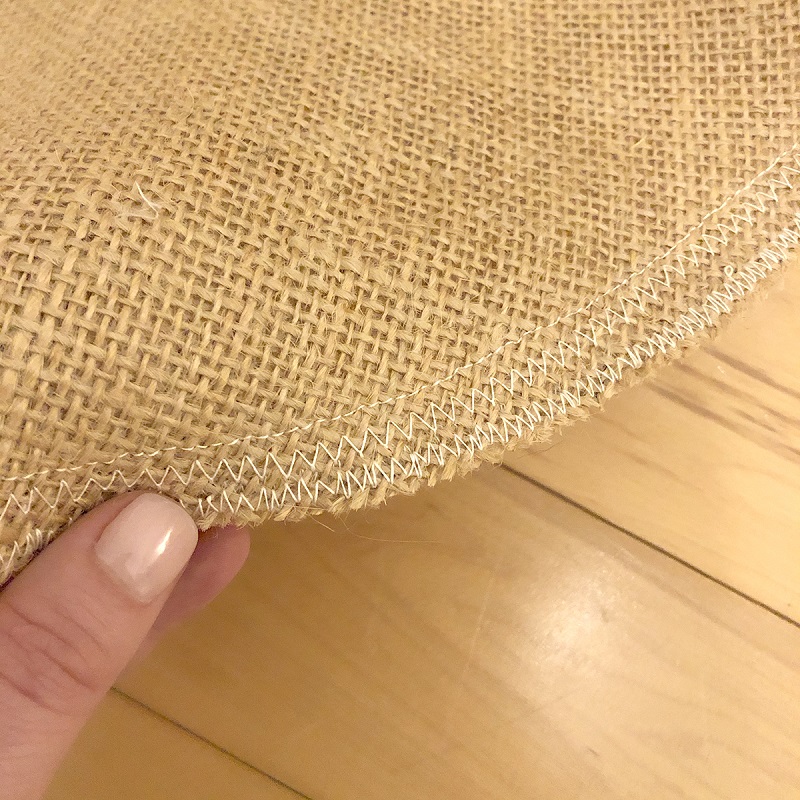
Machine stitch the curved edges of the tea cosy together using first a running stitch then a zig-zag stitch outside the running stitch. This will ensure the hemming does not fall apart when you rag rug near the join.
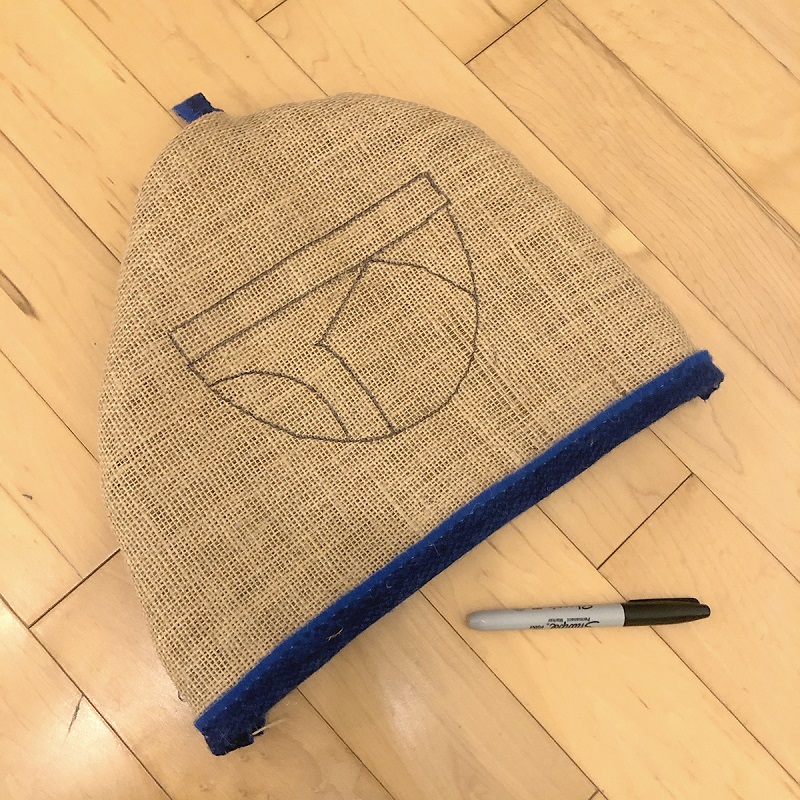
Turn your cosy right side out. You should have a little loop of ribbon or blanket yarn poking out the top. This is to attach your bow to later. Print out the Abstract Design Template, place it under the hessian and trace the design onto the cosy, making sure it is centralised. Or, feel free to freestyle your own design.
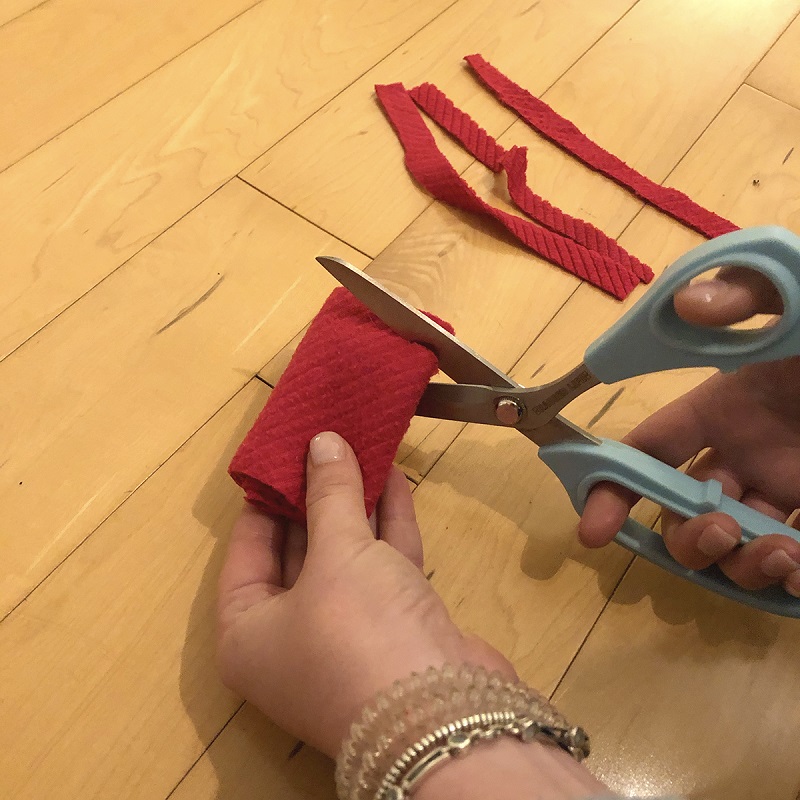
Cut your first fabric into long strips that are approximately 1.5cm wide. Do this by folding fabric into a tube then cutting through a few layers at the same time. The longer the strips, the better, but don’t worry if they’re a bit wonky.

Beginning with the pink section, outline shapes in rag rugging first then fill them in. Hold your fabric strip inside the tea cosy.
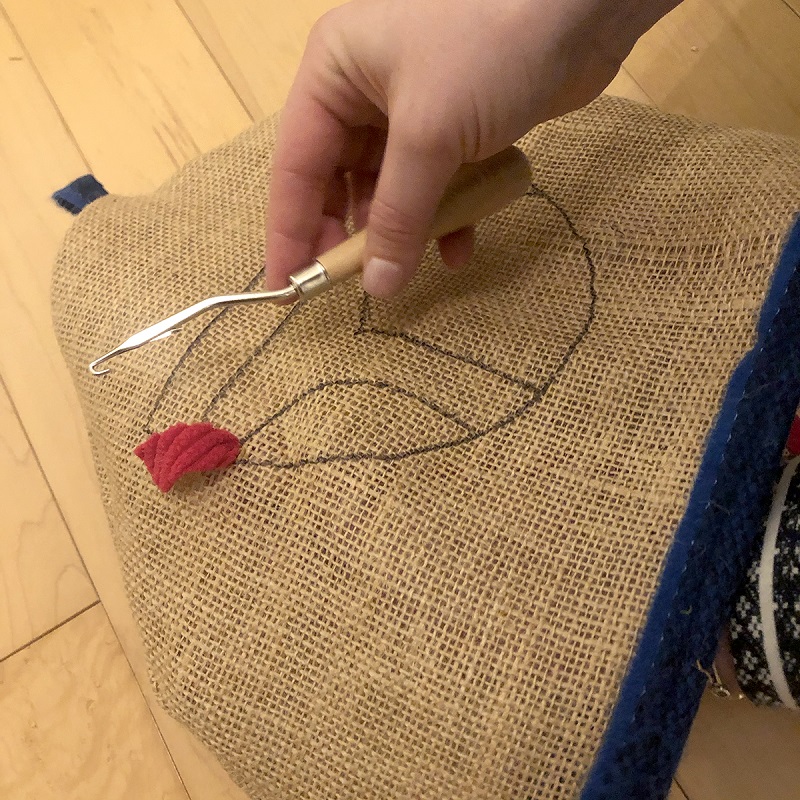
Push the latch hook into a hole in the hessian from the outside of the tea cosy to the inside. The latch should be just on the underside of the hessian. Place the end of the fabric strip into the hook, close the latch and pull a single end of the fabric to the front of the hessian (not a loop). Adjust the height of the end to approximately 1cm then detach the latch hook from the fabric.
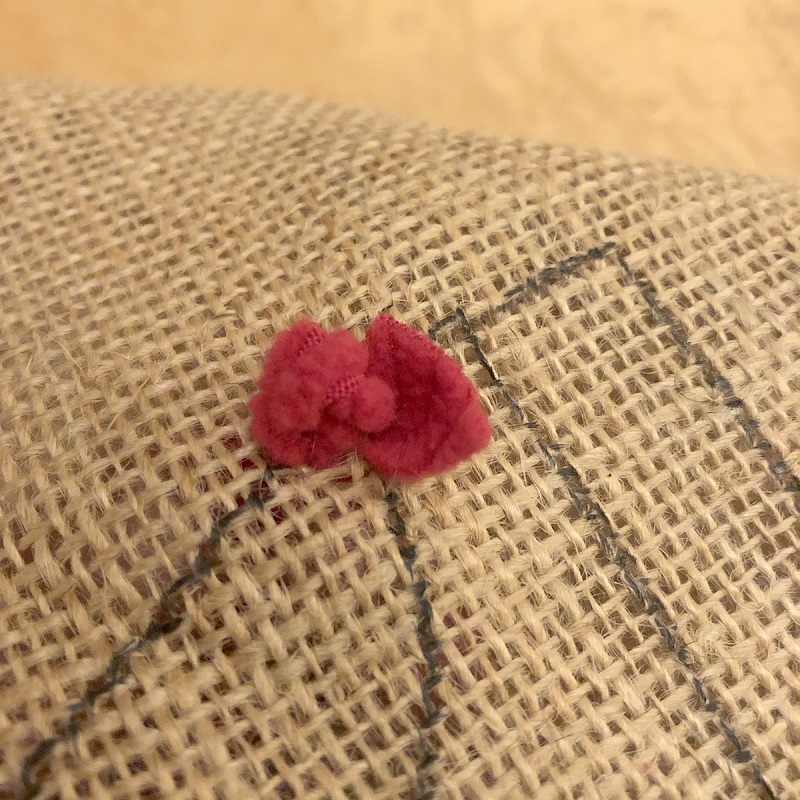
Following the drawn pattern, miss out two stands in the hessian and push the latch hook into a hole from the front of the hessian to the back. Hook the fabric strip and pull a small loop to the top of the hessian. This loop should be approximately 1cm high.
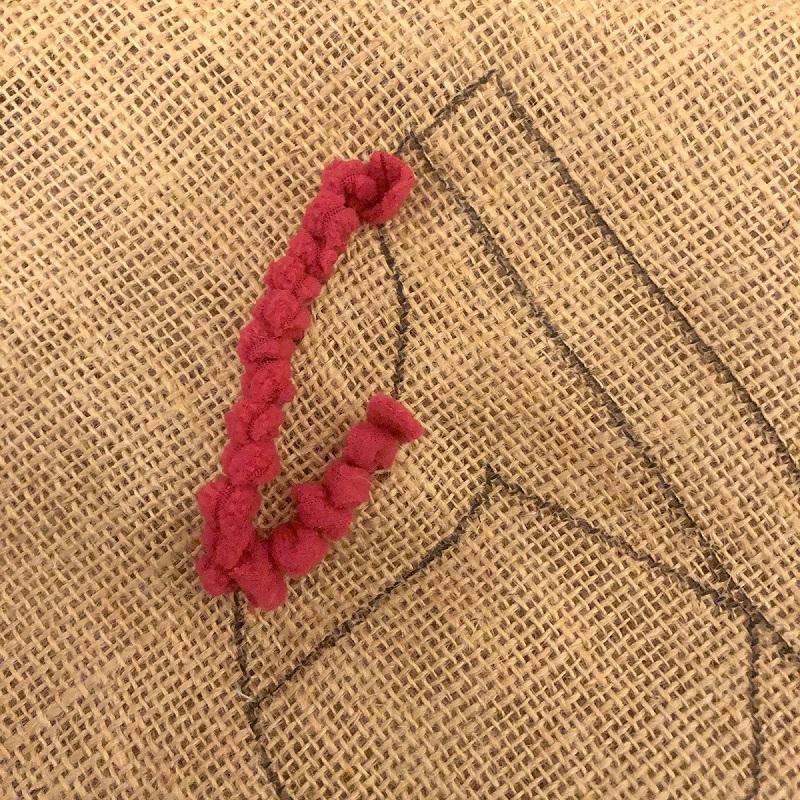

Miss out two strands of hessian between each loop and the next until you have outlined then filled in the design. When you have finished or you have reached the end of your fabric strip, pull the end of the strip to the top of the hessian and trim it to the same height as all your loops to disguise it. Repeat steps 8-11 to continue the method.
Tip: Occasionally look at the back of your rag rugging. It should always be flat. If you are left with lumps and bumps on the underside, find where they are, pull the excess fabric to the front of the tea cosy and snip it to the same height as all your loops.
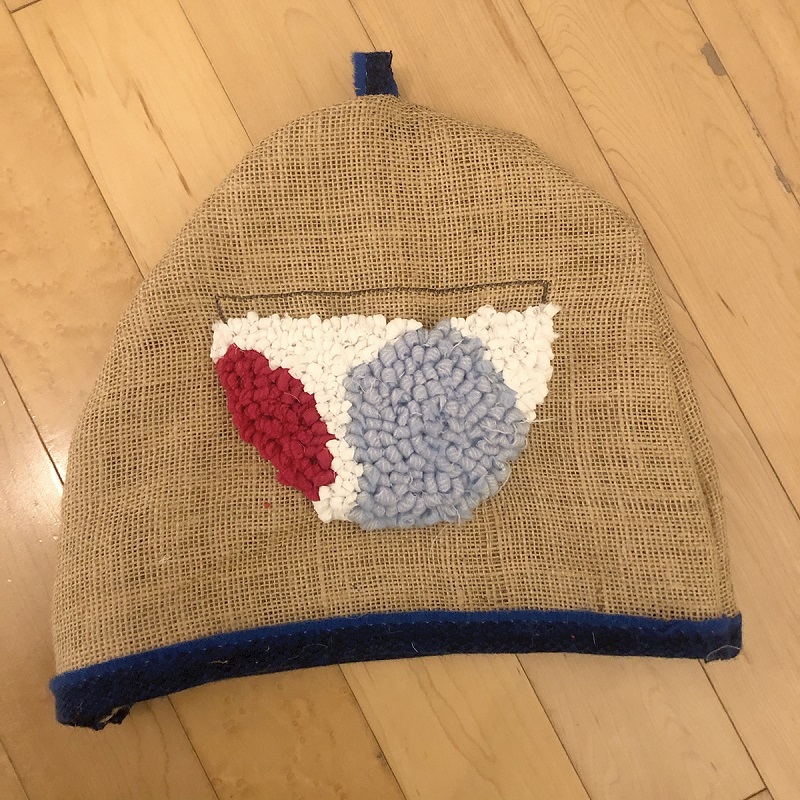
Build up the design piece by piece in whichever order suits you. Once you have finished the design, move onto filling in the background, row by row from the design outwards. The piece will only come together at the very end, so don’t worry if it looks like a bit of a mess during the process. On this cosy, the back is covered in full in blue rag rugging, but you could just as easily do a second design on the back to make the cosy reversible.
To finish the tea cosy, cut a 6cm wide strip from your white fabric and tie it in a bow through the loop at the top of the tea cosy. This bow can be used as a handy handle.
Optional: If you would like a lining for your tea cosy, place the template onto your lining fabric and mark out two semi-circles onto the lining fabric. Cut them out. Place the two lining semi-circles wrong sides facing together and pin the edges in place. Stitch together the rounded edges. Fold the straight edges up 3cm and pin in place. Slot inside the rag rugged cosy and hand stitch the bottom edges together. Stitch the lining to the hessian inner with individual hand stitches along the side seam.
Project instructions and photos by Elspeth Jackson of Ragged Life
