Rag flowers

You will need
- Flower templates – create your own or download our templates. It helps to vary the size of the templates if you’re making your own.
- Marker pen
- Hessian – a piece approximately 25 by 25cm to make 7 flowers. The weave should be approximately 10 holes per inch.
- Sewing machine and thread – the thread does not need to colour match as it will be covered by the rag rugging
- Mixed fabrics – you can use any old clothing or fabric offcuts but thinner fabrics like chiffon are easier to work with. I recommend using a mixture of patterned and plain fabrics for a more interesting bouquet. Before selecting your fabrics think how they will work as a set.
- Fabric scissors/ rag rug scissors
- Rag rug gauge (optional)
- Rag rug spring tool
- 7 sturdy twigs at least 15cm in length – you can spray paint these any colour you fancy, we’ve chosen white
- Glue gun / PVA glue
- Vase
To make
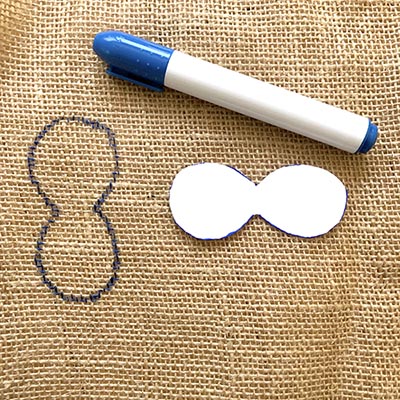
Step 1: Print out the flower templates and cut them out. Place the templates onto the hessian so that each template is at least 3cm away from the edge of the hessian and 3cm away from each other. Draw around each of the templates with a thick marker pen.
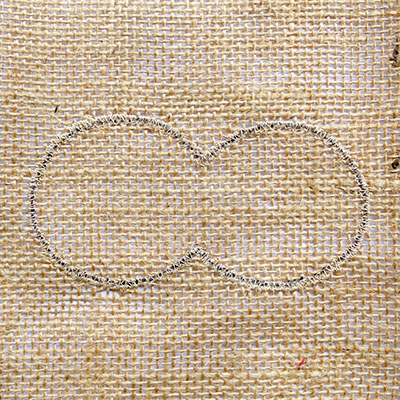
Step 2: Sew around each of the drawn templates using a zig-zag stitch. This is to keep the hessian intact and aid assembly later on.
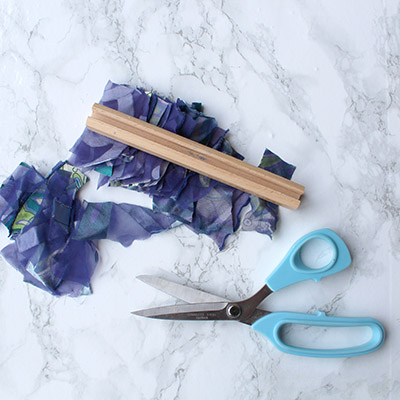
Step 3: Cut your first fabric into 2 to 3cm-wide strips. The longer the strips the better but don’t worry if they’re a bit wonky. Wrap the long strips around a rag rug gauge and cut down the groove to cut them to the same length pieces, approximately 7cm in length. If you don’t have a rag rug gauge then this can be done manually. Discard any pieces that came out too short.

Step 4: Inside the zig-zag stitching, weave the pointed end of the spring tool into a hole in the hessian and up through a hole 2 holes away. You should now have 2 strands of the hessian on top of the lever of the tool.
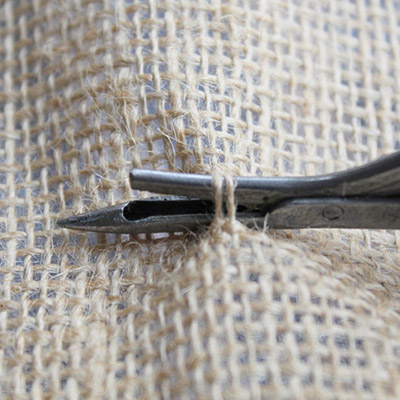
Step 5: Squeeze the wooden handle and spring handle together to raise the lever at the end of the tool. Pick up a strip of fabric and place the short edge of the fabric piece between the lever and the barrel. Release the spring lever to clench the rag.
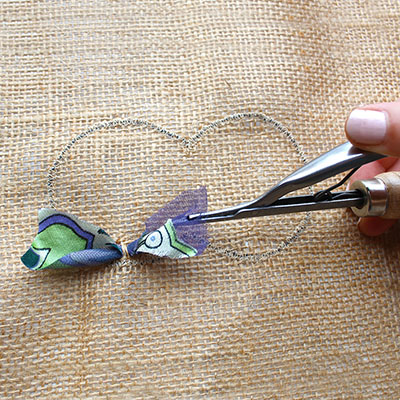
Step 6: Holding the hessian still with 1 hand, pull the spring tool back through the hessian (I find that it helps to wiggle it a bit) so that half of the strip is on 1 side of the strands of hessian and half is on the other. This is your first piece of rag rugging.
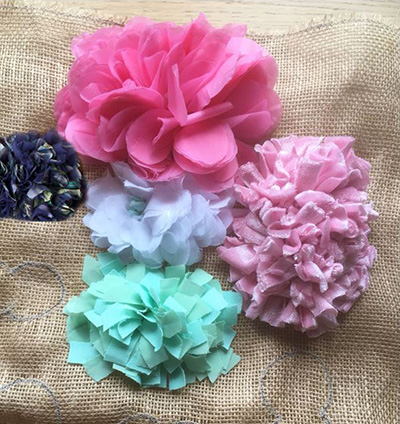
Step 7: To continue this method repeat steps 4 to 6, missing out 1 strand between 1 piece of fabric and the next. Continue until you have completely filled all the stitched templates with shaggy rag rugging and they look nice and full.
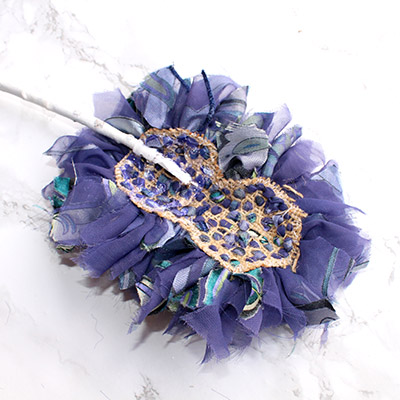
Step 8: Carefully cut around each of the stitched templates, being careful not to cut any of the fabric pieces. Try to keep nice and close to the stitching without nicking it. With the shaggy side of the hessian face-down, position the twig in the centre of 1 half of the figure-of-8. Glue around the edge of the figure-of-8 half, making sure to put plenty of glue around the twig itself. Fold the figure-of-8 together to sandwich the top of the twig between the 2 sides and press until the glue is dry.
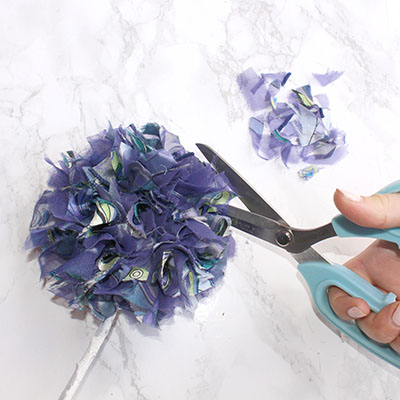
Step 9: Using the glue gun, cover any bits of hessian that might be visible by carefully glueing pieces of fabric together around the ‘seam’. Trim any wild pieces of fabric to create flower spheres or shape individual pieces to mimic real flowers, like dahlias.
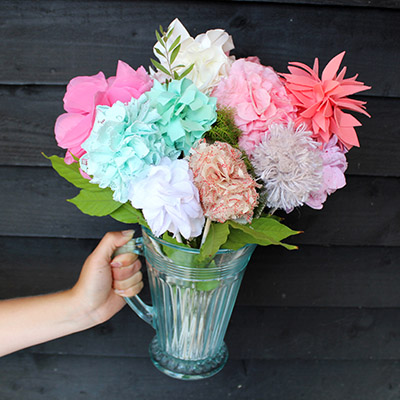
Step 10: Arrange the flowers in a vase of your choice, preferably with some live foliage. Cut some of the twigs shorter to create a better display.
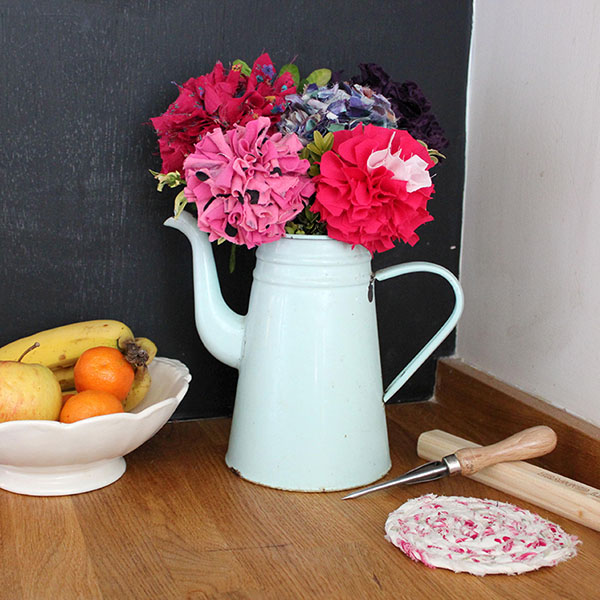
Project created by Elspeth Jackson of Ragged Life. Find out more about Elspeth on the Ragged Life website.
