DIY Beeswax Food Wraps
DIY Beeswax Food Wraps
These super easy DIY pliable covers fold up and around foods and will cover bowls of leftovers. They’re the perfect solution for a plastic-free, eco-friendly kitchen!
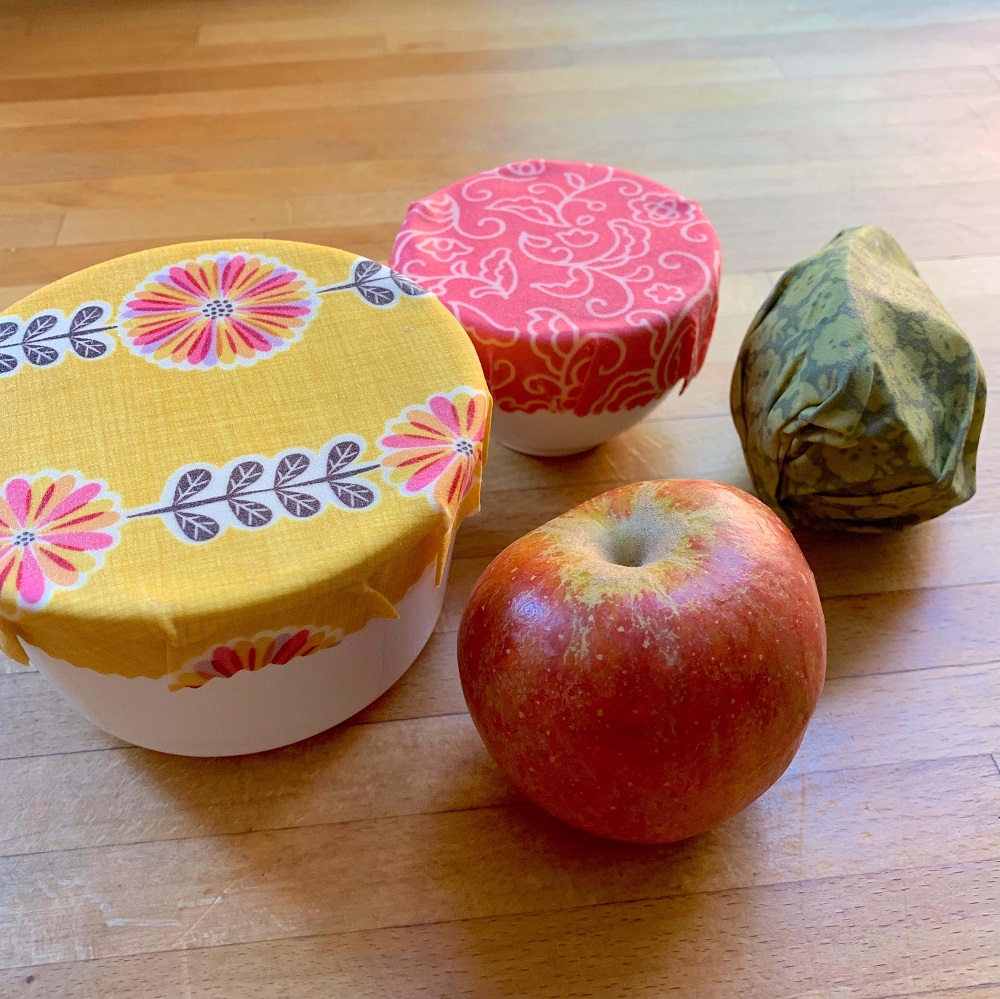
What are beeswax bag and wraps, and why use them?
Basically, they are fabric that has been infused with beeswax (and often other ingredients) to give them a water-resistant coating that will keep food fresh. The natural anti-bacterial properties of beeswax make them a brilliant reusable option to plastic cling film and/or foil. They can be used as covers for containers, wraps for cheese, or to wrap around fruit and vegetables, plus formed into small bags for sandwiches and snacks.
With proper care, they can last for 8-12 months and can be ‘refreshed’ for continuous life. Beeswax wraps are great in the fridge and freeze well too, but they are not airtight, so beware they are not suitable for perishable items such as raw meat. For fresh meat, longer-lasting leftovers and smellier items you would be better off using reusable glass or plastic containers.
If beeswax is so great, why add other ingredients to it?
There are so many conflicting recipes around for making beeswax wraps so we decided to test them all out and see what works best and why adding other ingredients helps them to perform better for different end uses.
Beeswax only: Using simply melted beeswax is the quickest way to create a wax infused cloth, but the end result was very stiff with none of the tackiness that makes conventional plastic wrap cling to itself. It can be used for making the bags, but it did have a tendency for the wax to crack when you try to mould it. So this is not our preferred option.
Beeswax and Jojoba oil: As oil is a liquid rather than a solid at room temperature, adding jojoba oil to the wax mixture, made the wraps much more pliable and therefore perfect for creating bags. However, the fabric still does not have the tackiness to enable it to stick to itself or the side of a bowl.
Beeswax, Jojoba oil and Pine resin: By adding pine resin as well to the mixture, this turns the fabric into a pliable but also tacky wrap that both clings to itself and containers.
IMPORTANT NOTE: Please ensure that when selecting your waxing ingredients, that you buy organic food-grade qualities, which do not contain chemicals or any nasties. These are available to buy online as individual products, or look out for specialist wax wrap kits, with all the ingredients already mixed.
You will need:
Finished size: Various diameters, as desired
Skill level: Beginner
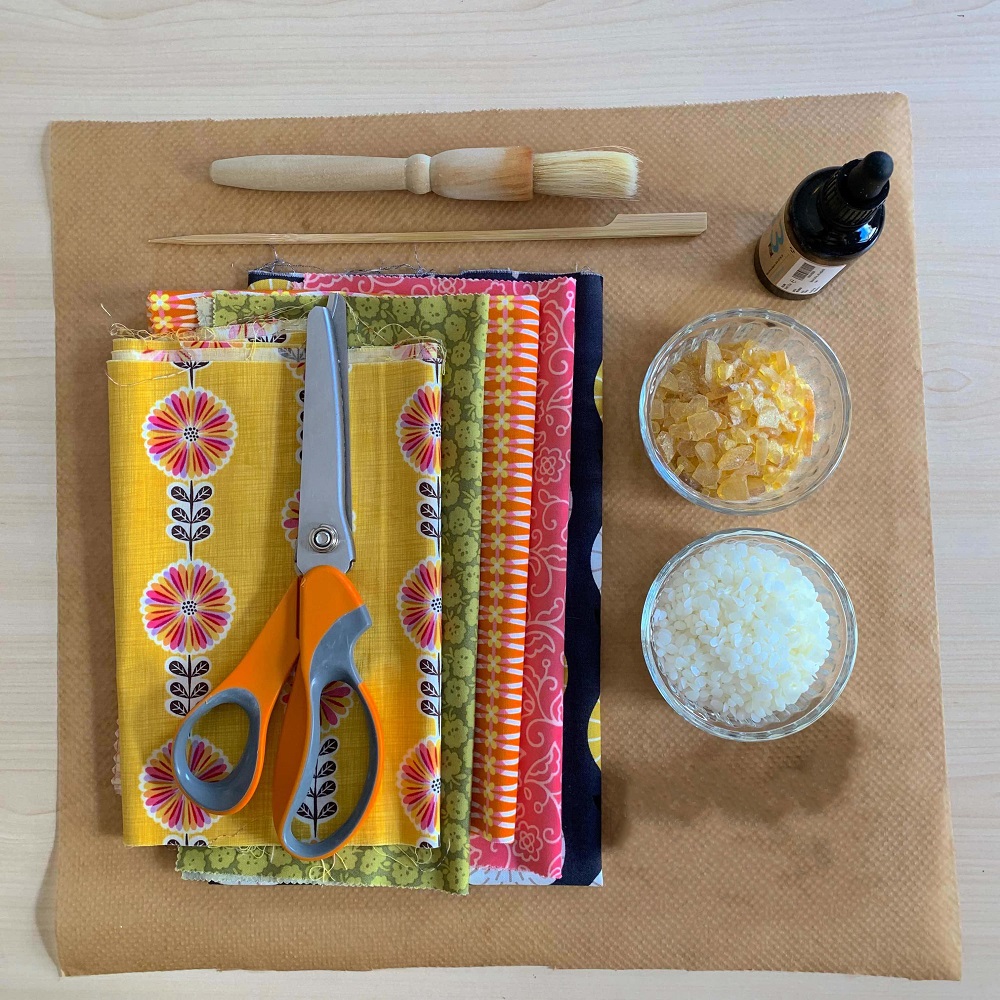
For making the wraps:
- 100% cotton fabric pre-laundered to remove any finishing chemicals
- Plates, saucers and bowls of various sizes
- Soft pencil
- Pinking shears or fabric scissors
- 75gm organic cosmetic-grade beeswax pellets
- 30ml (2tbsp) organic jojoba oil
- 20g food grade pine resin
- Disposable wooden lollipop stick or similar spatula for stirring
- Old brush
- Baking parchment
- Saucepan and an old ceramic/Pyrex bowl to form a double-boiler
- Baking tray
- Wire cooling rack (optional)
- Iron
For saving wax for future use:
- Silicone moulds
- Old cheese grater
- Baking parchment
For cleaning up:
- Hot soapy water
- Steel wool soap impregnated scouring pad
- White spirit
- Old cloth
- Paper kitchen towel or newspaper
- Old knife
To make:
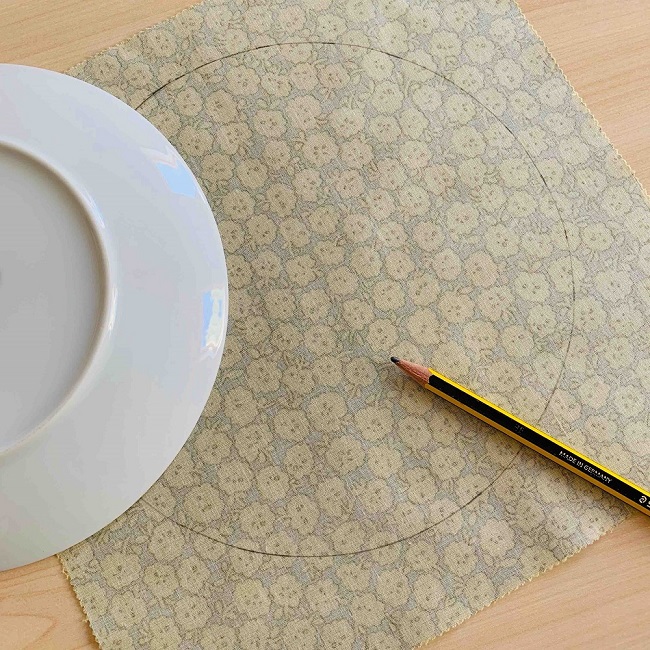
1. Draw around upturned plates and saucers onto your laundered fabric to create various sized circular wraps.
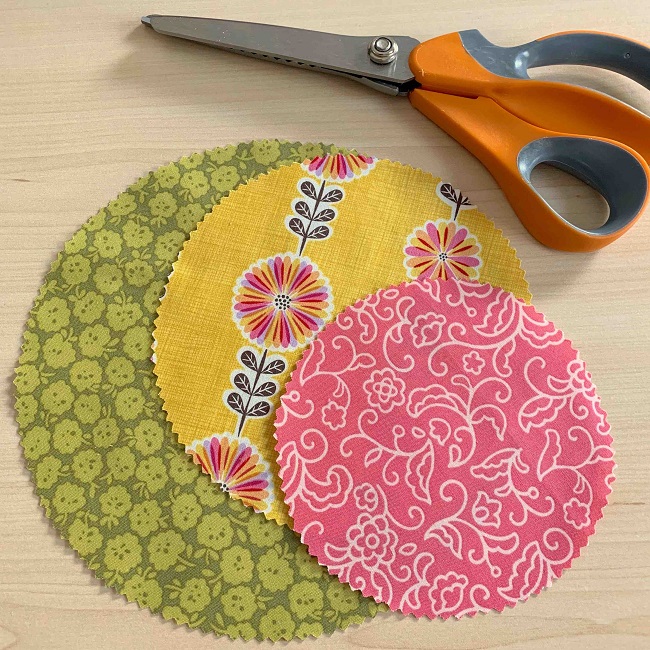
2. Use pinking shears to cut the circles, this will prevent your fabric from fraying. However, if you don’t own any pinking shears, don’t worry, as the wax will help to stop the edges from fraying too much anyway.
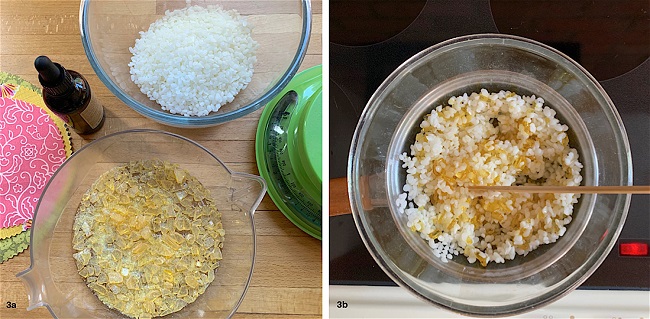
3. Measure out the wax, jojoba oil and pine resin and empty into a ceramic or Pyrex bowl. Stir to mix the dry ingredients well.
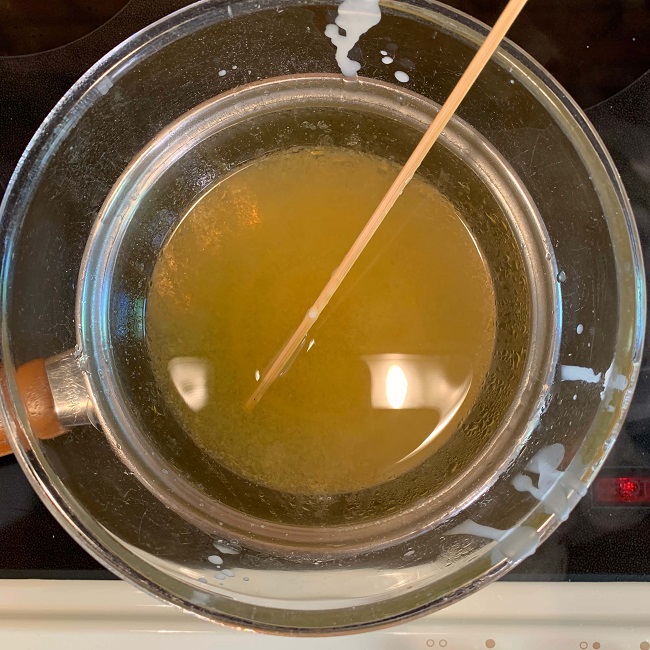
4. Making sure you are working in a well-ventilated area, sit the bowl over a pan of simmering water and stir continuously with a wooden spatula until everything starts to melt. You will find that the wax melts quite quickly, but the resin will take a lot longer. At first, it will melt into a sticky toffee-like lump but keep stirring and everything eventually dissolves into a clear golden liquid. We found the whole process took about 15 minutes over medium heat.
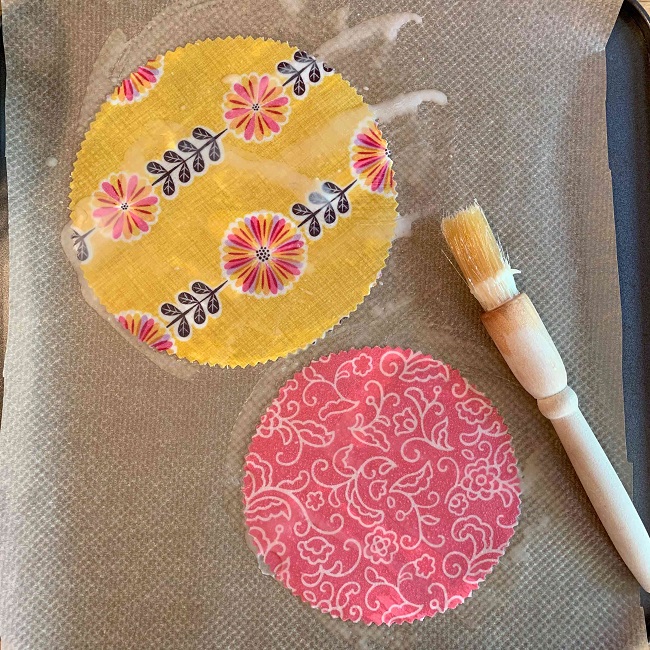
5. Cover a baking tray with a generous layer of baking parchment and lay out the fabric circles on top. Remove pan from the heat and using a brush, paint molten wax mixture liberally over the fabric. The wax will start to set as it cools. To save any remaining molten wax for later use, and clean utensils afterwards, please see directions at the base of this project.
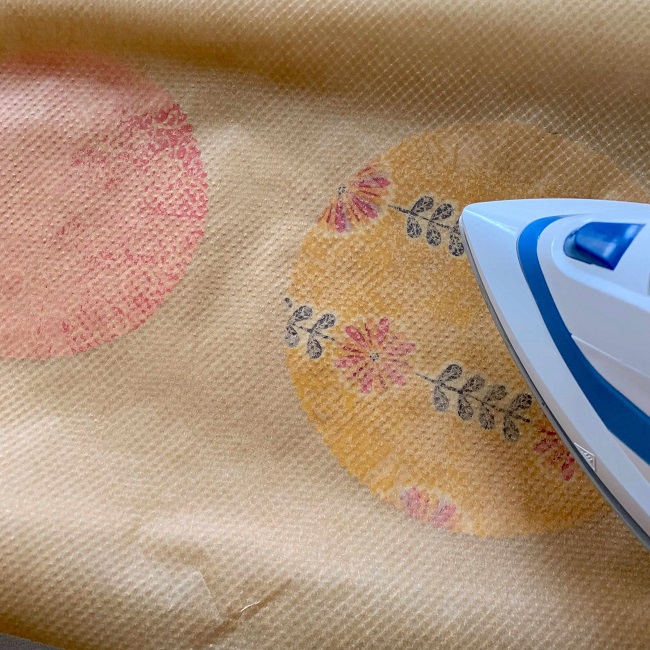
6. Place the bag between two layers of fresh baking parchment and press using a dry iron to melt the fabric wax completely into the cloth and remove any excess. Remove the fabric from the parchment and place it on a wire cooling rack for a few minutes to let the fabric cool, alternatively waft the piece around in the air for a while.
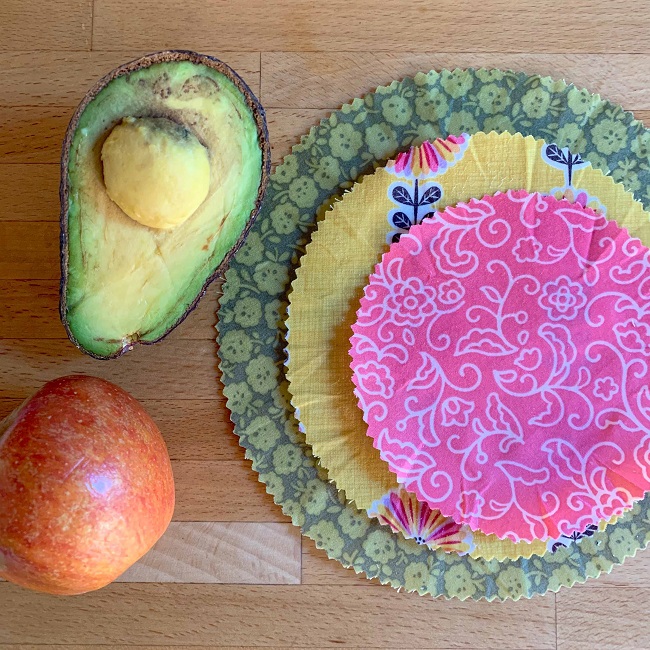
7. Your wraps are now ready to use, whether to wrap individual items or to cover bowls. To clean them, rinse with cool water and mild soap and reuse time and time again. If they start to lose their tackiness over time, re-charge them with your left-over wax, see below.
Cleaning up, saving and re-using molten wax
Rather than waste any remaining molten wax, you can save it and re-use it for future projects. Here’s how…
Saving the wax for future use
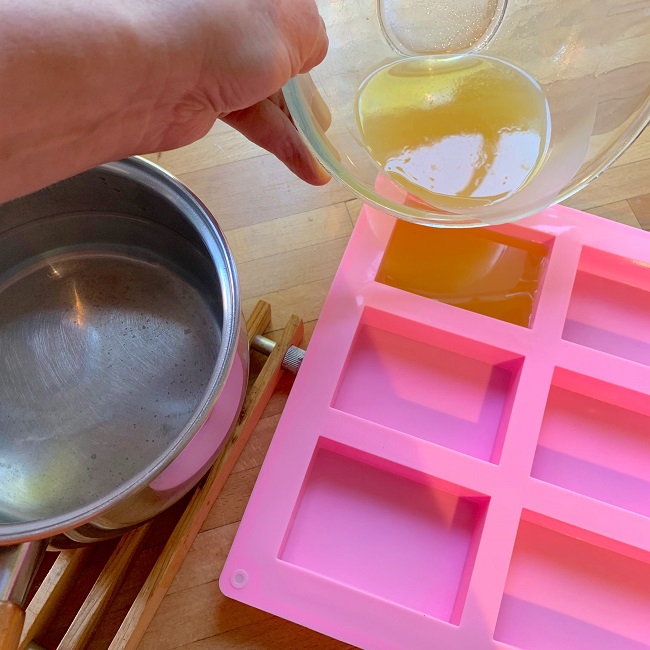
1. Simply pour the molten wax into silicone moulds.
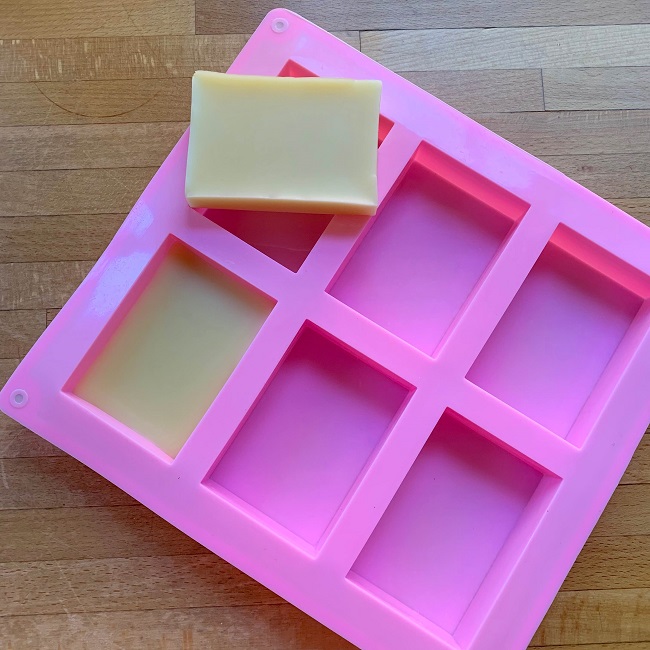
2. Leave to set over night, then pop out the individual bars.
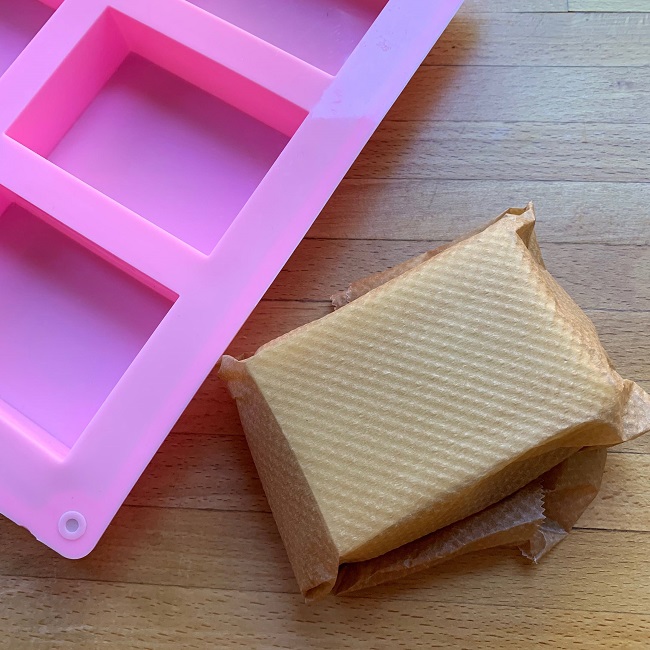
3. To keep them, wrap them in baking parchment and store for next time. Make a note of the ingredients in your wax block and store it with the block ready for next time.
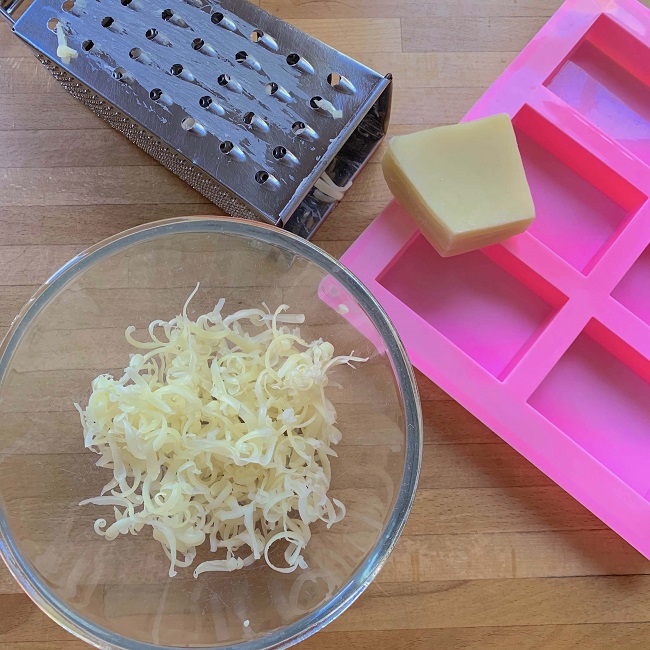
4. To re-use, grate the block into an old ceramic or Pyrex bowl and sit the bowl over a pan of simmering water stirring continuously with a disposable wooden spatula until the wax completely melts.
Cleaning up
As we have added pine resin to the wax mixture, the utensils are a little harder to clean, as the resin is not water-soluble.
1. To clean bowls and graters, first, scrape off any thick excess wax mixture onto paper kitchen towel or newspaper using a knife.
2. Then, use hot soapy water and disposable steel wool soap impregnated scouring pad to remove as much of the wax as you can.
3. There will still be a sticky residue left, so now rub over the surfaces with a cloth soaked in white spirit. This will dissolve the resin away.
4. Finally, rub over the surfaces again with the hot soapy water and steel wool pad. If you own a dishwasher, you can put the items through a cycle with your other pots to remove any remaining white spirit smells.
Project: Jane Bolsover, Craft Consultant, NFWI
