Velvet Plush Pumpkins
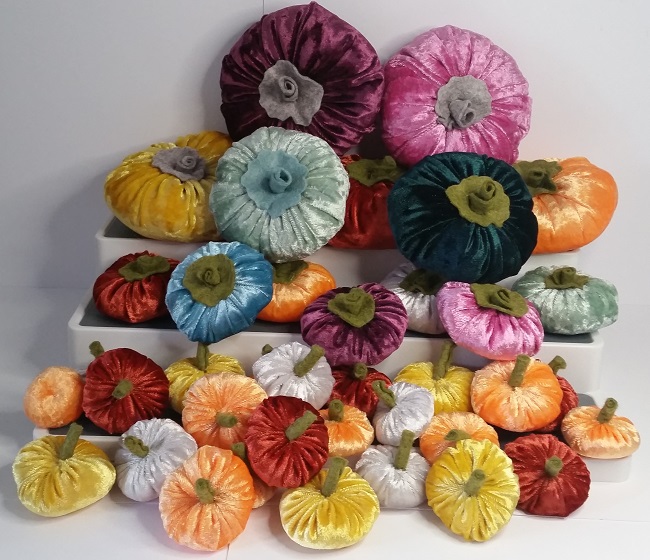
In the 1990s carved pumpkins started their popularity in the UK replacing the hard-to-carve turnip. Since then pumpkins have gradually become a popular decorative item all year round. I’ve always loved ‘soft craft’ pumpkins either fabric or knitted, but most especially those from velvet. They are so easy to make and you can end up with a pumpkin patch in no time. Here I’ve made a flatter style from a fabric circle so only one edge to gather up. This is the same method as making a Suffolk Puff or Yoyo as used in quilting. I’ve not made one yet but just imagine these made into a fabulous quilt. Could be a project for next year!
Materials:
- Velvet fat quarters assorted colours
- Round objects of different sizes (look through the kitchen cupboards as I did)
- Pen, scissors
- Needle, strong thread, toy stuffing,
- Wool felt, hot glue gun
Instructions:
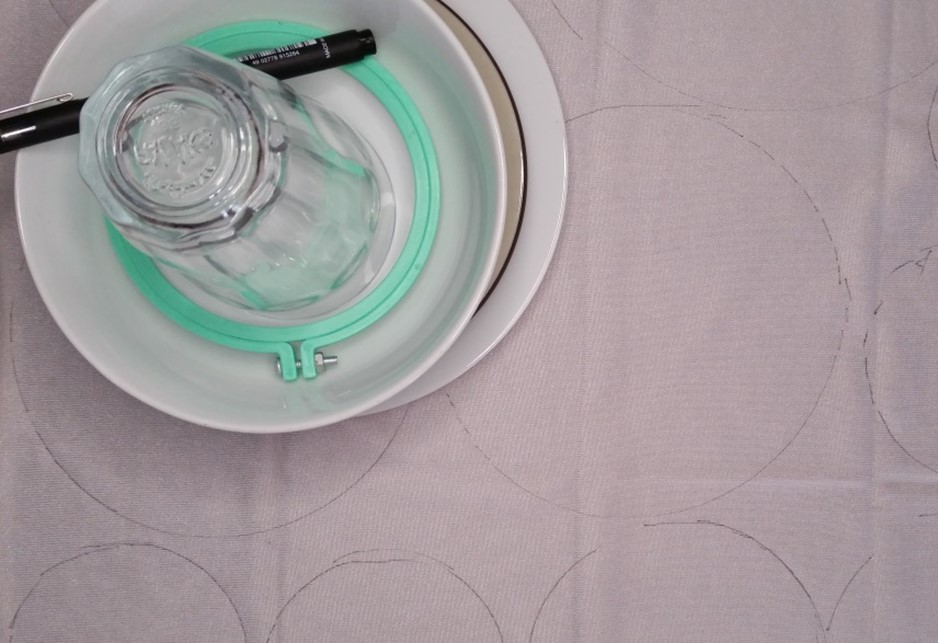
Assemble your chosen round objects to draw round. Remember the pumpkins will end up half the size once they have been gathered. Lay your objects out so you get as many cut as you can from your fabric. If there are small areas look for something smaller to use so there is minimum waste, although if you check out ‘Autumn a Second Spring’ from this month you will see I have been using up the scraps to make velvet ‘confetti’. I decided to do multiples of smaller-sized pumpkins for a nice cluster to display together.
Draw round your objects on the wrong side with a marker pen, this will be inside and not show when sewn. Cut out your circles. There is no need to have an accurate circle as the edge will be covered with the felt stem when glued down.
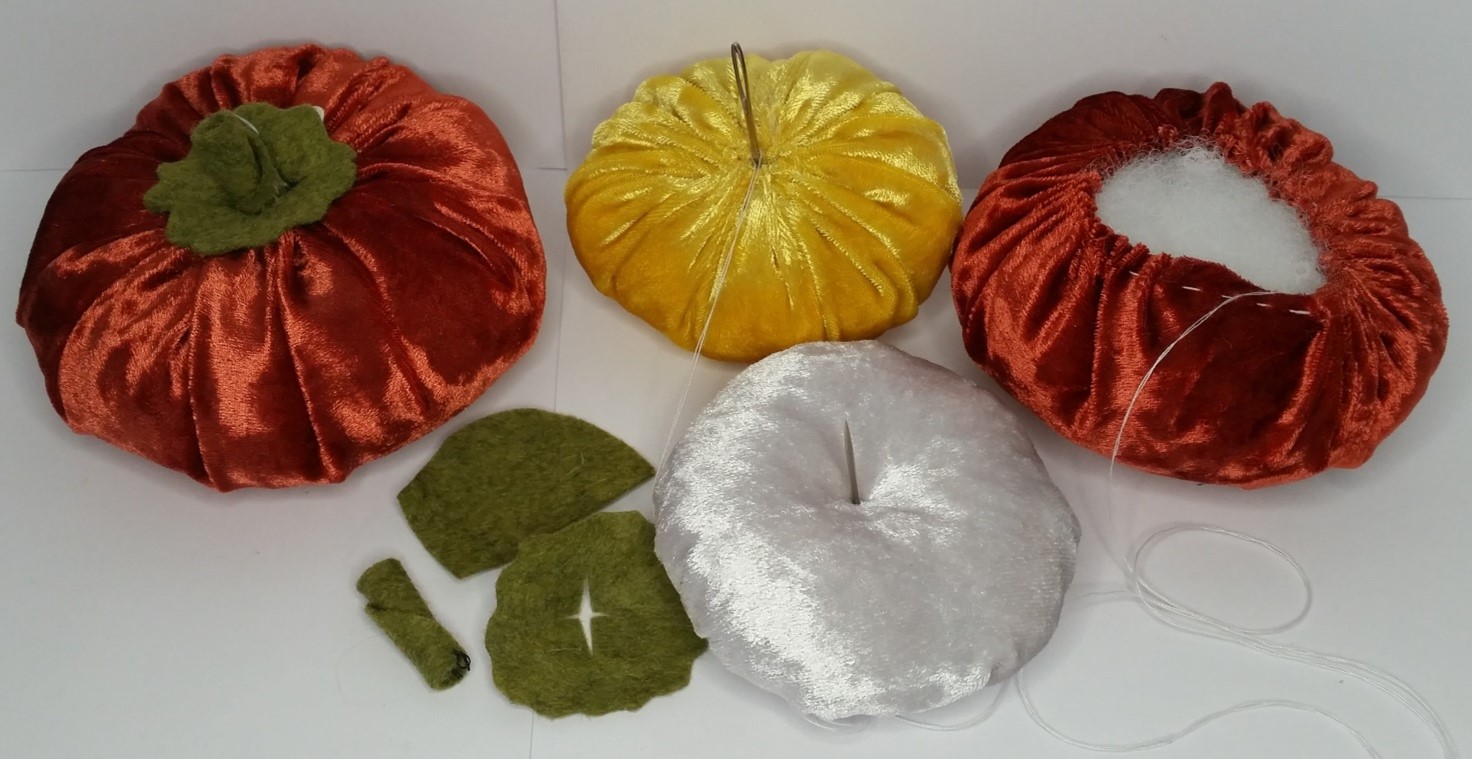
The image below gives the very easy stages to completion. Sew a running stitch around the circle with strong thread (there will be a lot of tugging) and gather up leaving a small opening. Add in toy stuffing till it is as squishy as you want it. Sew around the gathered area again to pull it in even tighter (see gold version). With the threaded needle still attached thread your needle through the centre top to the bottom and back up to the centre top again to create a dimple – for a round pumpkin miss this stage out but you may need to add more stuffing.
For the stem cut out a wiggly felt circle, and snip a cross in the centre. Cut a felt semi-circular shape for the remaining stem part, roll it from the straighter edge and secure it with a few stitches at the bottom to keep it together. With a hot glue gun add a blob of glue onto the centre top. Add the wiggly circle and then push the felt roll into the middle of this. For the smallest pumpkins (in the main image) I have simply sewn on the felt-rolled stems instead of glueing.
You could pimp up your pumpkins by maybe adding a leaf, a tassel, a rhinestone button/brooch. Imagine some fabric holly or a jingle bell on the top to make into a Christmas version.
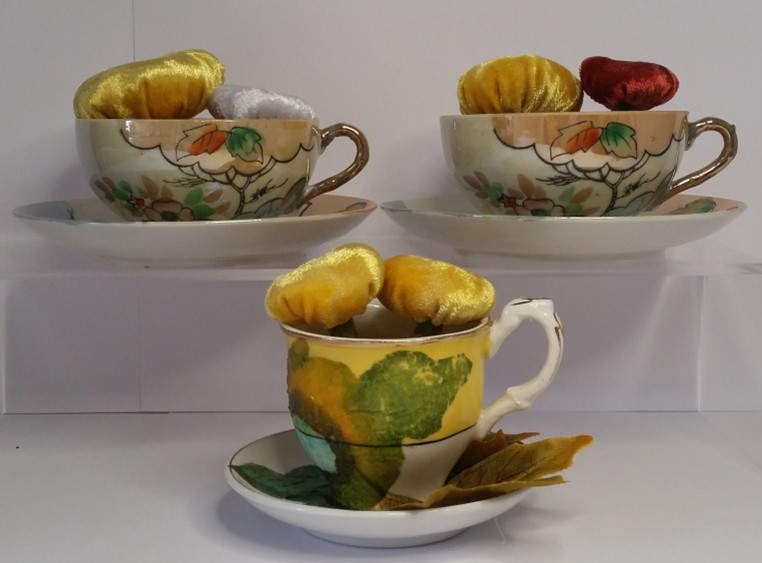
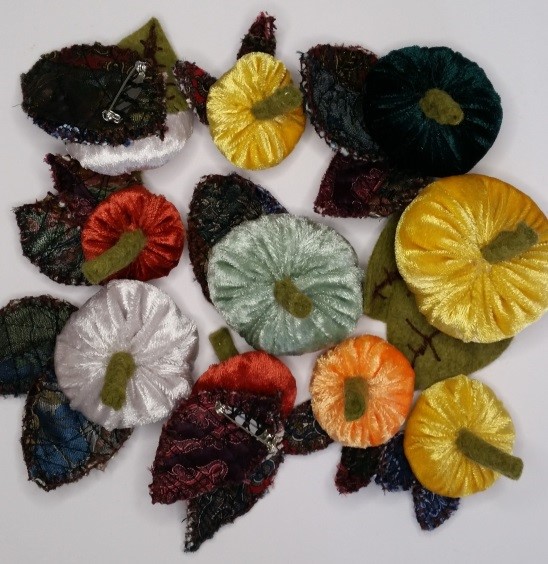
I thought the smallest pumpkins turned the other way looked like fungi so just had to make some teacup art. I also made a selection of brooches with them and still having plenty left over will be making a string of them into bunting and maybe even tree decorations for Christmas.
