Terrific Totes
Skill level: Beginner
Size: Approximately 45cm wide x 48cm high
To make the bag you will need:
- 95cm x 52 cm main bag fabric – this can be cut for a single piece of fabric, or you can piece together smaller fabric piece in a patchwork fashion to create your main fabric piece
- 95cm x 52cm lining fabric
- 1m x 25mm-wide tape, ribbon, cord or, made your own strips from fabric for the handles
- Matching sewing thread
- Pins
- Iron
- Sewing machine
For decorating your bag you will need:

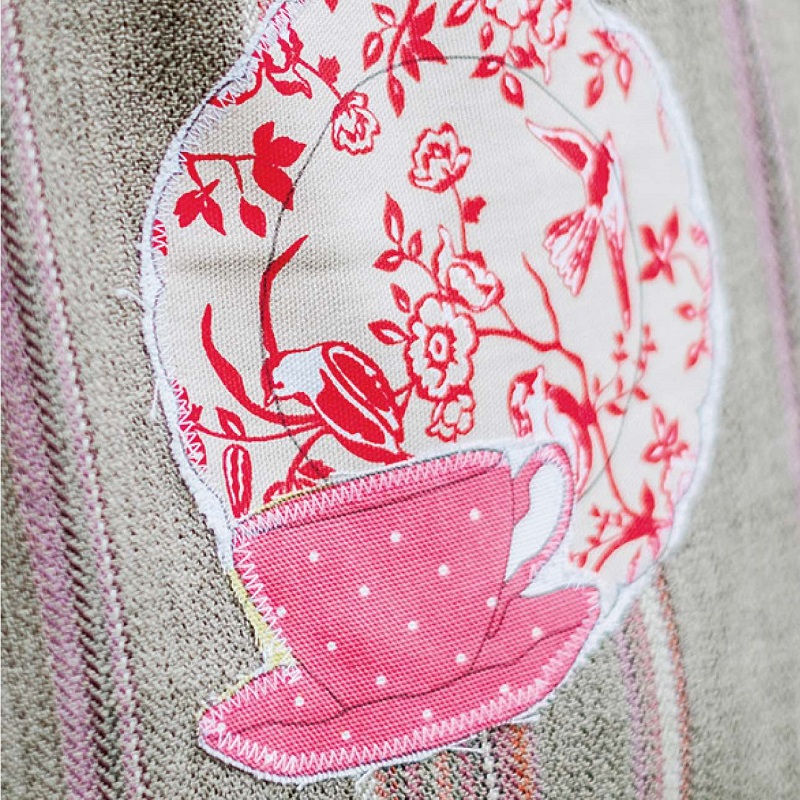
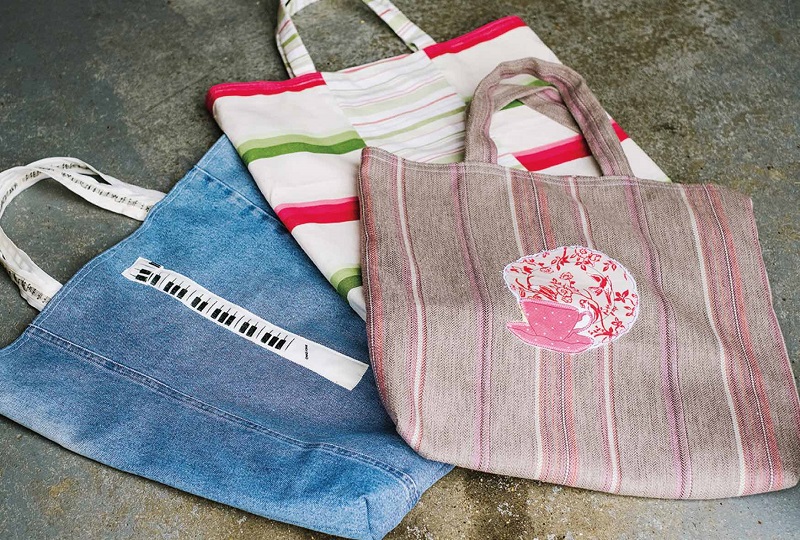
- Glenda uses charity shop retro-embroidered tablecloths or motifs cut out from different fabrics, which she appliqués onto her bag fabric before making up.
- Alternatively, she embellishes the finished bag by sewing on buttons, charms, ribbons, plus her very own name labels – ‘By Glenda’
To make:
Please note that a 2cm seam allowance is included throughout unless otherwise stated.
1. With right sides facing fold the main bag piece in half, bringing the two shorter side edges together. Sew down the one side seam and across the bottom, reverse stitching at each end of the seam to secure.
2. Repeat with the lining fabric piece and press all seams open.
3. Turn over a 2cm hem to the wrong side around the top edge of both the bag and lining; press in place.
4. Glenda likes to create a nice flat base for her bags, which is a bit tricky but is not absolutely necessary. If you do not wish to do this, move straight on to step 6.
To square off the corners, push a finger on your left hand into the corner of the bag where the side seam is, then with the right hand, squash the side seam flat, so that this seam lies on top of the bottom seamline (reverse these instructions if you are left-handed). Stitch straight across the corner about 5cm from the top of the point. This will square off the bottom corner. If you need more visual help with making the corner, see Step images 10a, 10b and 11a of our Eco-friendly Beeswax Bags, which are created in a similar same way.
5. For the second corner there is no side seam to use as a guide when folding the corner, so before you fold, mark the side seam position with a row of pins and use this, as a guideline to match up with your bottom seam. Stitch across the corner as before, then repeat steps 4 and 5 to square off the bottom corners of the lining to match.
6 Turn the main bag right side out but leave the lining wrong side out. Place the lining inside the bag matching side seams and keeping top pressed edges level. Pin bag to lining around the top edge.
7. Cut two handles 48cm long. Using pins to mark the positions, divide the top edge of the bag into four equal quarters, using the side seam as the first position.
8. Take your handles and slip each end between the bag and lining along the top edge, spacing them approximately 6.5cm each side of the central marks, pin in place.
9. Check that the handles are both the same length and adjust if necessary. Machine stitch the bag to the lining around the top edge, sandwiching the handles in place at the same time. Stitch over the sections where the handles are inserted a couple more times to reinforce and make sure they are strong and secure. Your bag is now ready to use.

Project by Glenda Davison, member of Sudbury QH WI, Suffolk West Federation | Photography: Katie Drouet © WI Life

