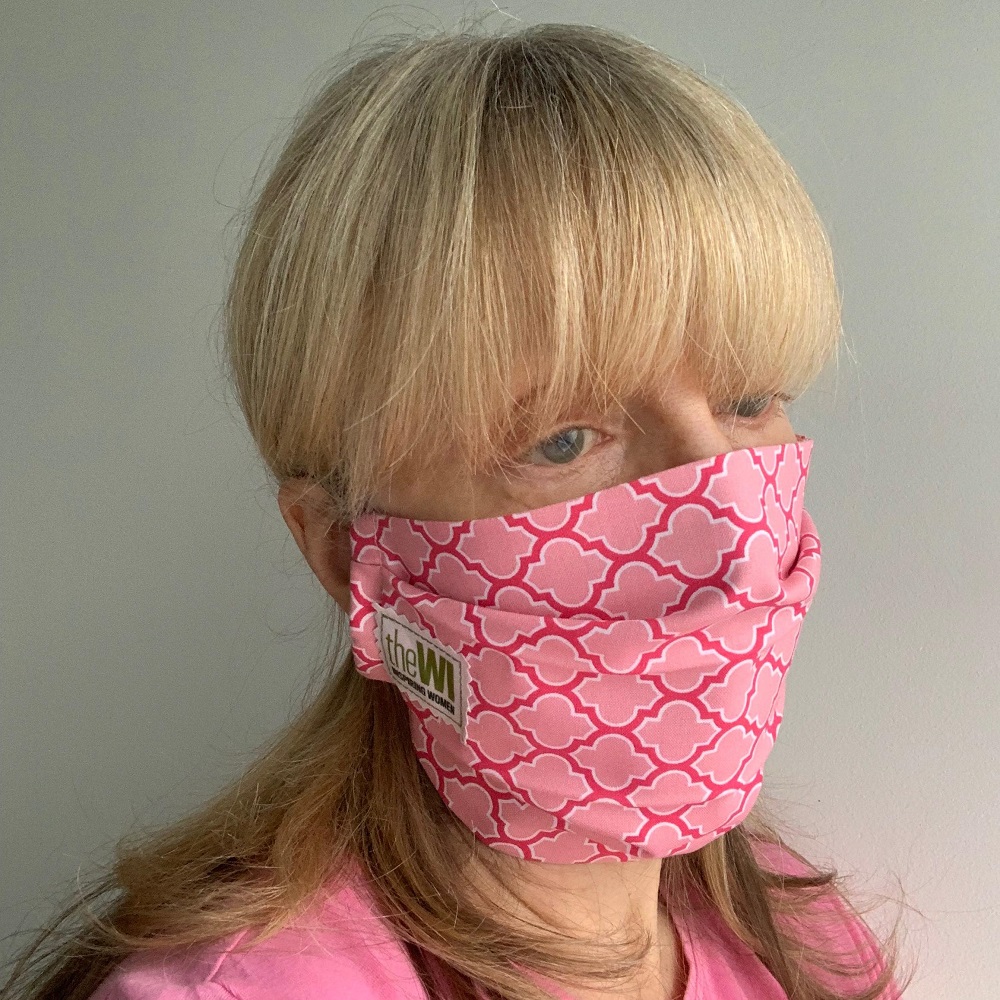
Updated Simple Face-covering
As long as you are able to sew in a straight line on a sewing machine, then this simple folded face-covering is easy to make and offers a great homemade solution!
You will need
Skill level: Beginner
Sizing: Adult (One-size fits all)
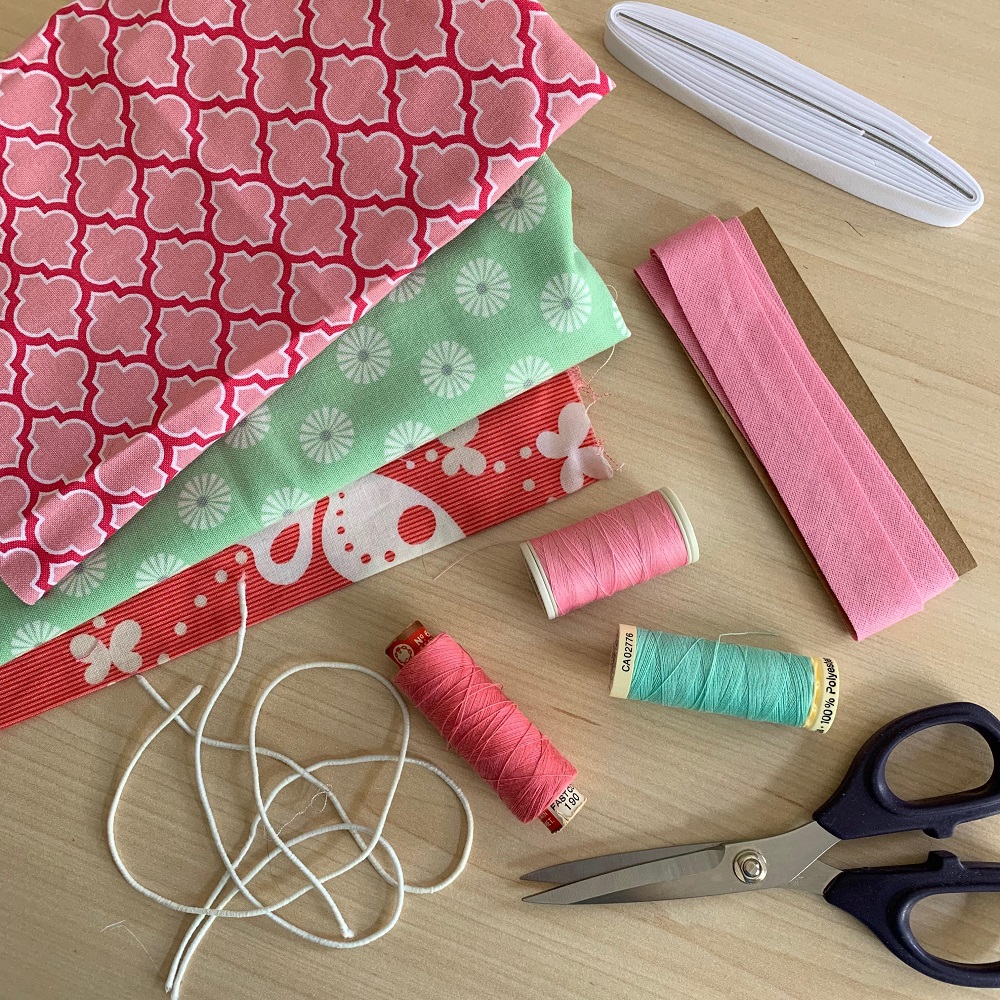
- Two pieces of 100% tightly woven fabric, each measuring 19cm x 28cm – see section on selecting the best fabric, above
- For a three-layer mask: One piece of 100% polyester sew-in interlining, measuring 19cm x 28cm – sustainable options include Vlieseline’s IL C151 MASK, M12 or L22
- Soft shirring elastic or similar – Note: We experimented with hair elastics but found them to be too strong to wear around the ears, but if this is all you have available, then these will work
- Bias binding
- Matching sewing threads
- Sewing machine
- Scissors
- Iron
- Bodkin or safety pin
- Tape measure
- Pins
For optional WI logos, you will also need:
- Reversed small WI logos [download here]
- Light T-shirt Transfer paper
- Inkjet colour printer
- White cotton fabric
- Pinking shears
To make
Note: A 1cm seam allowance is used throughout these instructions and all seams are sewn with right sides together unless otherwise stated.
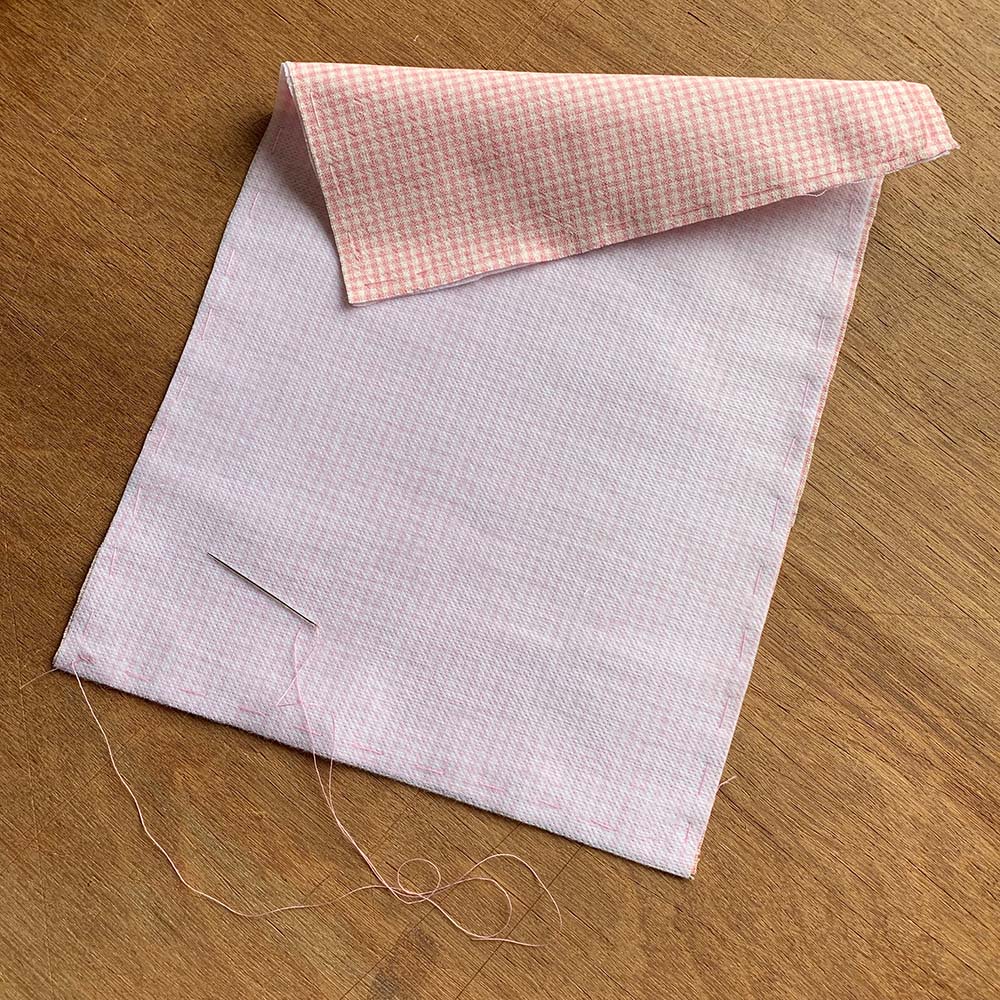
1. For the three-layer face covering, place the piece of interlining onto the wrong side of one fabric piece, with all edges level and tack the pieces together around the outer edge within the 1cm seam allowance, and continue as if you were making the two-layer face-covering.
2. If you wish to add a WI logo to your mask, you can do this before you start assembly. Download and print out the mini reversed WI logos onto t-shirt transfer paper. Following the manufacturer’s instructions, iron them onto a piece of plain white cotton fabric. Cut out one logo using pinking shears and place it centrally onto the right side of one fabric piece, approximately 4cm in from one shorter edge (19cm side) and stitch in place using the narrow green line as a stitching guide.
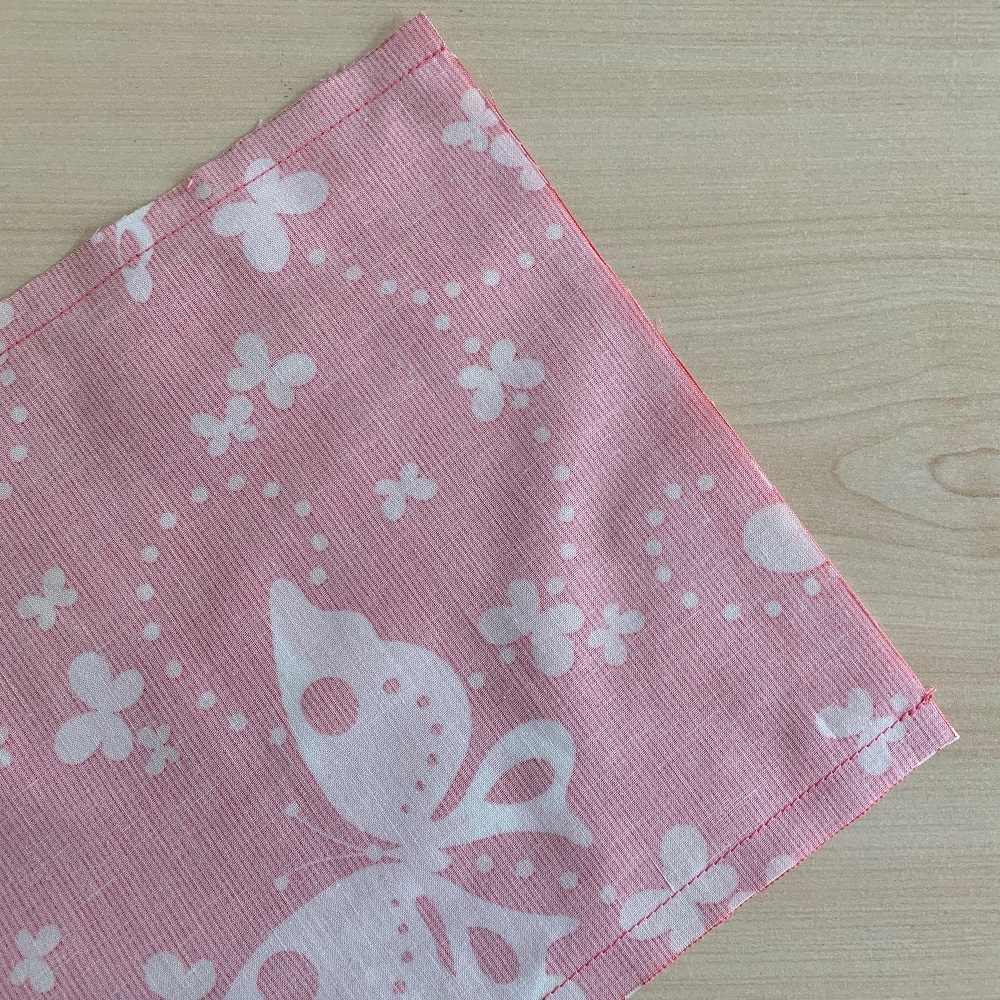
3. For the two-layer face-covering, place the two pieces together with all edges level and sew along both long edges (28cm sides); reverse stitching at each end of the seam, to stop the stitching unravelling.
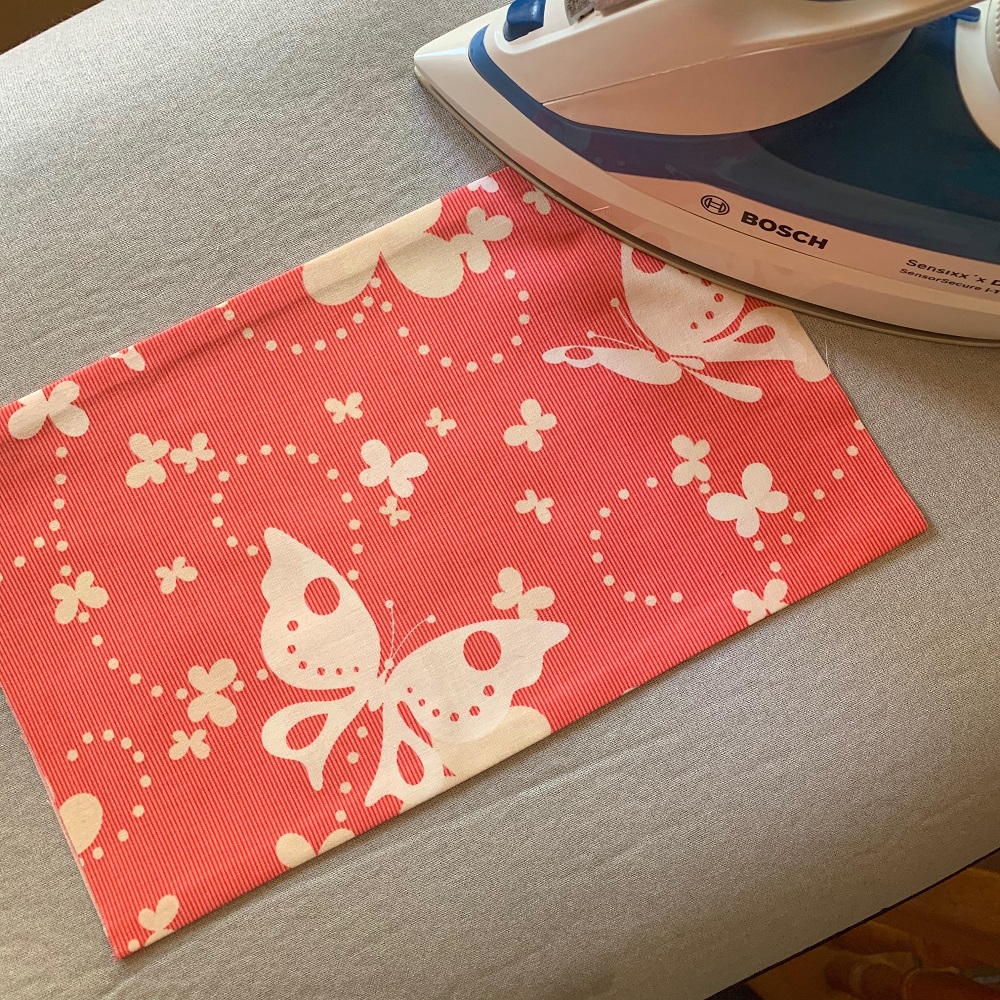
4. Turn the stitched piece right side out and press the seamed edges flat.
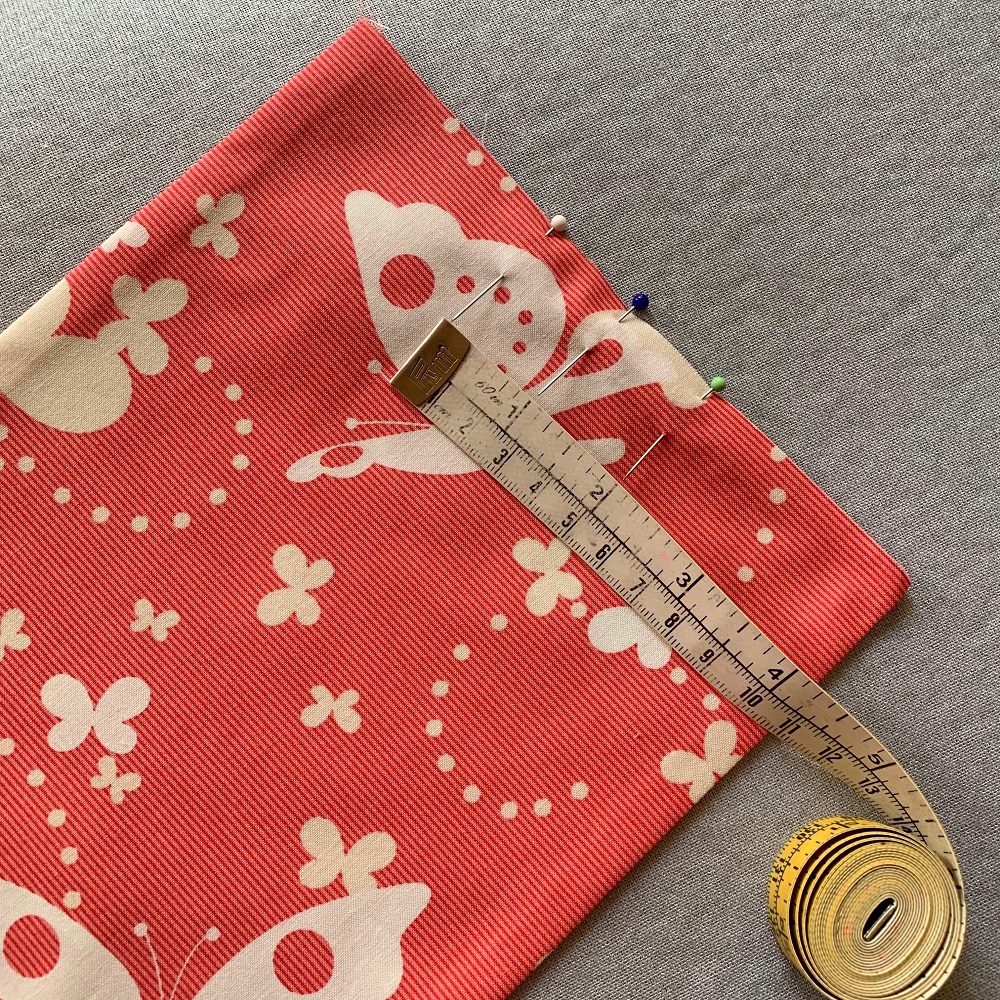
5. At each raw end, mark the centre point with a pin and then measure 2.5cm each side and mark with more pins.
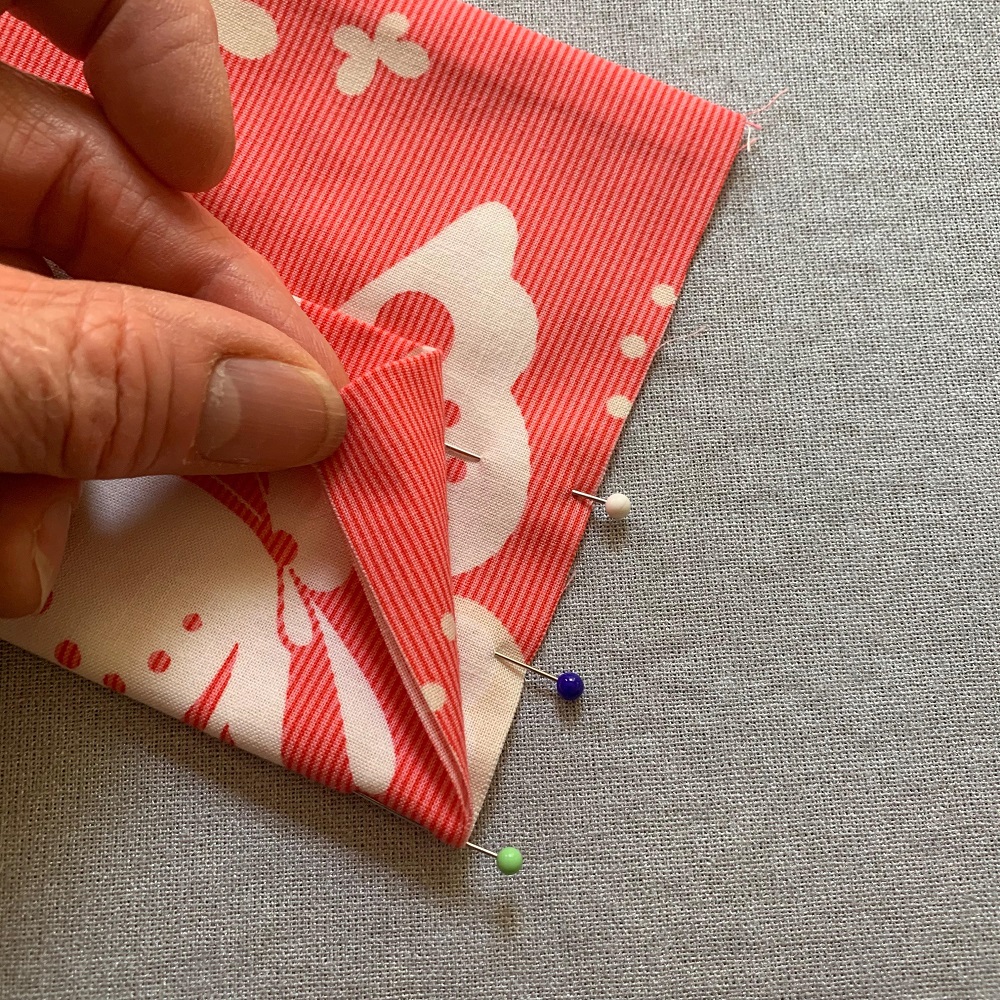
6. Fold over one long seamed edge so that the fold lies along the first pin positions, and the seamed edges lie parallel to each other; press folded edge in place. Open out this first pleat and repeat on the opposite long seamed edge.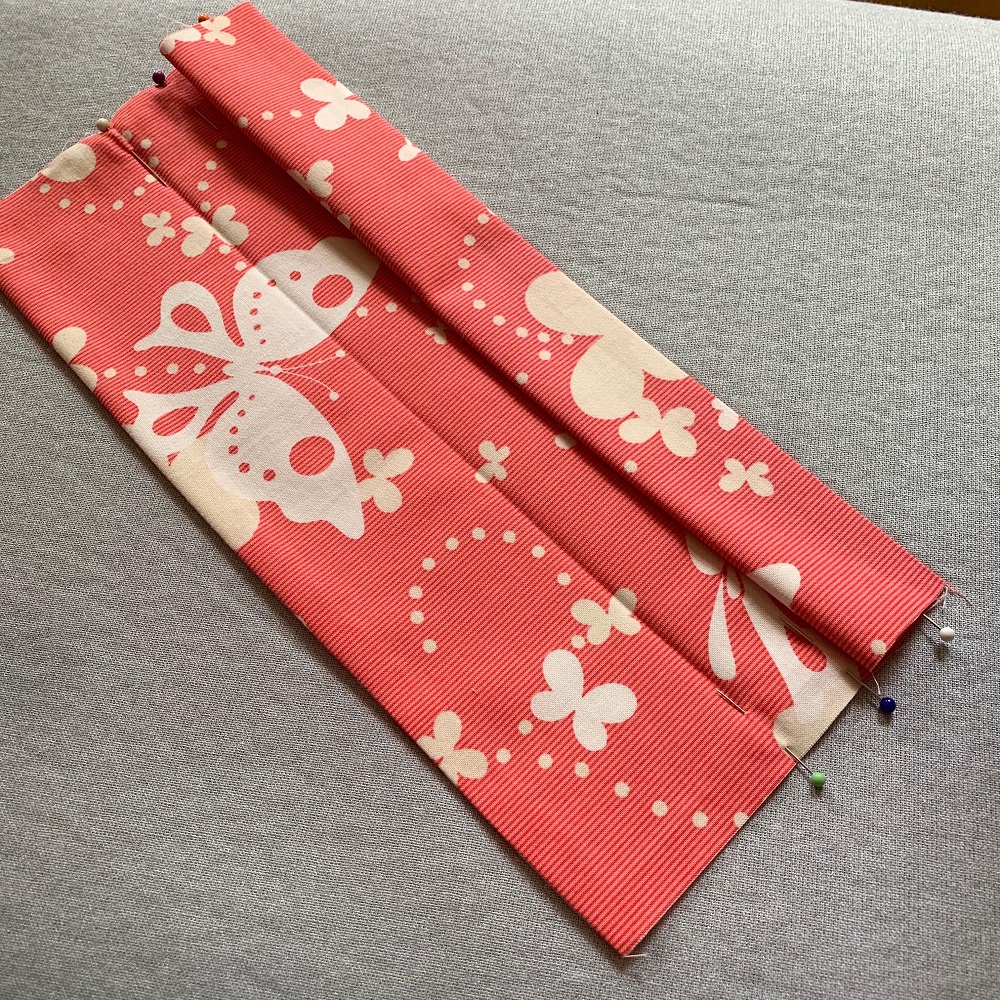
7. Fold the second pleat back on itself, so that a new fold form in line with the central pins. Press in place as shown.
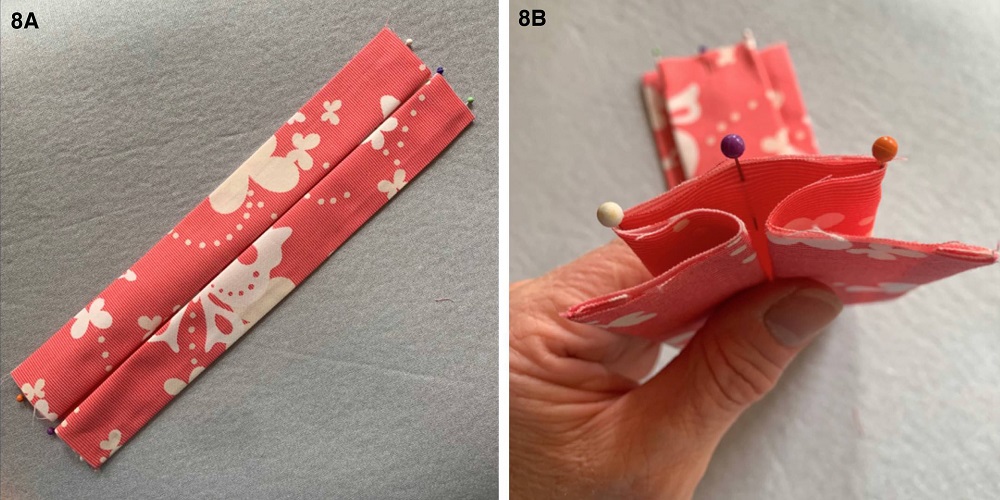
8. Repeat step 7 with the original pressed edge, to create an inverted pleat on one side (a) and a box pleat on what will be the right side/front (b). Your pleated strip should now measure 7cm deep and if you added a WI logo, this should now sit nicely on the box pleat on the front.
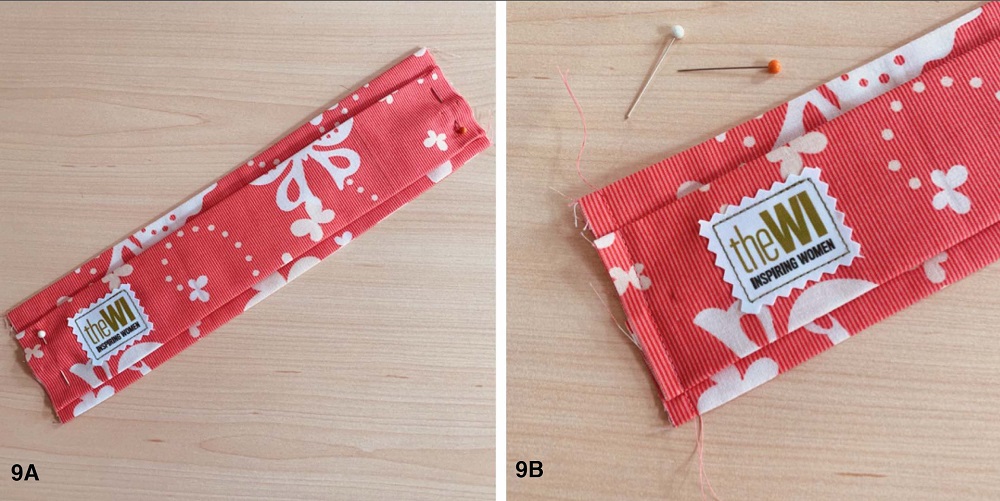
9. Pin (a) and stitch (b) the pleats in place a foot width away from the raw edges; remove all pins.
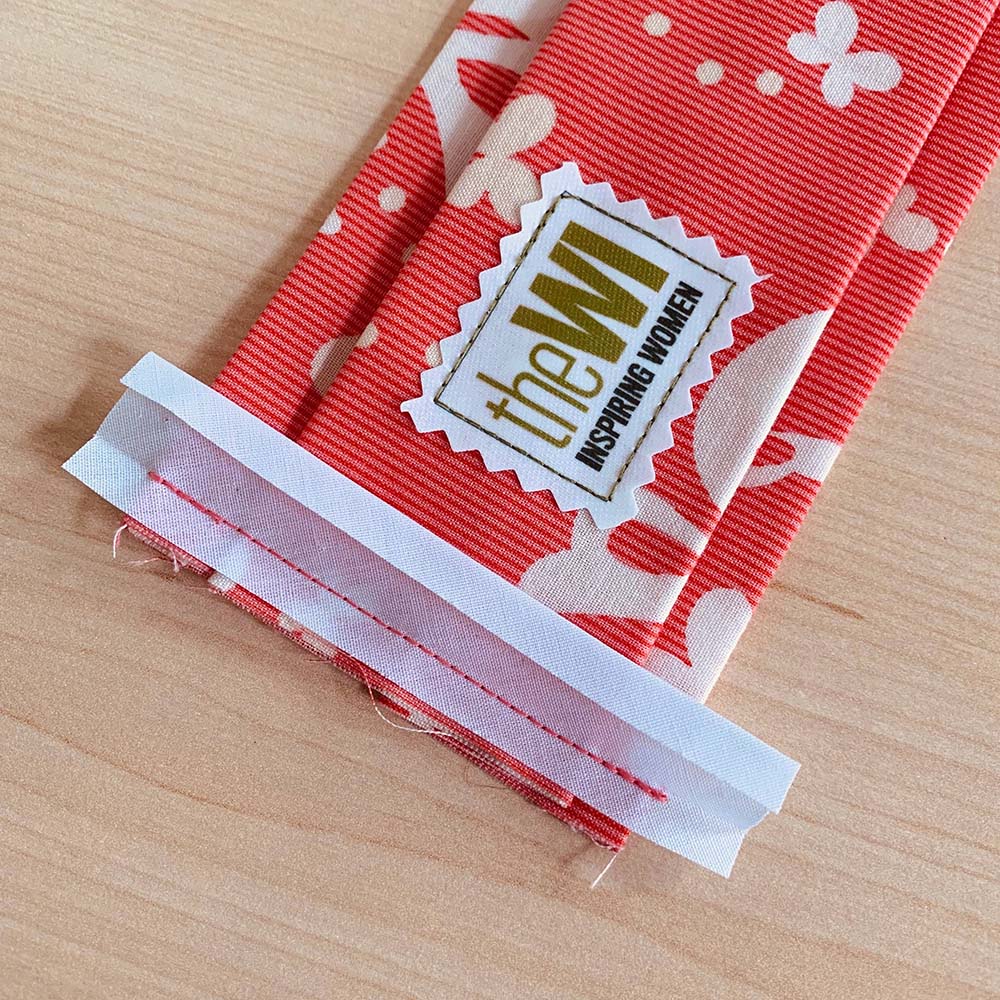
10. Cut two pieces of bias binding each 9cm long. With right sides facing, open out one folded edge of the binding and pin this along the stitch line, extending the ends 1cm at each end. Sew the binding in place along the fold line and reverse stitch at each end to secure.
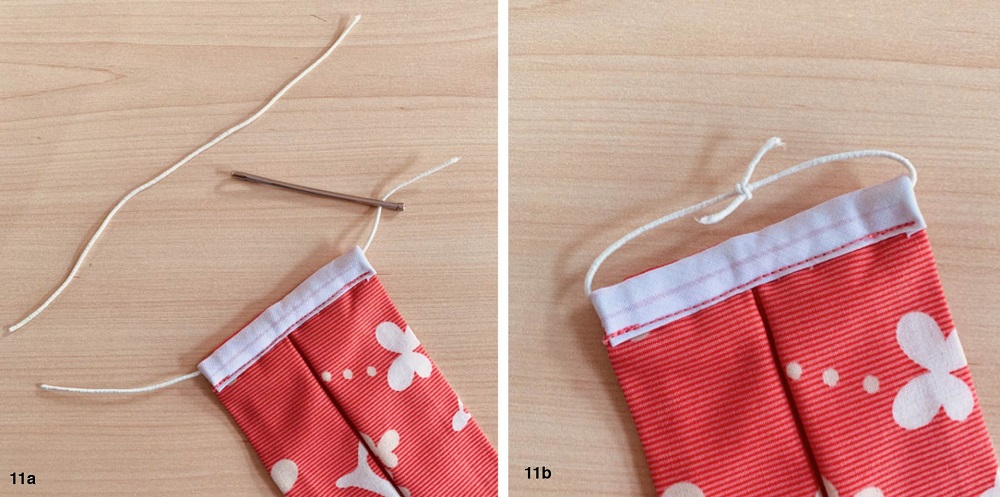
11. Fold over the short binding ends, and then fold the whole binding strip over onto the wrong side of the band, pin in place (a). Machine stitch the loose edge of the binding in place, reverse stitching at each end to secure (b).
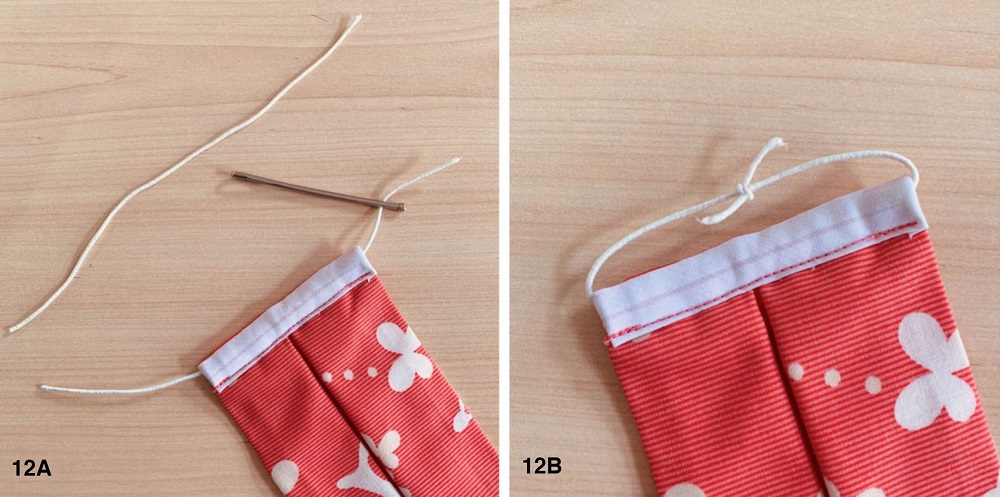
12. Cut two lengths of shirring elastic 18cm long. Thread a length of elastic through each side channel using a bodkin or safety pin (a). Knot the ends together, trying on the mask to adjust fit if necessary (b). When happy with the fit, pull the elastic knot around to hide them in the channels.
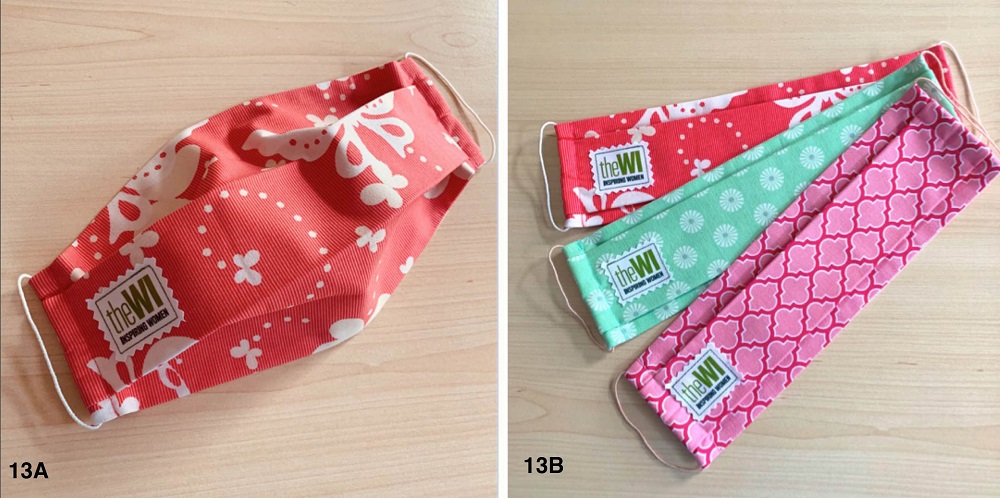
13. Your mask is now ready to wear (a). We suggest that you make several of them so that you will always have one to wear when the others are in the wash! (b).
Additional Button Band
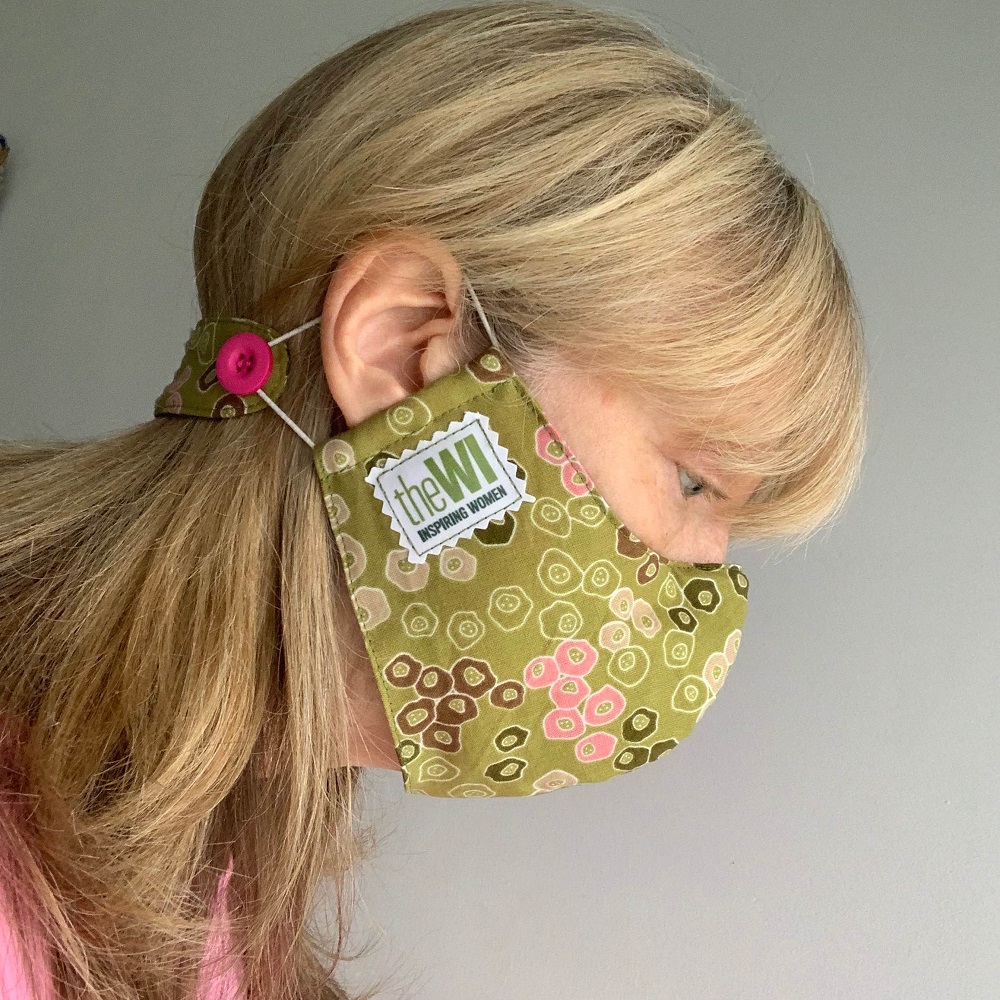
If you also wish to make a button band to go across the back of your head to take the pressure of the elastic off your ears, click here!

