Quilted Fabric Baskets
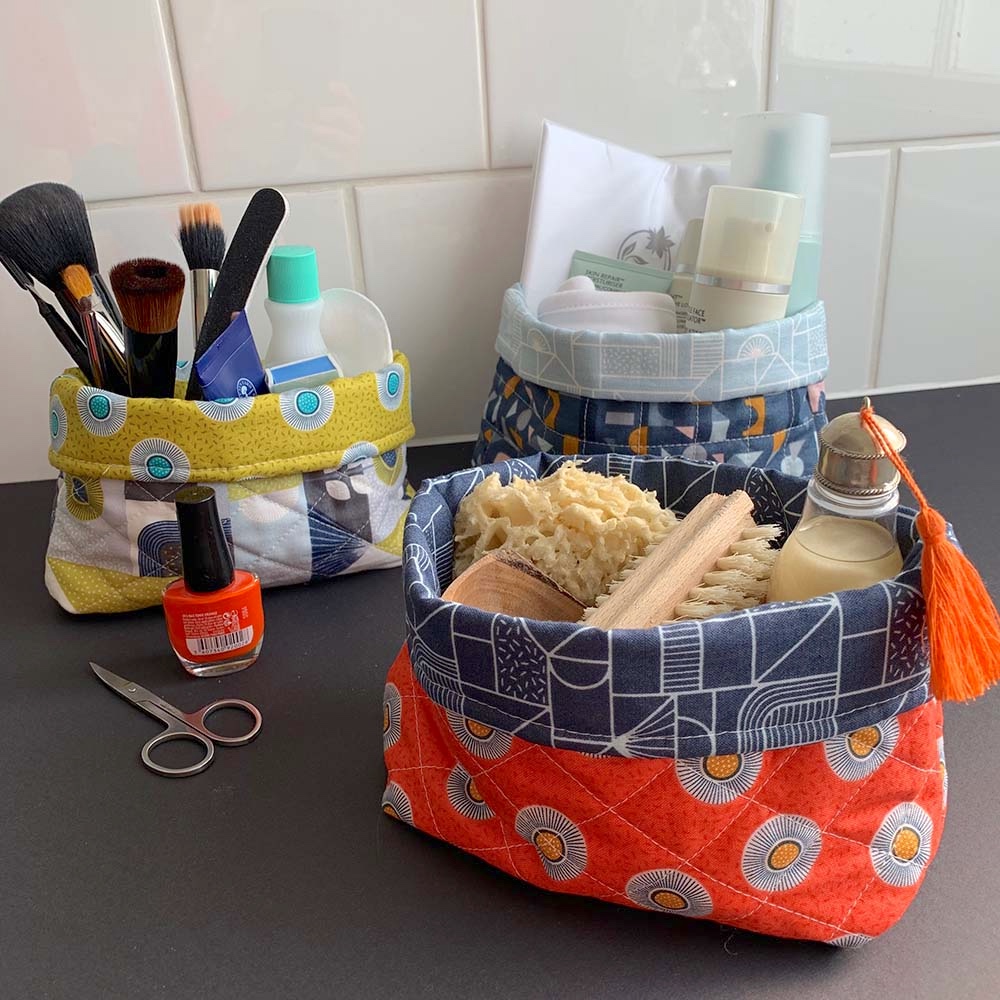
Skill level: Beginner
Finished sizes
- Large size approximately: 15cm deep (with cuff unfolded) x 23cm wide (seam to seam) x 8cm deep
- Small size approximately: 14cm deep (with cuff unfolded) x 21cm wide (seam to seam) x 5cm deep
You will need
Fabrics for large size:
- Outer fabric: 2 pieces 25 (width) x 20cm (Height)
- Lining: 2 pieces 25 x 20cm
- Thin wadding: 2 pieces 25 x 20cm
Fabric for small size:
- Outer fabric: 2 pieces 23 (width) x 18cm (Height)
- Lining: 2 pieces 23 x 18cm
- Thin wadding: 2 pieces 23 x 18cm
Other tools and materials:
- Matching sewing threads
- Scissors
- Sewing machine
- Pins
- Masking tape
- Ruler
- Pencil
To make the lining
1. With right sides facing and taking a 5mm seam allowance, sew the two lining pieces together down the two side seams and across the bottom, leaving a gap of approximately 7cm in the centre. 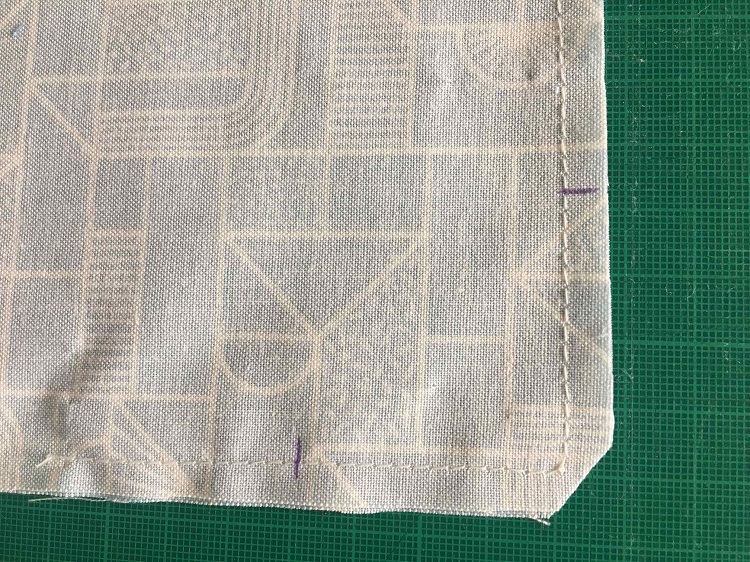
2. To make the boxed bottom corners: Measure 4cm (large basket) 2.5cm (small basket) from the corner seam (not the edge of the fabric) in both directions and on both sides of the fabric, mark these points with a pencil or marker.
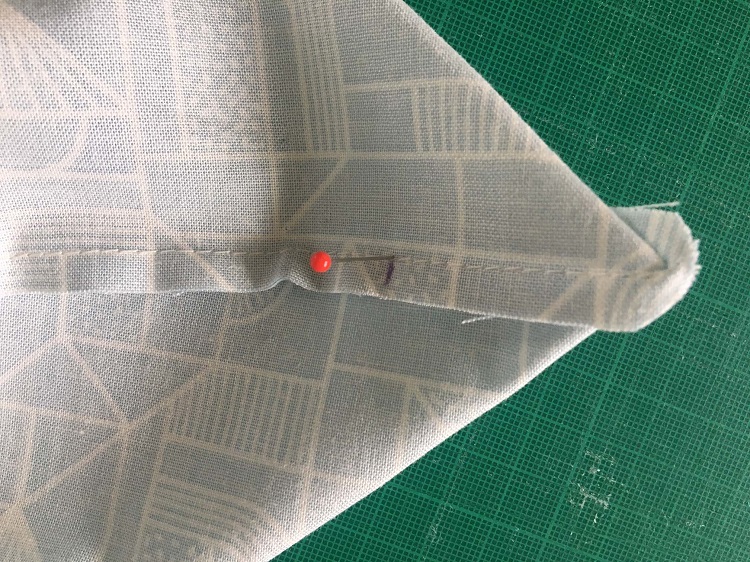
3. At one corner, pull out the front and back of your basket and match the side seam on top of the base seam. Put a pin through the top mark, make sure it hits the mark on the other side, this means your box corner will line up. Face the seams in the opposite direction to reduce bulk.
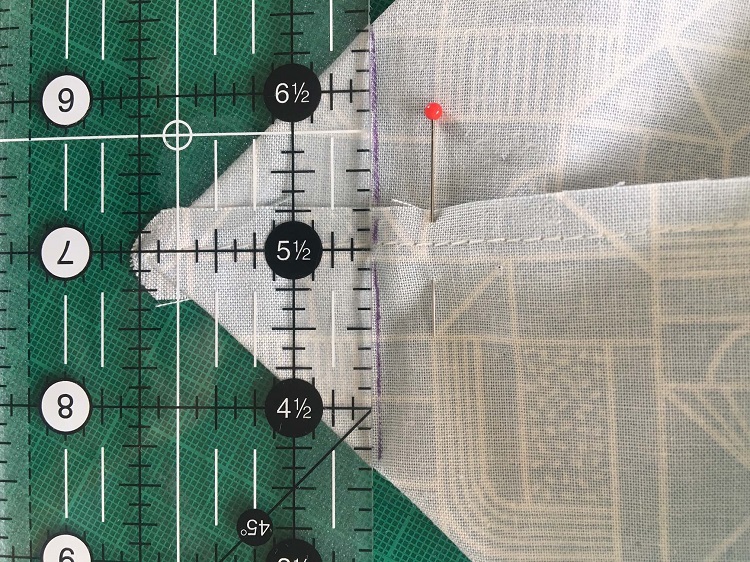
4. Take the pin out and re-pin to hold the corner in place. With a ruler draw a line across the fabric, placing the ruler so one of the vertical lines on the ruler runs with the seam, this will ensure your box corner is straight.
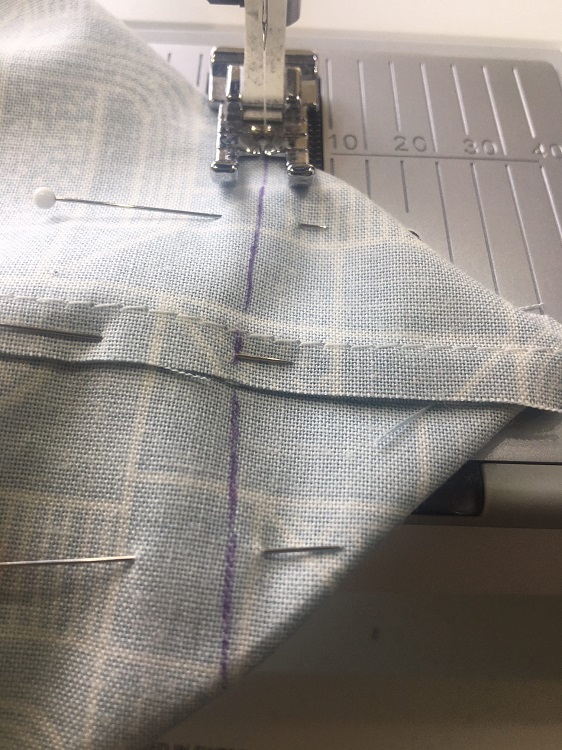
5. Sew along the drawn line twice to reinforce. Cut off the excess triangle of fabric to reduce bulk. Repeat steps 2 to 5 to form the other bottom corner.
To make the Outer Basket
6. Pin or tack the wadding to the wrong sides of the two outer fabric pieces.
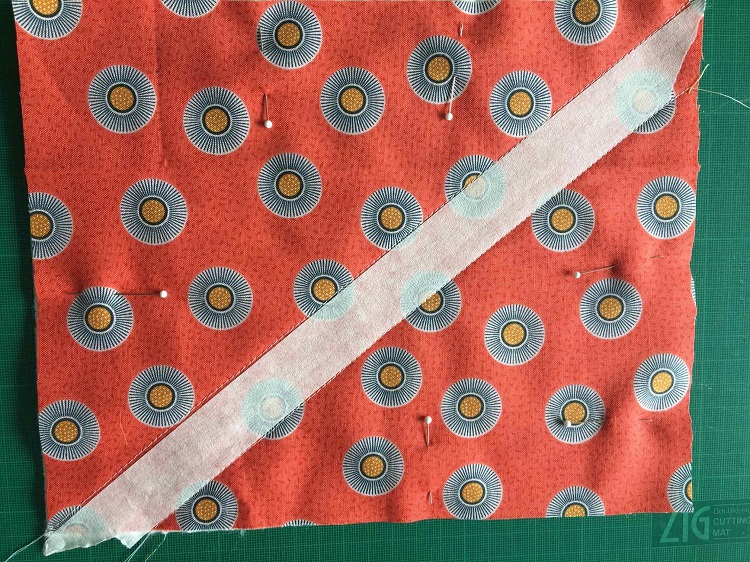
7. On the outer fabric pieces quilt through the two layers – we worked a simple cross-hatching pattern using masking tape as a guide to space the stitching.
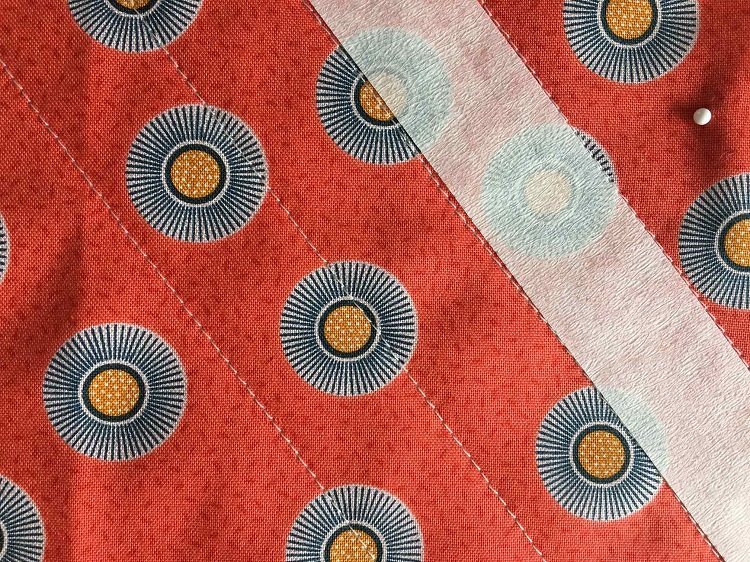
Work first in one direction sewing parallel lines, moving the tape position as you work.
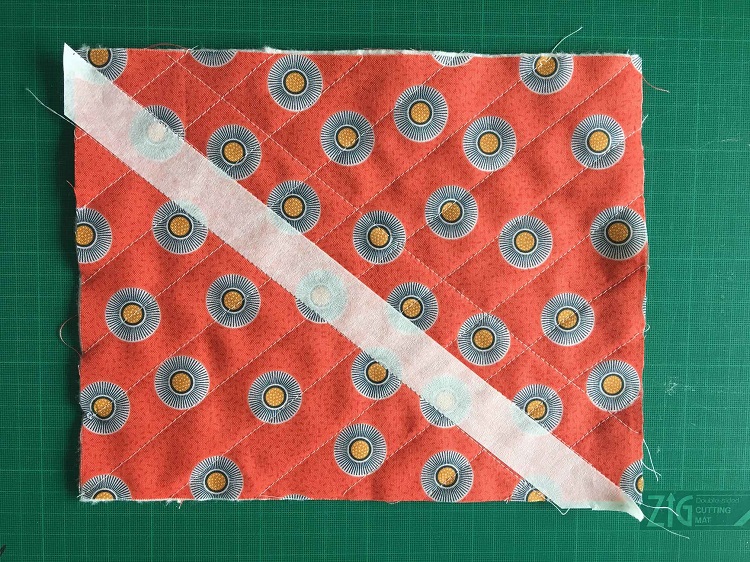
8. Once you have quilted the entire piece in one direction, repeat in the opposite direction to complete the cross-hatched pattern. For more guidance on how to work Cross Hatch Quilting see our YouTube Tutorial.
9. Follow steps 1 to 5 of making the lining to stitch the two quilted pieces together and form the base corners, but do not leave a gap this time, along the bottom seam.
Completing the Basket
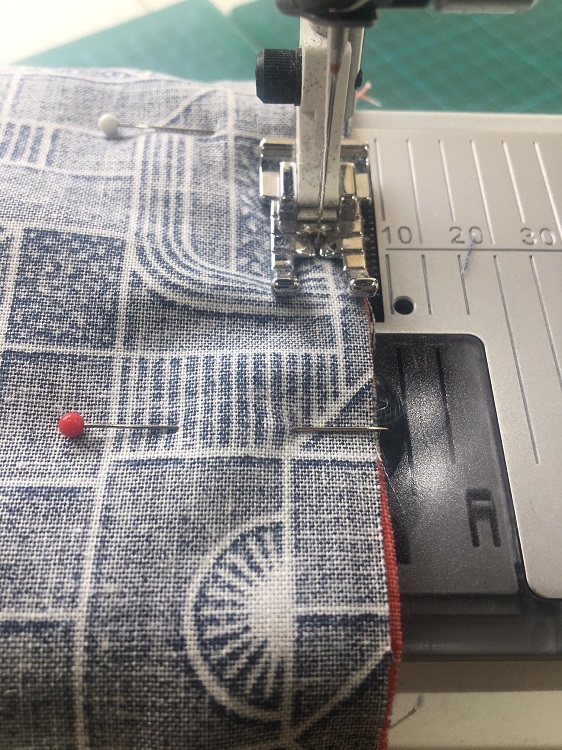
10. Place the quilted section inside the lining – right sides of the basket to the right side of the lining. Line up the top edges of both, making sure your side seams meet. Pin layers together and sew along the top edge through all layers taking a 5mm seam allowance.
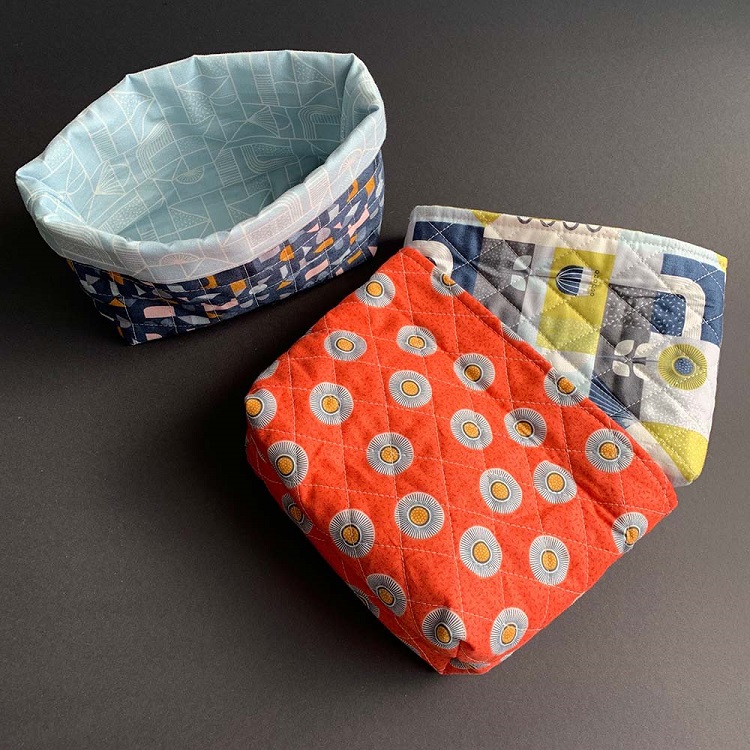
11. To turn your basket right side out, put your fingers through the hole in the lining and gently pull the basket through. Hand or machine stitch the gap in the lining closed. Push the lining back inside and press the top seam flat. If you wish, topstitch around the top edge of the basket and turn the top over to make the contrast cuff.
Credit: Pat Lumsdale, member of Woolwich and Plumstead Roses WI, Kent-West Kent Federation
