Luggage Tag
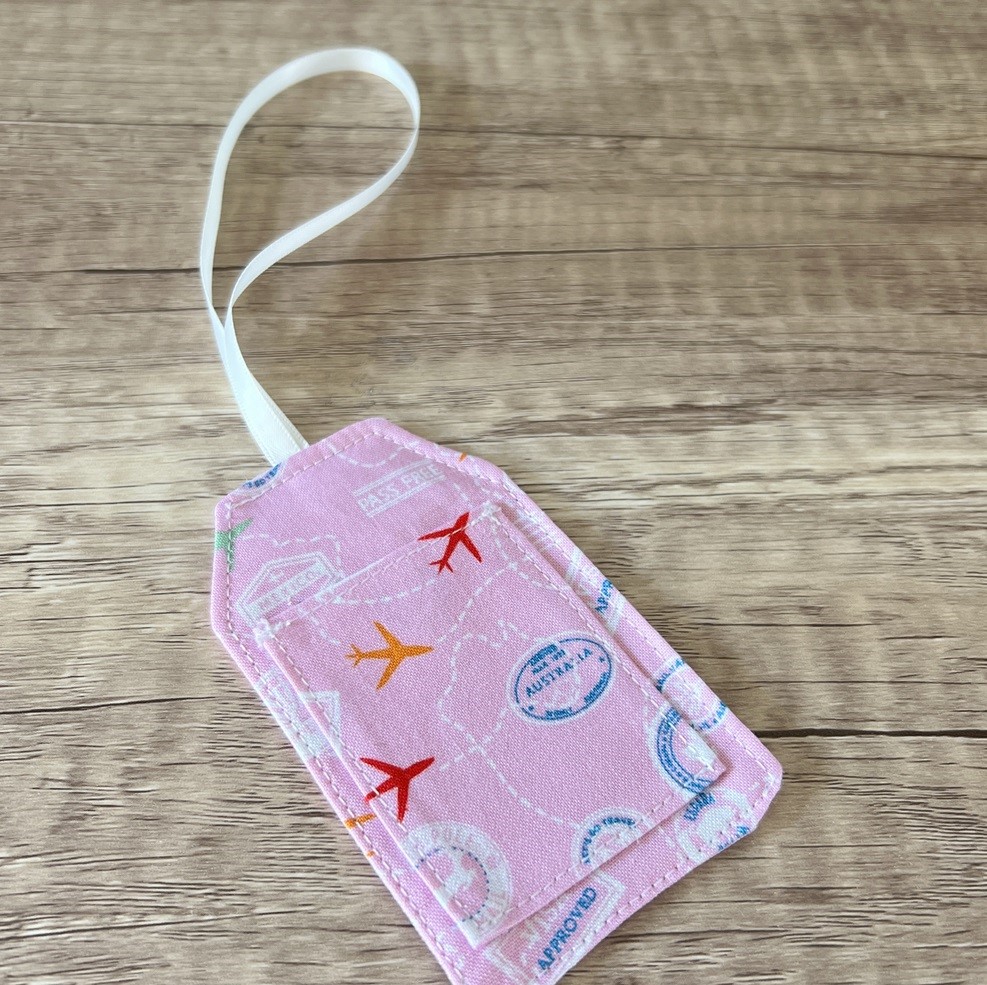 Skill level: Beginner
You will need:
- Cotton fabric x 2 pieces, 12cm x 7.5cm (Fabric pieces A and B)
- Cotton fabric 8cm x 6.5cm (Fabric piece C)
- Medium weight interfacing x 2 pieces, 12cm x 7.5cm
- Medium weight interfacing 8cm x 6.5cm
- White card 6cm x 5cm
- Ribbon 6mm x 34cm
- Thread
- Scissors
- Clips
- Iron
- Pen
- Sewing machine
- Printer
- Chopstick (or alternative to push out the sewn corners)
- PDF template (printed and shape cut out)
To make:
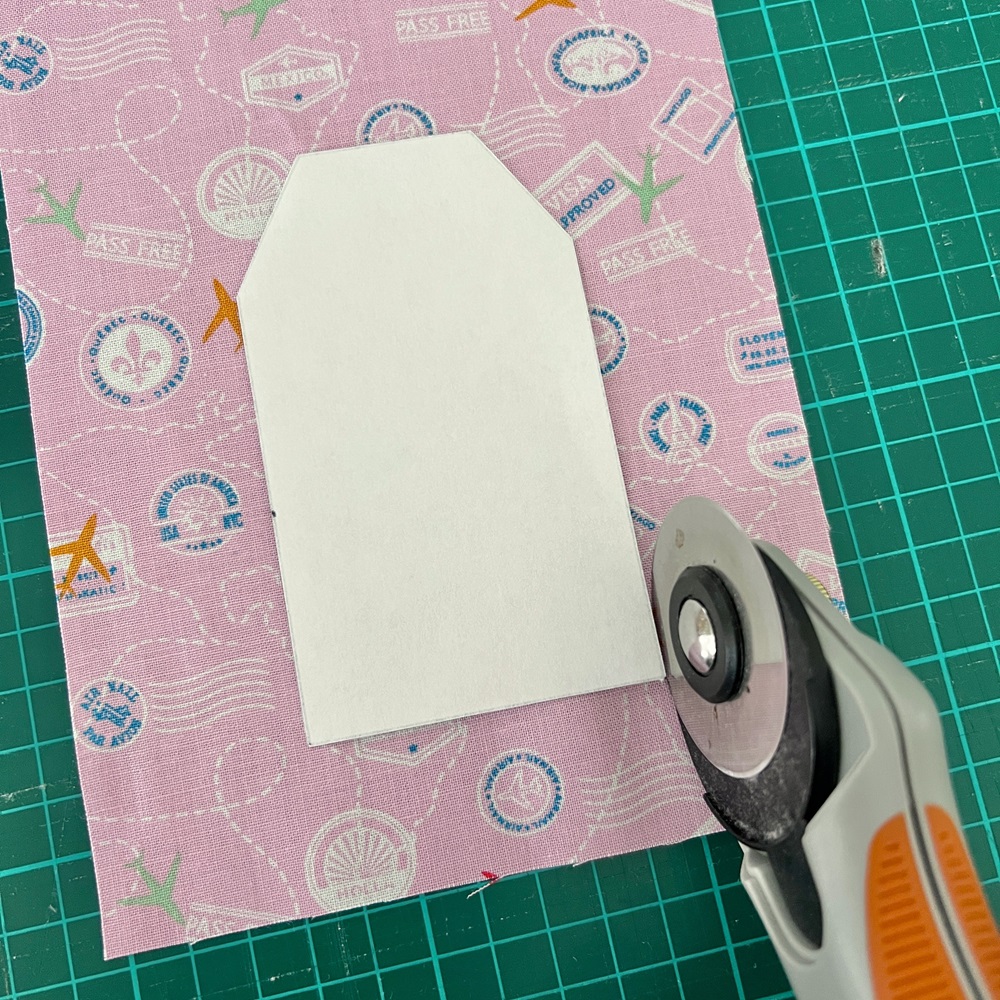
Take fabric piece A. Place the luggage tag template on top of the fabric and cut out. Repeat on fabric piece B and also on the two pieces of interfacing.
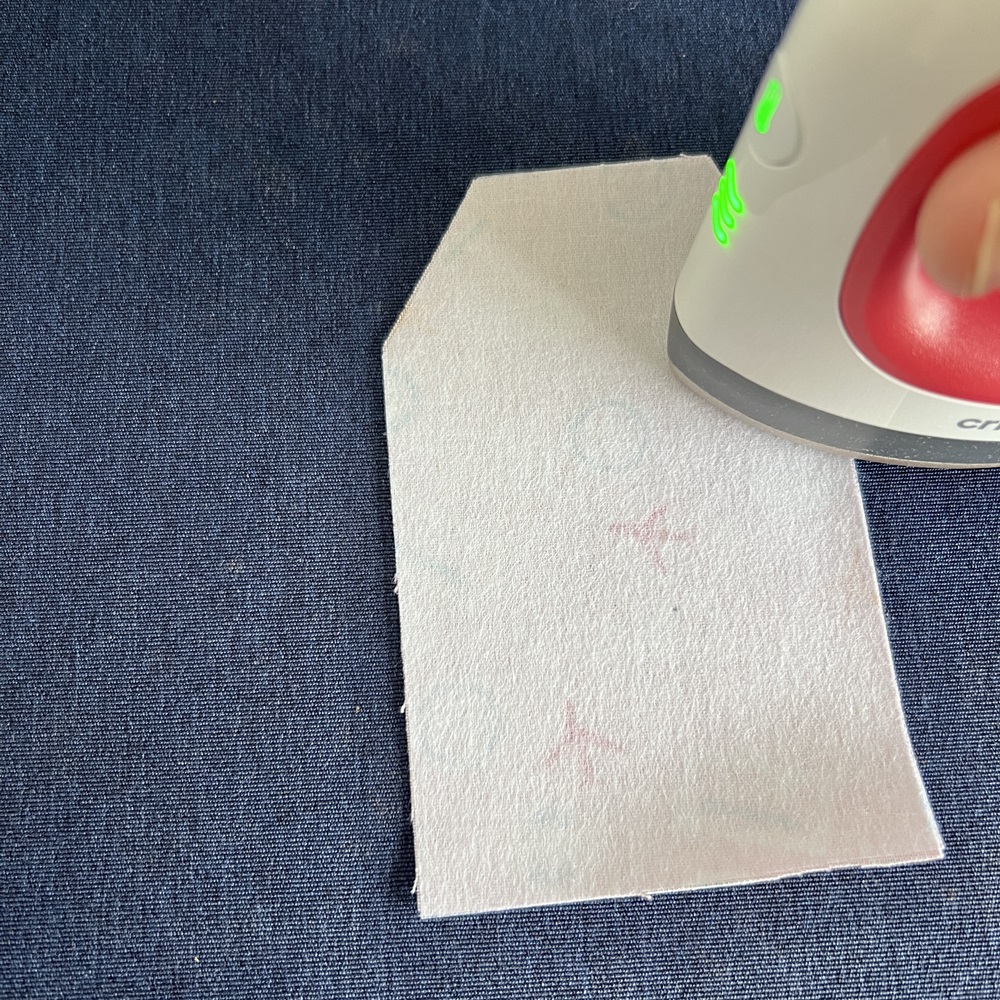
On the wrong side of fabric piece A, place one piece of the interfacing (shiny side down) and iron the interfacing onto the fabric.
Also add the interfacing (as above) to fabric piece B.
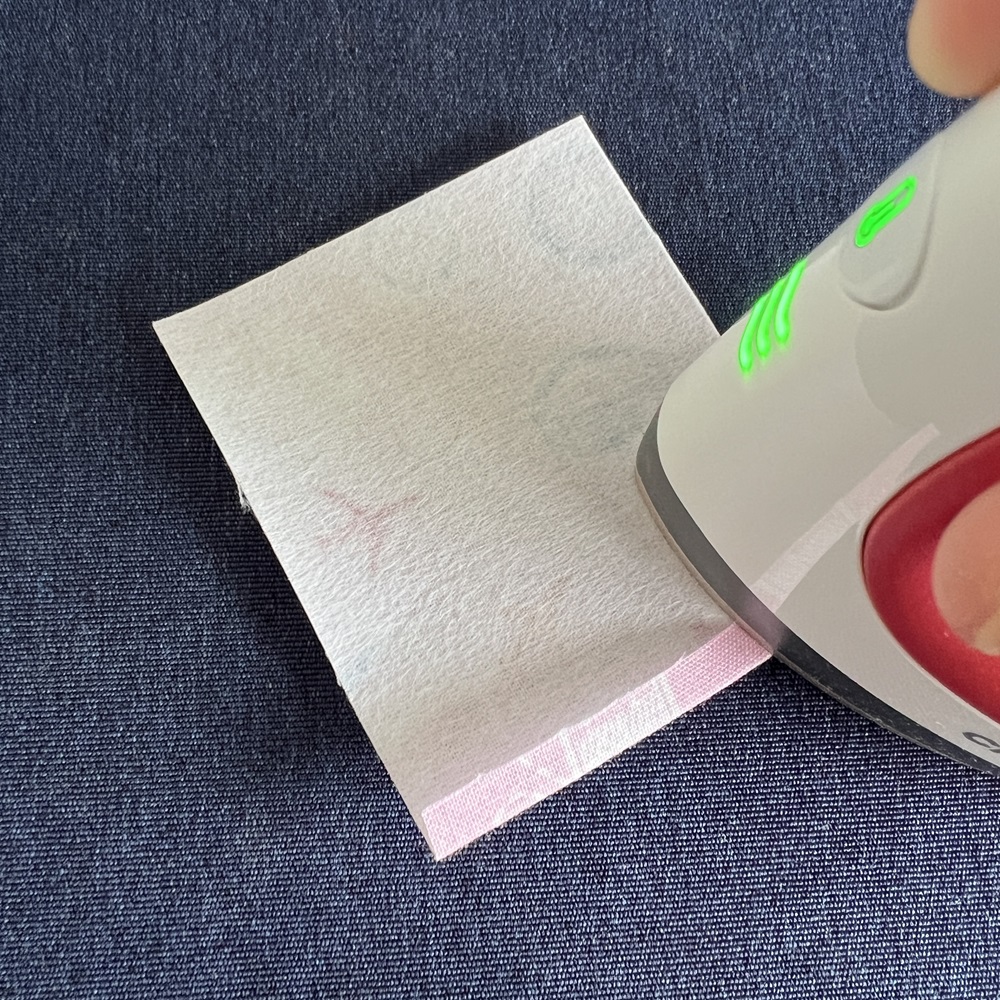
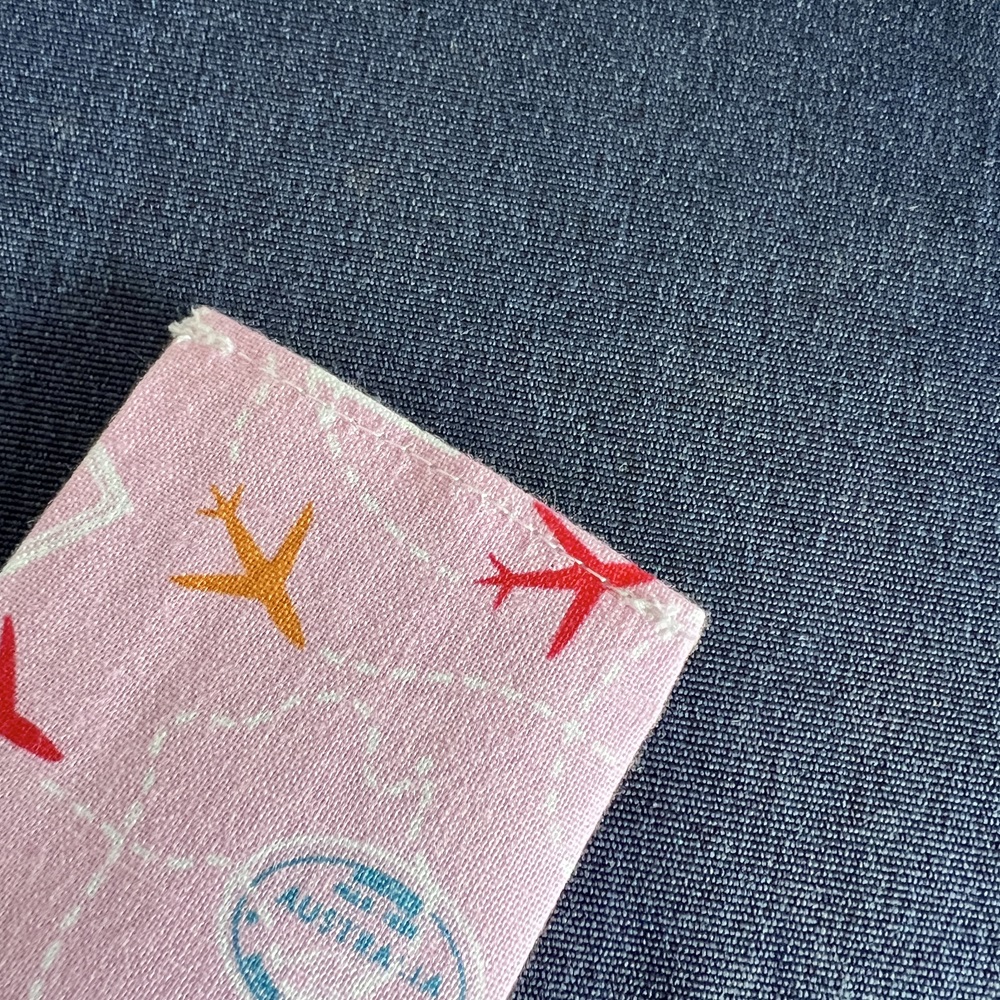
Take fabric piece C and on the wrong side, iron on the remaining piece of interfacing.
Place face down and press a 0.3cm hem onto all edges of the fabric.
Straight stitch along one of the short edges – if your fabric has a pattern that is a specific way up, stitch along the edge at the top of the pattern, as this will be the pocket piece on the tag.
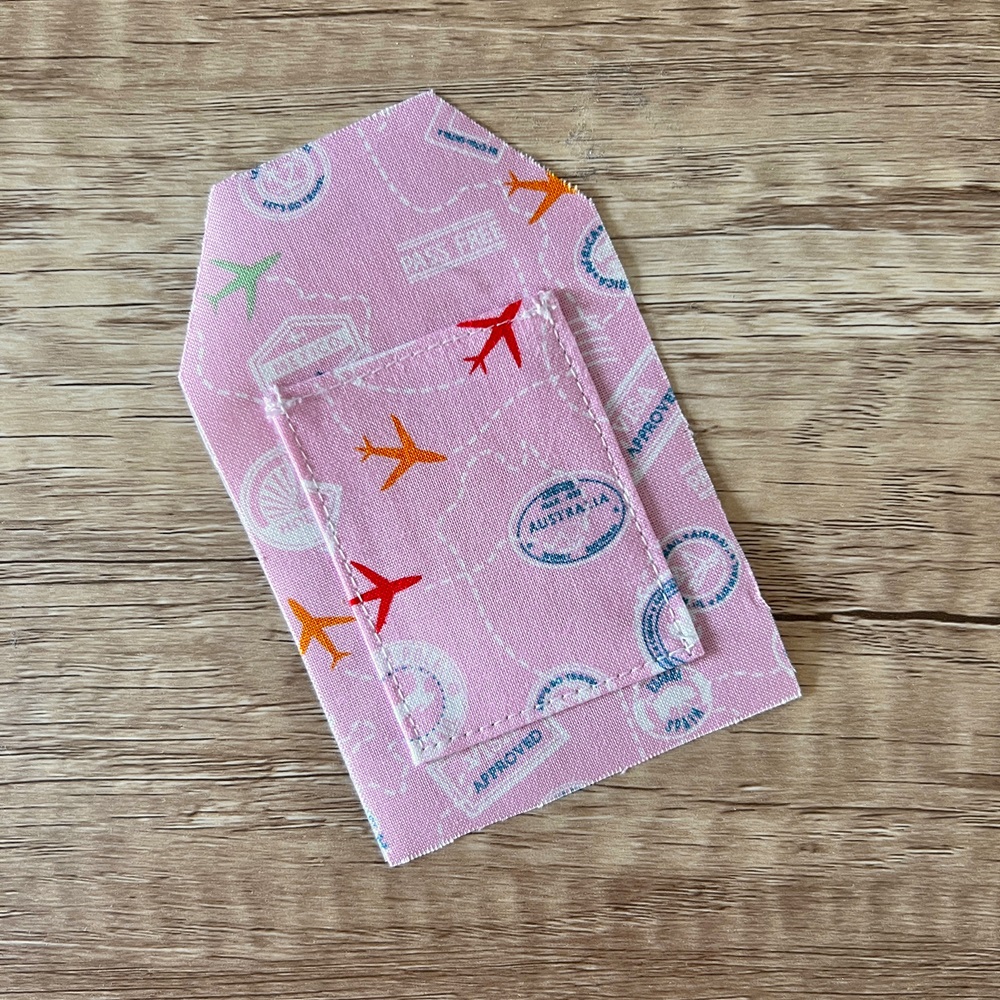
Place fabric piece C right-side up, on top of fabric piece A, in the middle of the rectangular section of the tag shape, with the stitched end towards the shaped end of the tag. Clip in place.
Straight stitch fabric piece C onto fabric piece A. Do not sew along the side already sewn in step 2. Remove the clips as you sew.
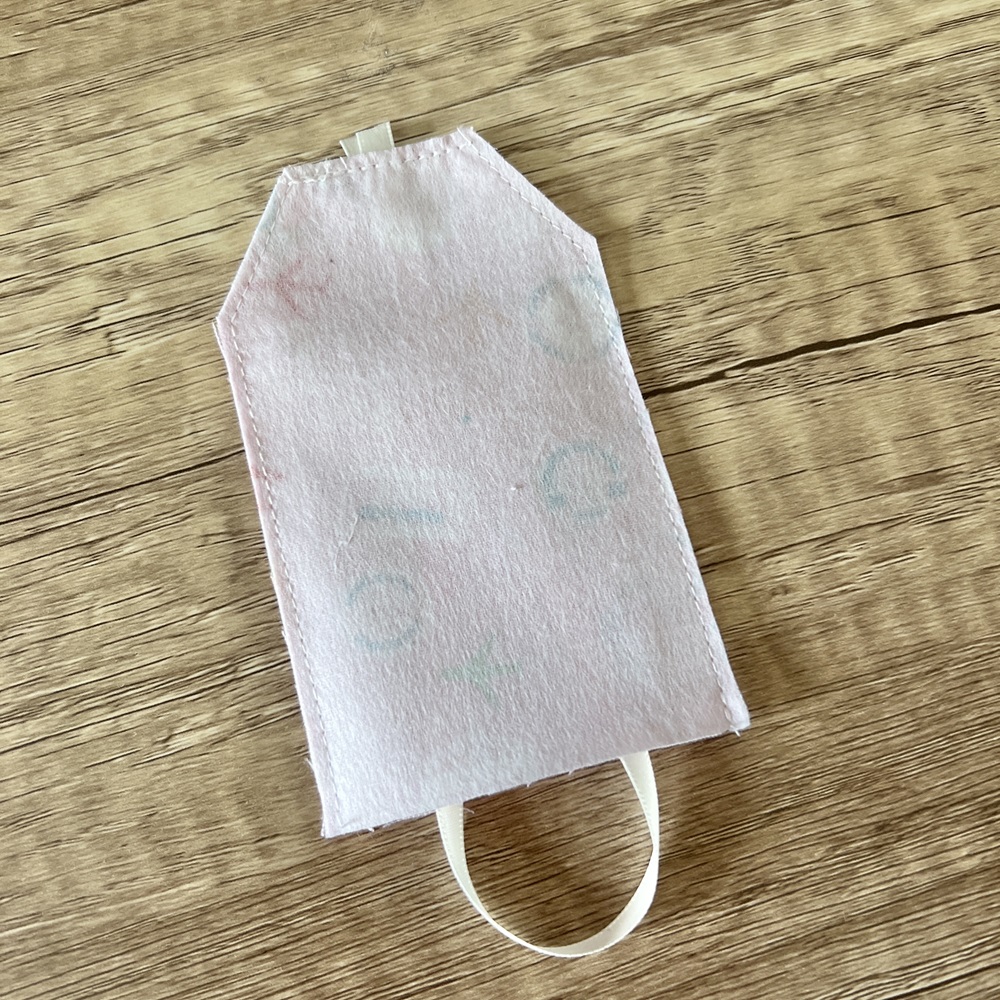
Place fabric piece A right side up.
Take your ribbon, fold it in half and place it in the middle of the top of the tag shape with the raw ends at the top – leave 1cm overhang.
Place fabric piece B on top fabric piece A, right side down, sandwiching the ribbon.
Straight stitch around all sides of the luggage tag (except for the bottom side), close to the edge.
You may want to add a few extra stitches over the ribbon to ensure it’s secure.
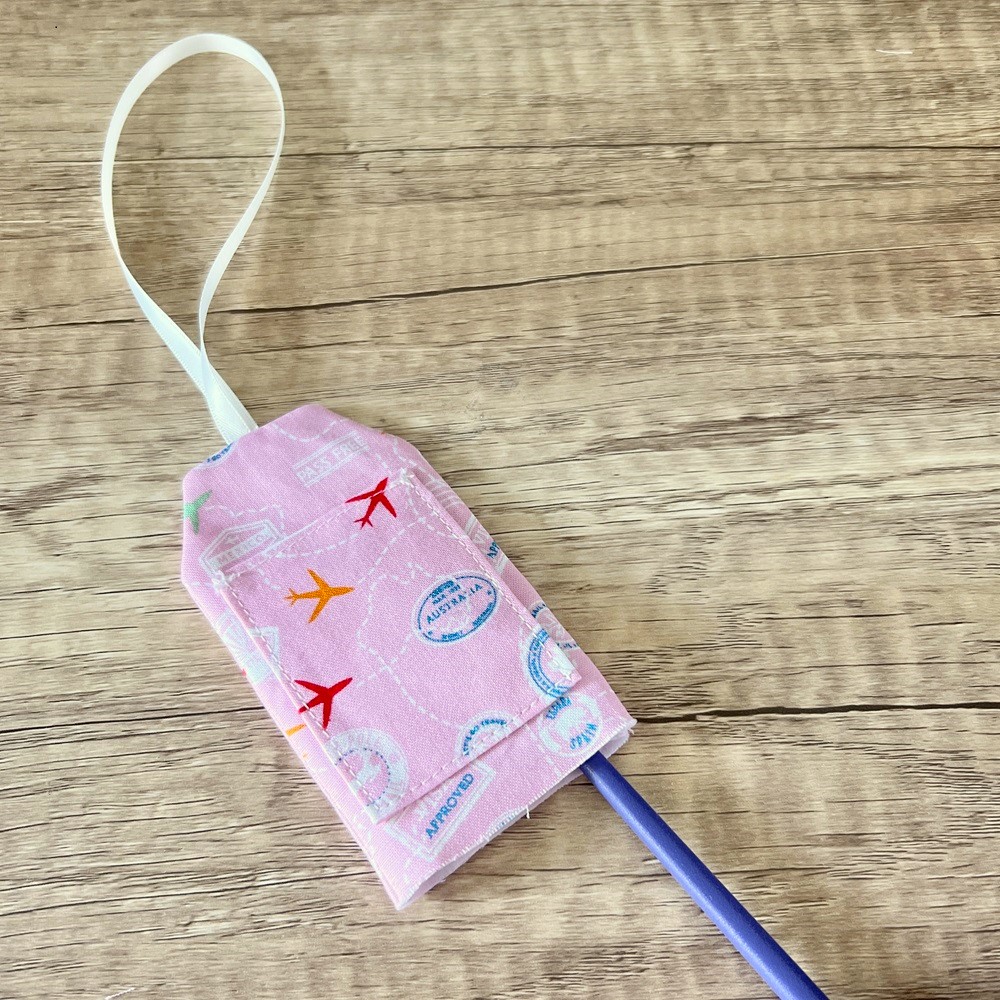
Pull the fabric and ribbon through the hole at the bottom of the tag to show the right sides of the fabric.
Use a chopstick to carefully push out the corners and the seams.
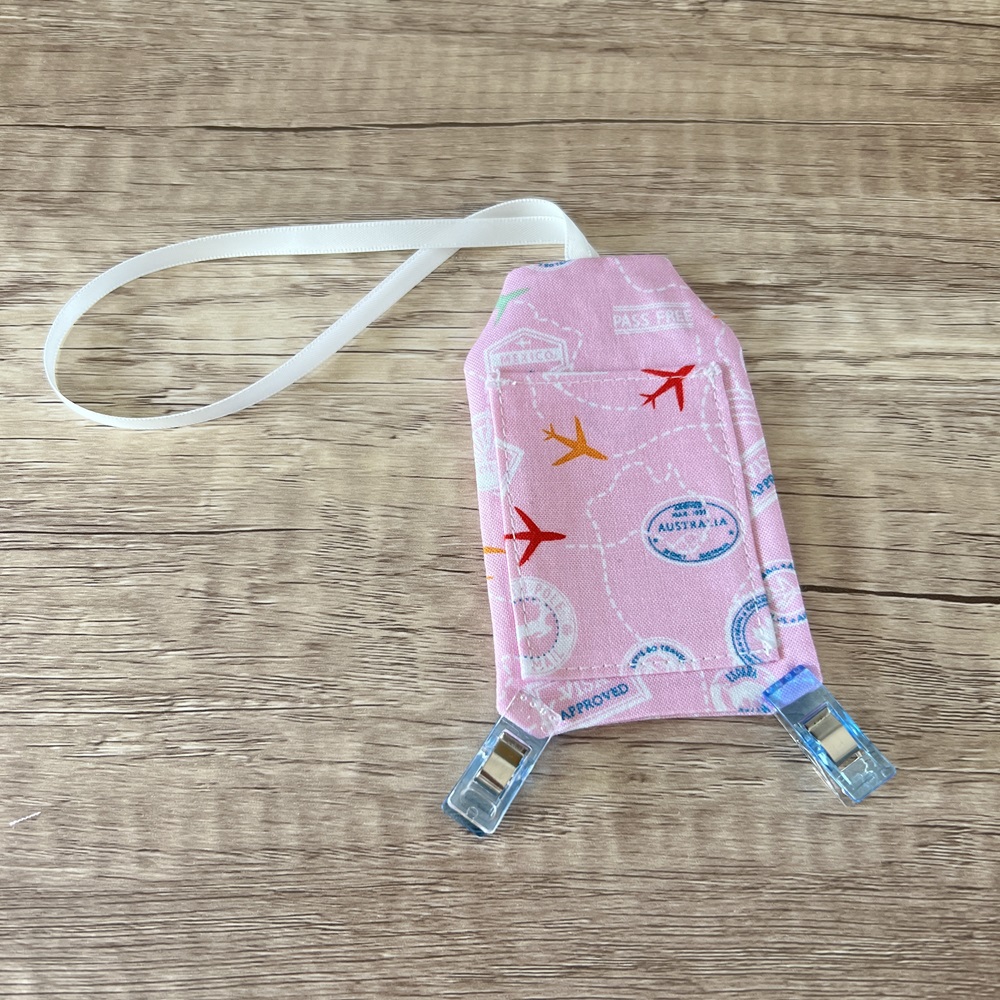
At the bottom of the tag where the open end is, fold a hem inside the fabric to hide the raw edges of the fabric and press. Clip in place.

On your machine, straight stitch around the edges of the tag, 0.2mm from the edge.
Add your details to the piece of card and place it into the pocket on the tag.
Tips and Ideas
- Follow the manufacturer’s instructions on how to iron on the interfacing.
- If your fabric/s have a design or pattern that is best viewed a specific way up, ensure you cut and then sew the fabric pieces together the same way up so the pattern is in the same direction when turned the correct way out.
- This is a great project to make with your fabric scraps.
- If you have a vinyl cutting machine, you could personalise the tag using heat transfer vinyl to add the person’s initials.
- Make both the luggage tag and passport holder and gift to your family and friends.
