End Plastic Soup Drawstring Bag
This cute little ‘End Plastic Soup’ drawstring bag has been created in support of the Women’s Environmental Network’s ‘Environmenstrual Week of Action’, aimed at reducing the amount of single-use plastic used during the course of a menstrual cycle by suggesting reusable alternatives.
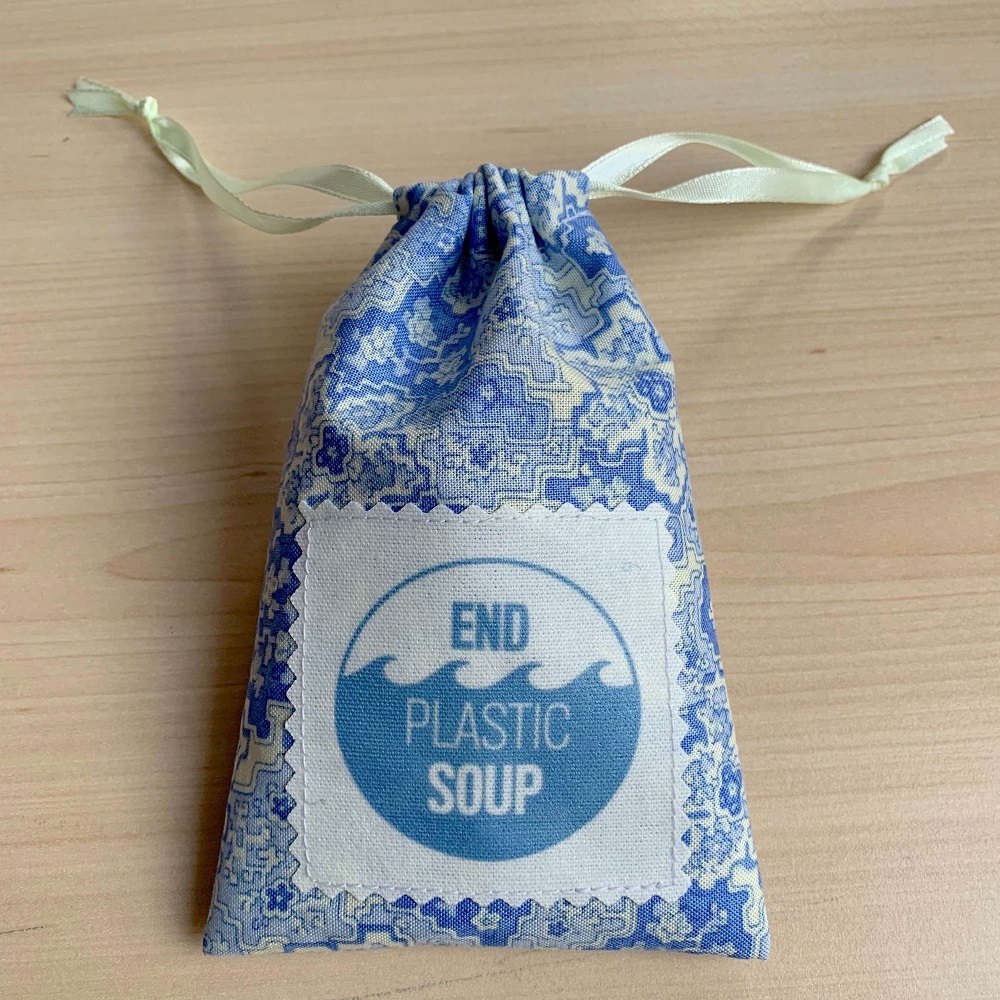
Up to 90% of a sanitary towel is single-use plastic, with 6% of a tampon also single-use plastic, and an estimated 1.5 billion—2 billion menstrual products are flushed down Britain’s toilets each year. This drawstring bag is designed to hold a menstrual cup, but you can, of course, use it for storing other things too!
You will need
Finished size approximately: 10cm x 15cm
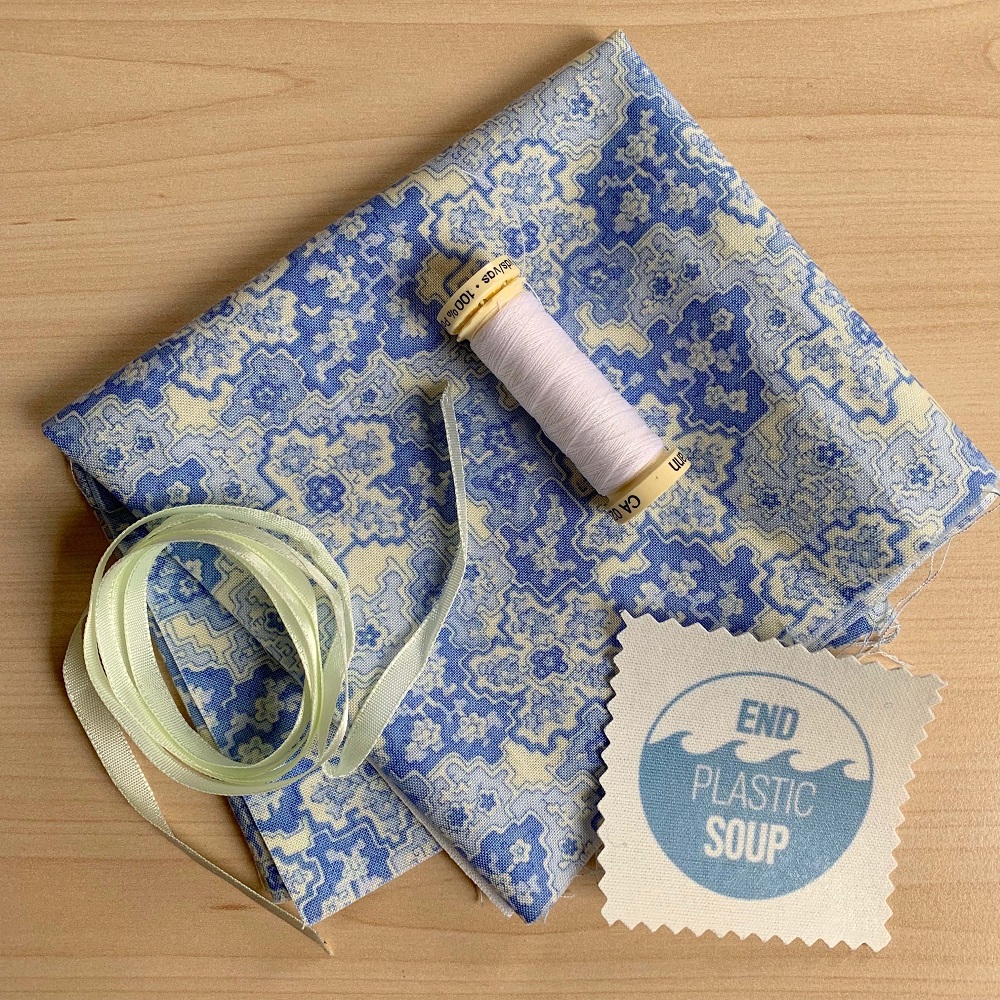
To make the bag
- End Plastic Soup logo – Optional, see below
- Approximately 16 x 40cm of cotton fabric – use up old scraps or recycle an item of clothing
- 1m of narrow ribbon or fine cord
- Sewing thread
- Fabric scissors
- Sewing machine
- Iron
- Bodkin or safety pin
To make the logos
- Reversed ‘End Plastic Soup’ logos – Download templates here
- A4 Iron-on T-shirt transfer paper for light colours
- Printer
- A4 sized sheet of iron-on fusible web
- A4 sized piece of white cotton fabric
- Baking parchment
- Iron
- Pinking Sheers
To make the logos
1. Following the manufacturer’s instructions, load a sheet of t-shirt transfer paper into your printer and print out the reversed End Plastic Soup logos, then iron them on to the piece of white cotton fabric. Peel off the backing paper and leave to cool fully.
2. Lay a sheet of baking parchment on your ironing board as protection, then place the fabric with logos face down on top. Following the manufacturer’s instructions apply the fusible web to the back of the fabric, do not press too hard with your iron, use just enough heat and pressure to let the glue melt onto the cloth, you do not want to overheat and damage the logos on the front side of the fabric too. Turn whole piece right side up, remove the baking parchment and leave everything to cool down.
3. Use the pinking shears to cut out the logos in equal-sized squares, leaving the backing paper in place for the time being.
To make the bag
1. Cut out the bag piece from fabric: 12cm wide x 36cm long.
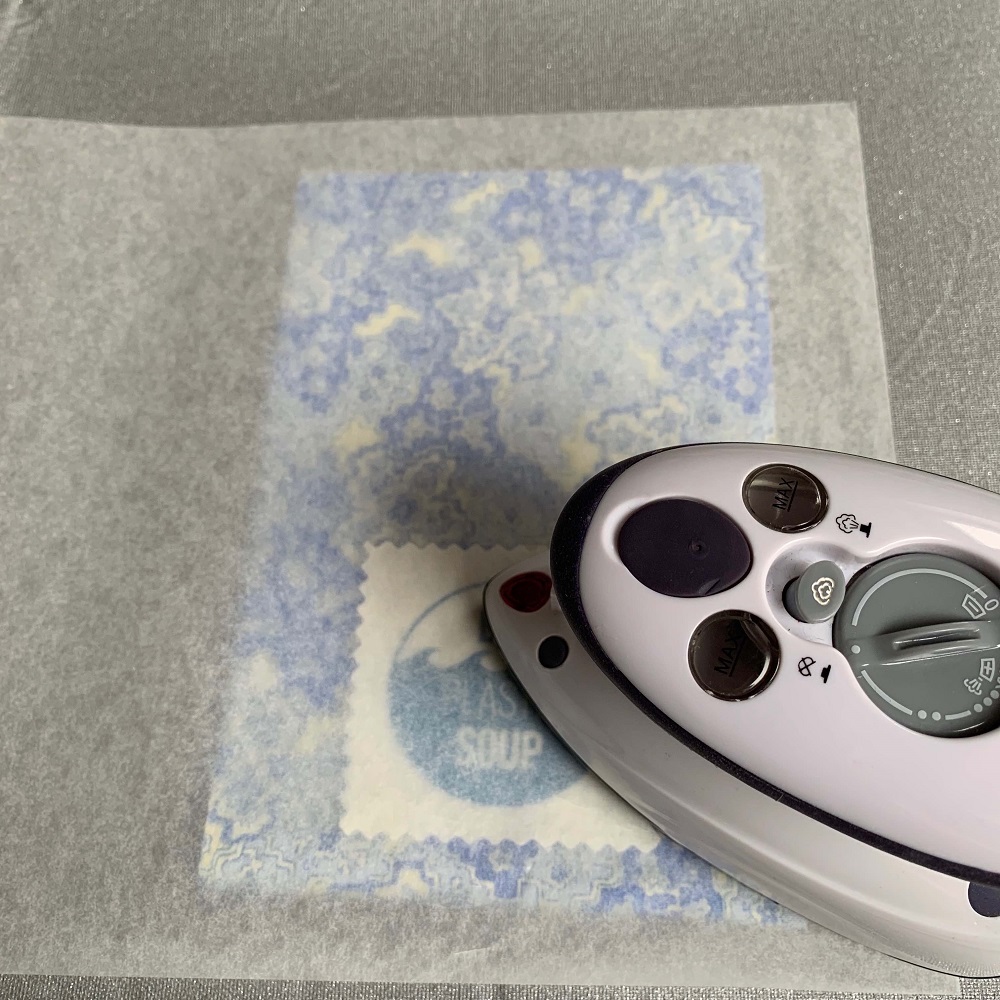
2. With wrong sides facing, fold the fabric piece in half bringing the short ends together. Peel the backing paper off the ‘End Plastic Soup’ logo and place centrally on to the fabric towards the folded edge. Press logo in place, covering the logo with a piece of backing parchment to protect your iron.
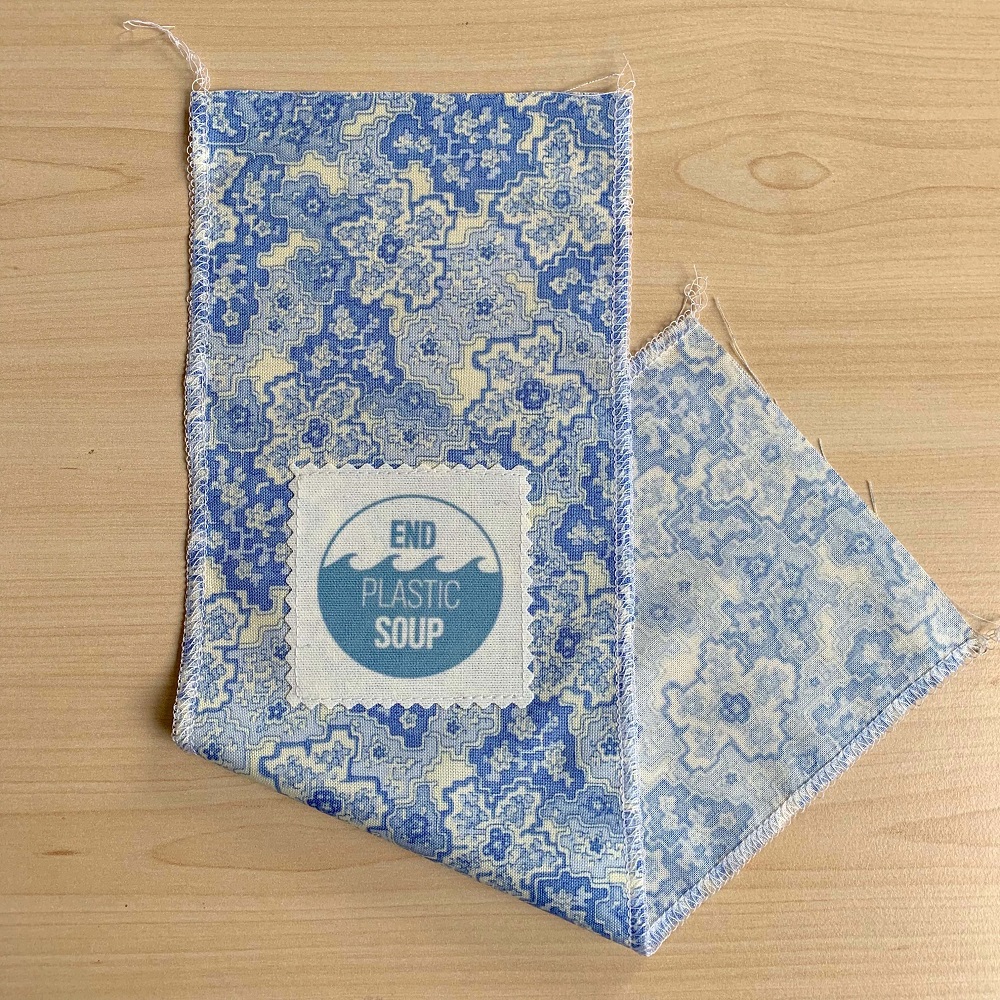
3. Unfold the fabric and machine stitch around the label to hold it firmly in place. Neaten the long side edges by either zigzag stitch or overlock on your machine.
4. Now with right sides facing, fold the fabric in half again bringing the short ends together and pin down each side.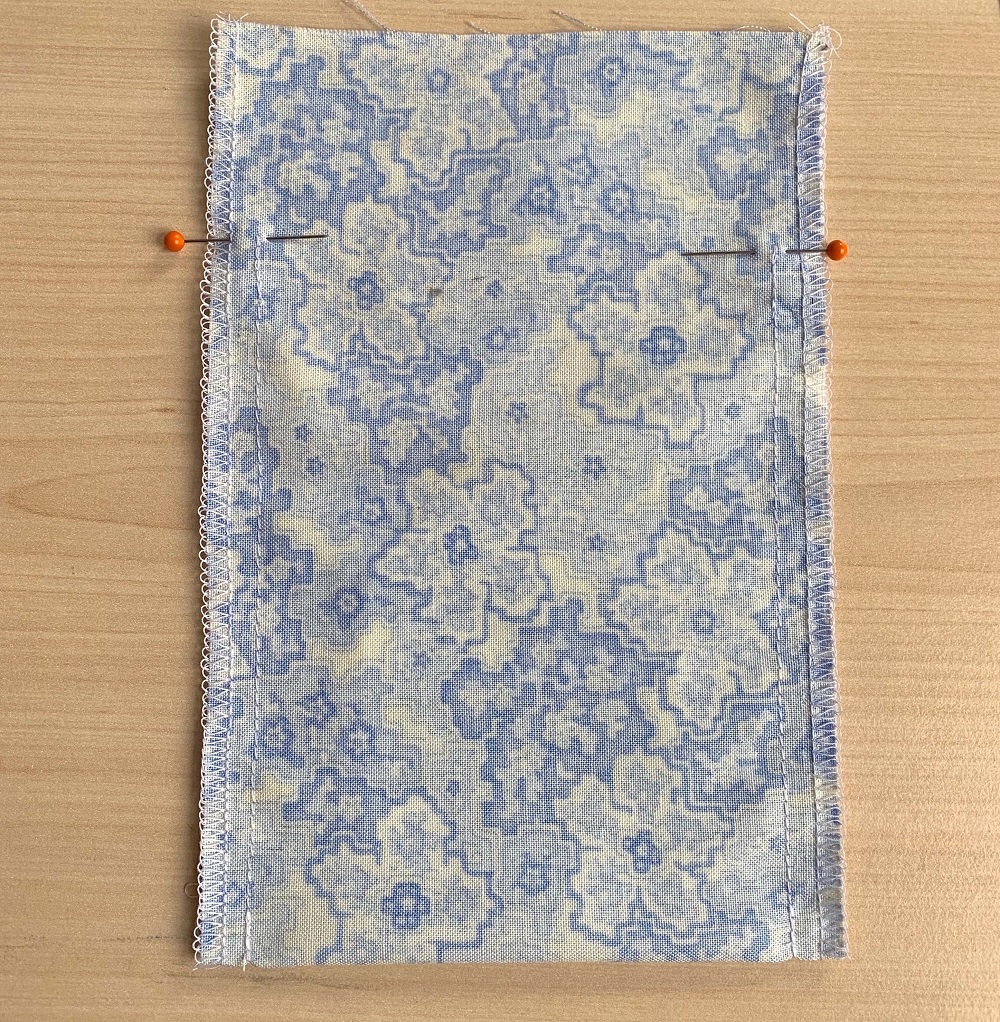
5. Sew side seams together, taking a 1cm seam allowance – starting at the folded edge and finishing 4.5cm from the top edges; reverse stitch at each end to secure.
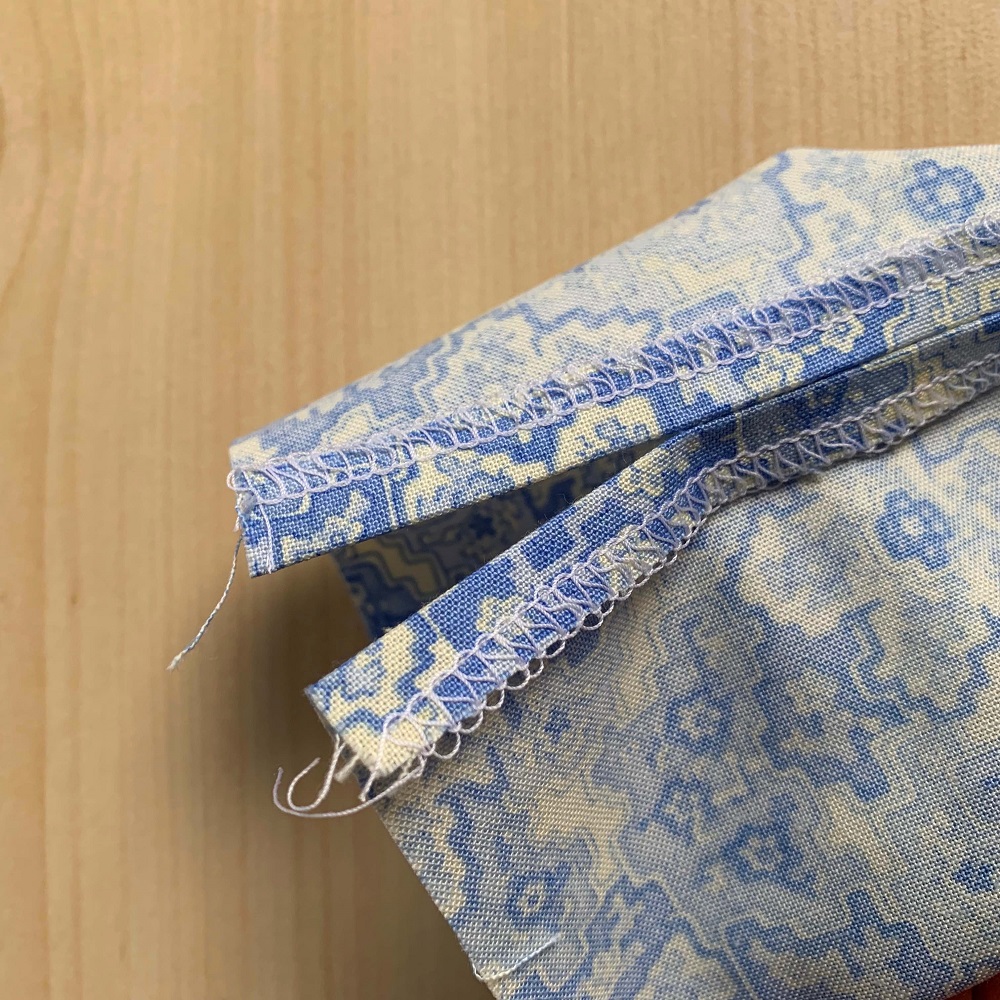
6. Press each the unstitched parts of the side seams, 1cm to the wrong side.
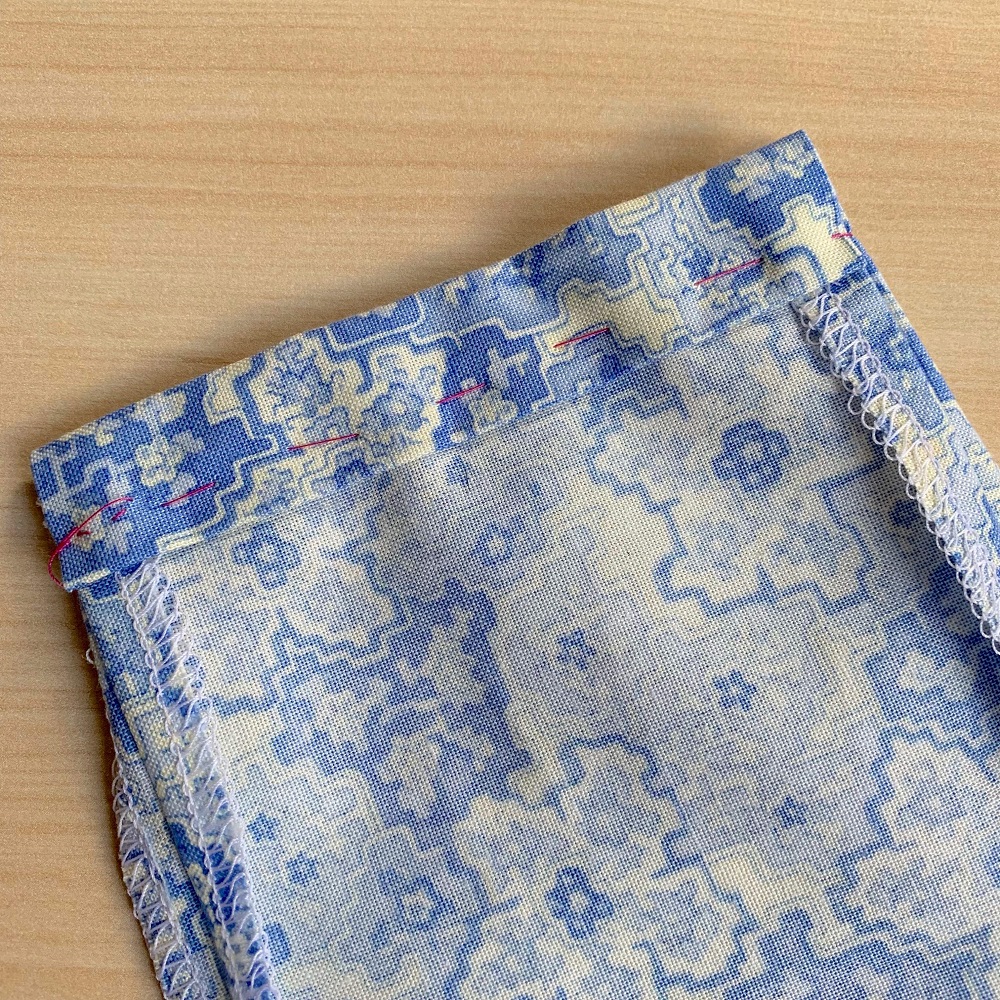
7. Press a 1cm hem to the wrong side along both top edge, then fold over a further 2cm; press and tack hems in place.
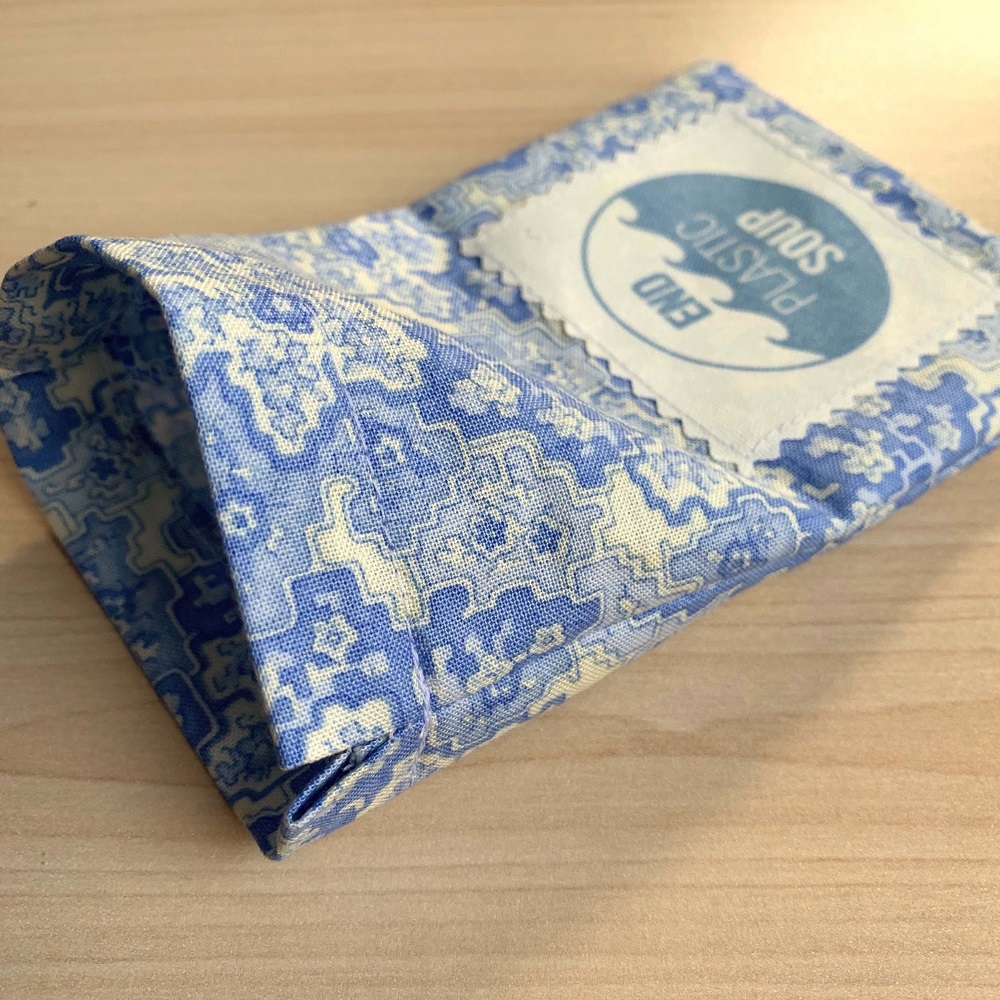
8. Sew each top hem in place stitching close to the edge; turn bag right side out.
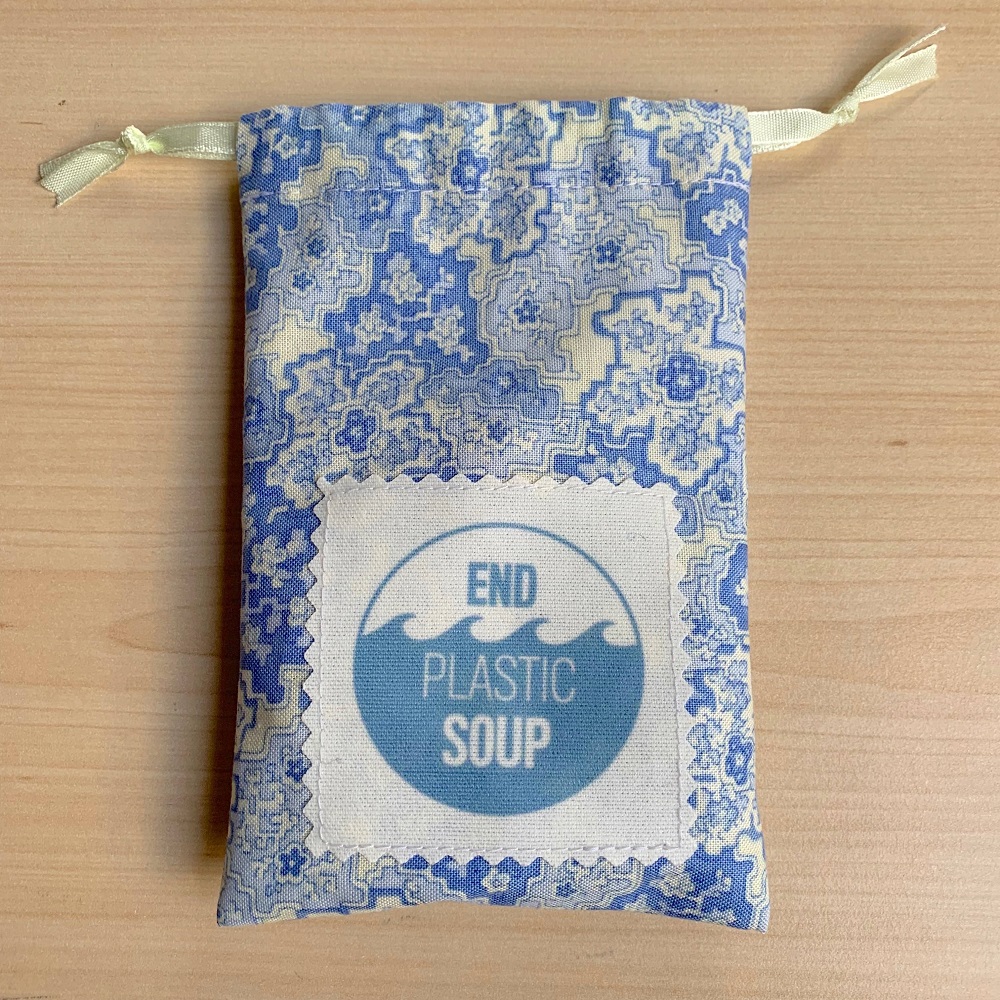
9. Cut ribbon into two equal lengths. Using a bodkin or safety pin, thread one piece of ribbon through one top hem and then, back along the second hem. Knot ends together and trim loose ends. Repeat in the opposite direction with your remaining piece of ribbon. Your bag is now ready to use.
Project instructions and photos: Jane Bolsover, Craft Consultant of NFWI
