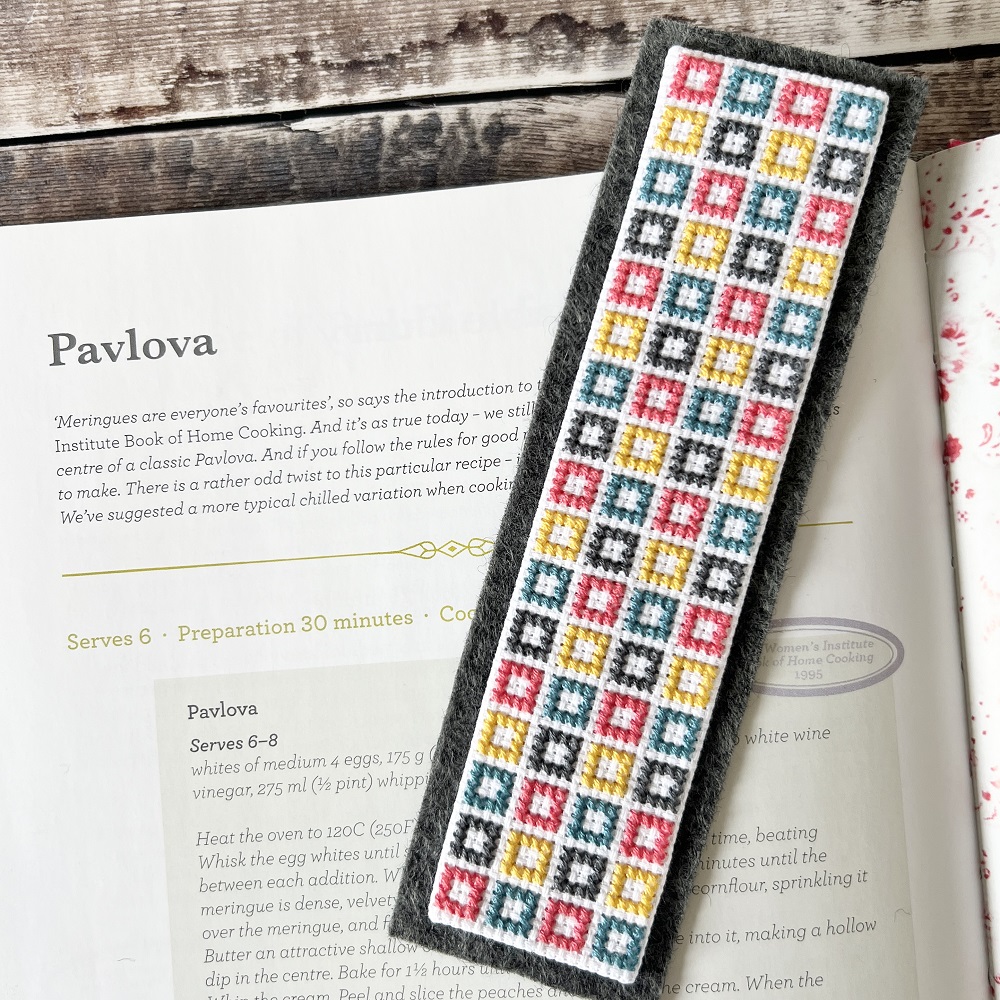
Cross Stitch Bookmark
Skill level: Beginner
You will need:
- 14 count white aida – 25cm x 25cm minimum (to fit in the hoop)
- Embroidery threads
- Coral
- Teal
- Yellow
- Dark grey
- Wool felt sheet 5cm x 17cm
- White card 3.5cm x 15.5cm
- Double-sided tape
- Scissors
- Fabric glue
- Glue brush
- 20cm Embroidery hoop
- Needle
- Cross stitch pattern
To make:
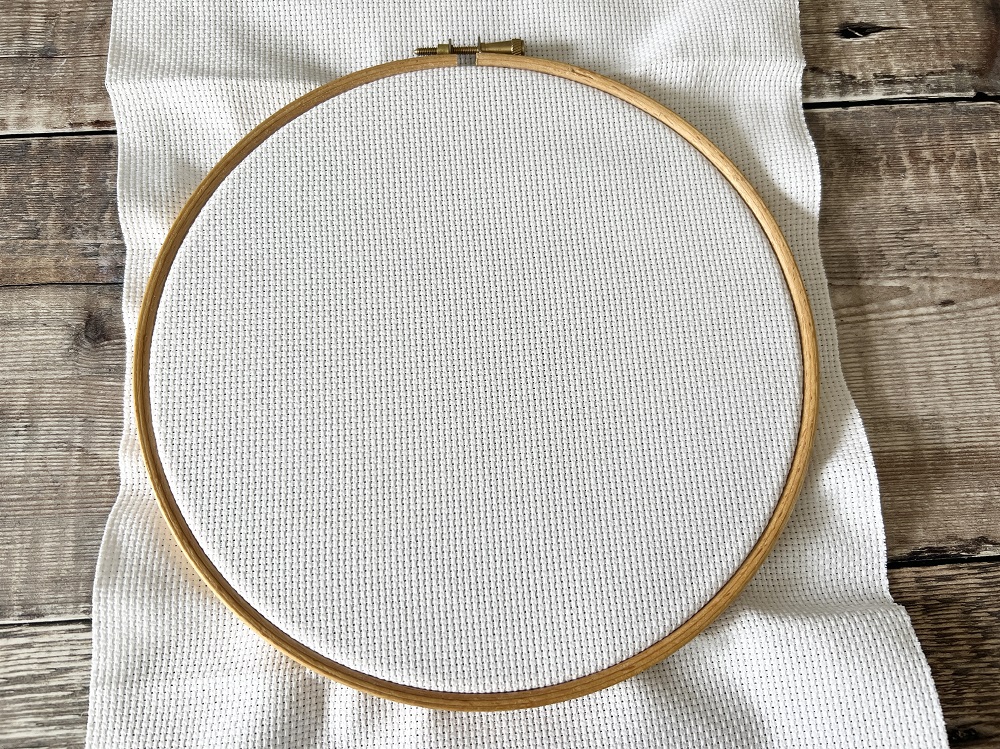
Place the Aida centrally in the embroidery hoop, screw tightly to ensure the aida is taut.
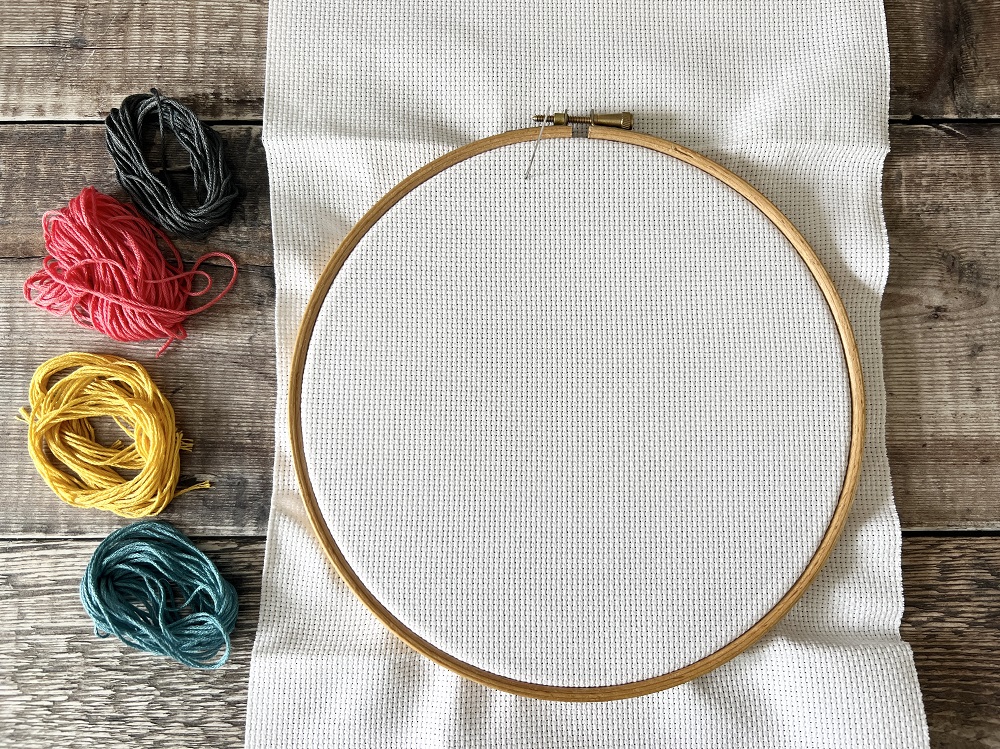
Cut a piece of the green embroidery thread, approximately an arm’s length. Separate two of the six threads to use and thread the needle. Find the vertical middle of the aida and count 10 squares to the left, and 8 squares down (approximately) – this is where you should start stitching.
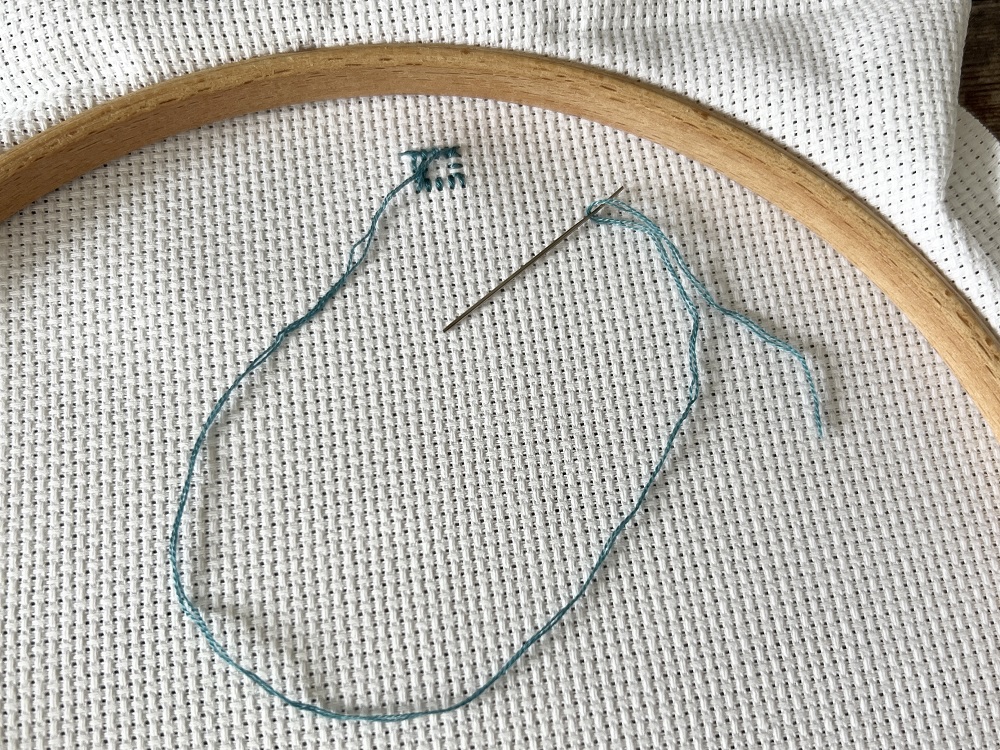
Open the cross-stitch pattern file. Following the pattern, and using the small squares on the aida, start your cross stitch. You can either add a knot to the bottom of the thread when you start stitching, or you can leave a tail of approximately 2cm, stitching over the tail as you go. Rather than knotting to finish you could also pull the thread underneath the stitches you have made and trim. This method avoids some of the bulkiness of the knots.
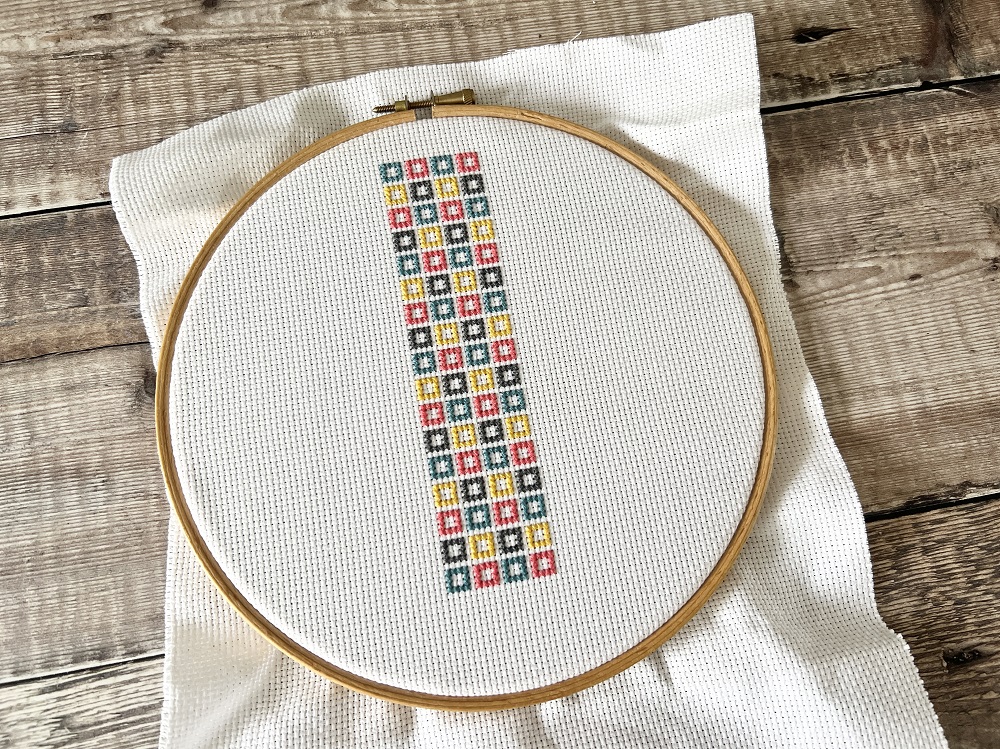
Follow the pattern and stitch onto the aida.
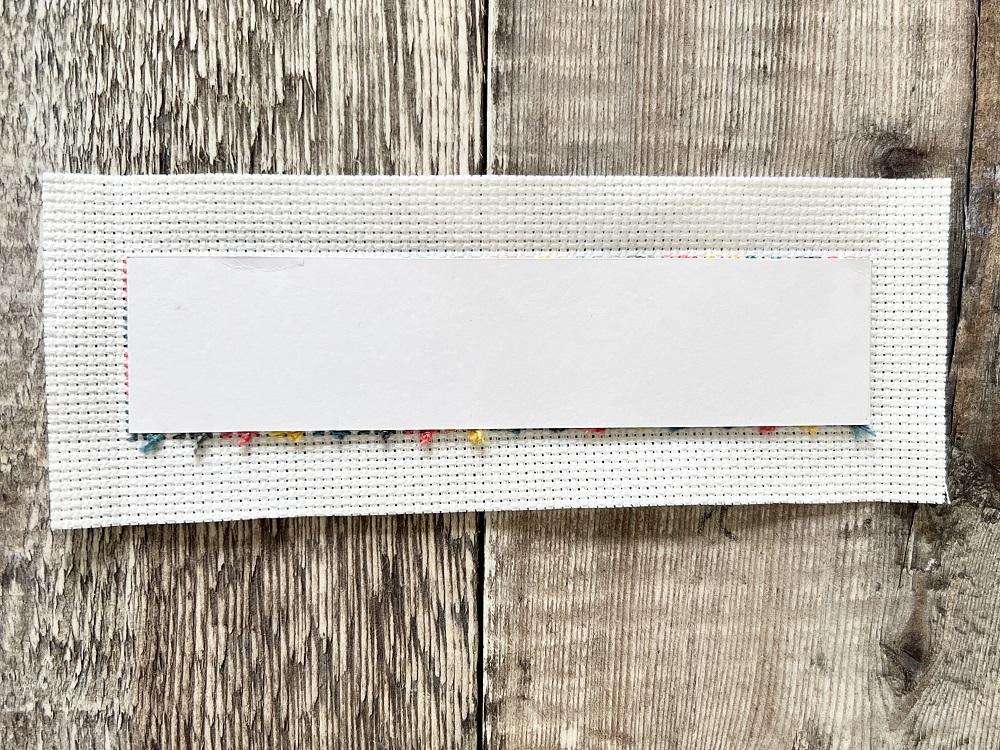
Remove the aida from the hoop. Cut the aida around the pattern adding an allowance so that when the two long sides of the aida are folded (long ways), it meets in the middle of the pattern. Add the double-sided tape to the card and stick this over the back of the stitching.
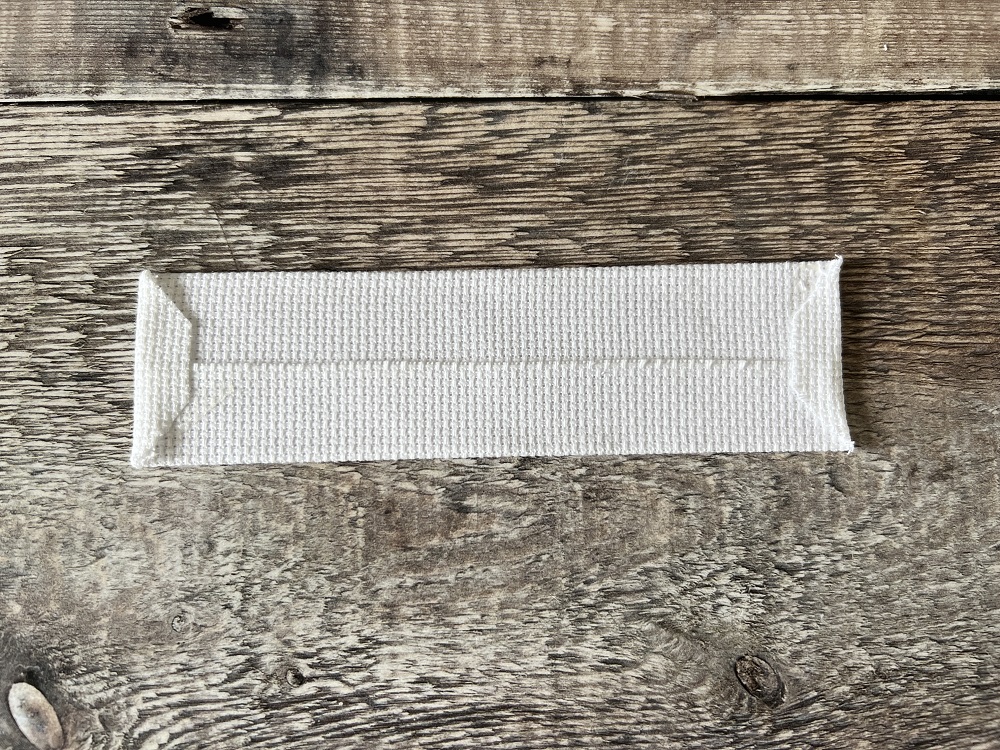
Add double-sided tape around the excess aida (on the back side) and carefully fold the aida so it sticks to the card. Ensure this has been done neatly, following the lines on the aida. Repeat on all four sides. You may then wish to also carefully trim some of the aida on the four corners to remove some bulk – do not get too close to any stitching.
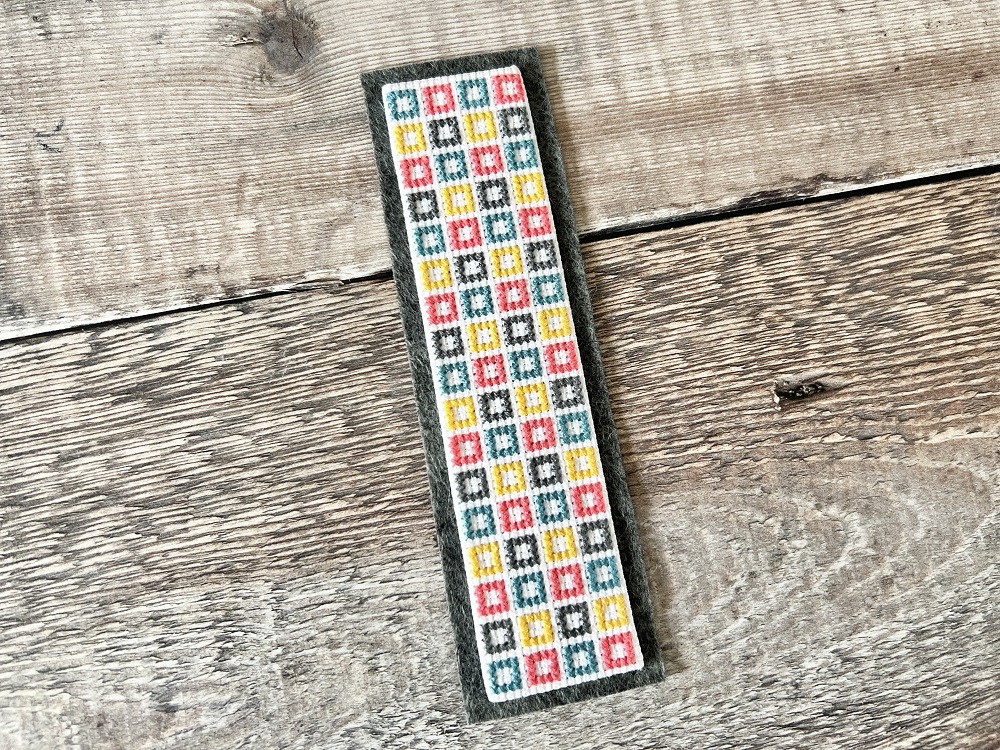
Add a thin layer of fabric glue to the back of the aida piece, ensuring you go to all of the edges. Hold the cross stitch face up and place it centrally on the felt. Press down firmly. You may wish to place a heavy book on top of the bookmark whilst the glue is drying.
Tips and ideas
- You could use any colours of embroidery thread you like.
- You could also use any colour of aida.
- Ensure throughout your stitching that you make the stitches in the same order so the stitching is neat. Either the / stitch first or the \ stitch first so all stitches are the same.
- Rather than stitching each X one at a time, for each coloured square of the pattern, you could do all of the / stitches, followed by all of the \ stitches (or vice versa).

