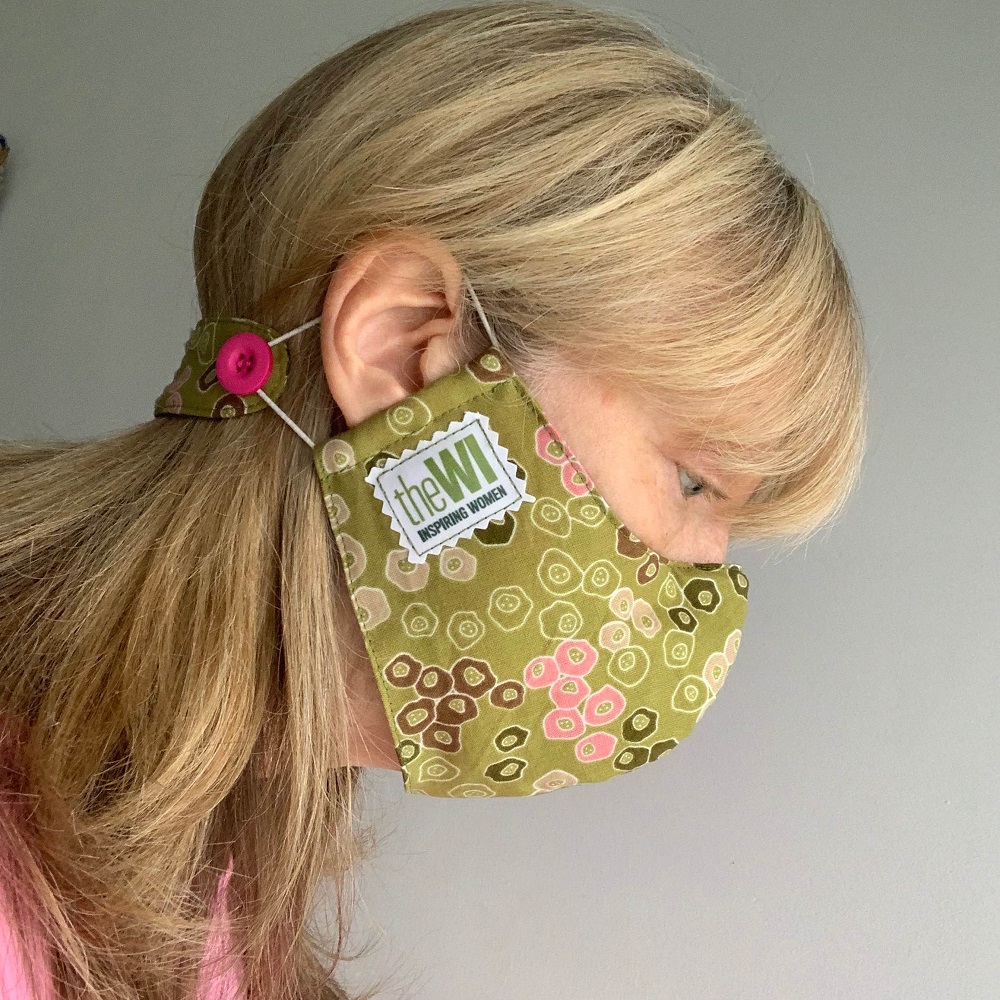
Button Band for DIY Face-coverings
You will need
Skill level: Beginner
Sizing: Adult (One-size fits all)
- A small piece of 100% woven cotton fabric
- A small piece of lightweight iron-on interfacing
- Matching sewing threads
- 2 x 18mm contrast buttons
- Pen
- Sewing machine
- Scissors
- Iron
- Hand sewing needle
- Knitting needle of similar pointed object
For optional WI logos, you will also need:
- Reversed small WI logos [download here]
- Light T-shirt Transfer paper
- Inkjet colour printer
- White cotton fabric
- Pinking shears
To make
Note: A 1cm seam allowance is used throughout these instructions and all seams are sewn with right sides together unless otherwise stated.
1. Using an iron, press the interfacing to the wrong side of the fabric piece. Cut out two fabric strips 5cm wide x 17cm long.
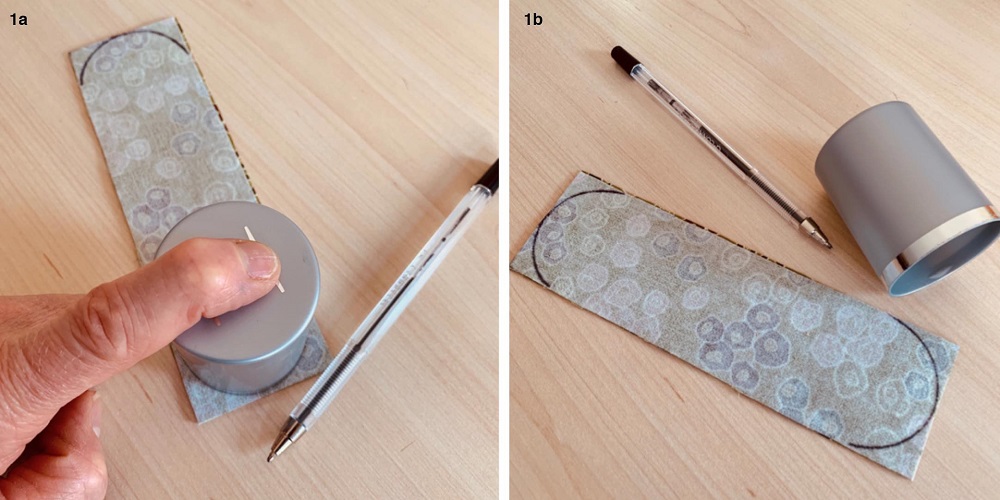
2. Place the two fabric strips on top of each other with right sides together. At this stage, if the thought of stitching around a curve fills you with horror, then move straight on to step 4. If not, then using a 5cm bottle top or similar object to draw a curved shape at each end of the strips, as shown (a and b).
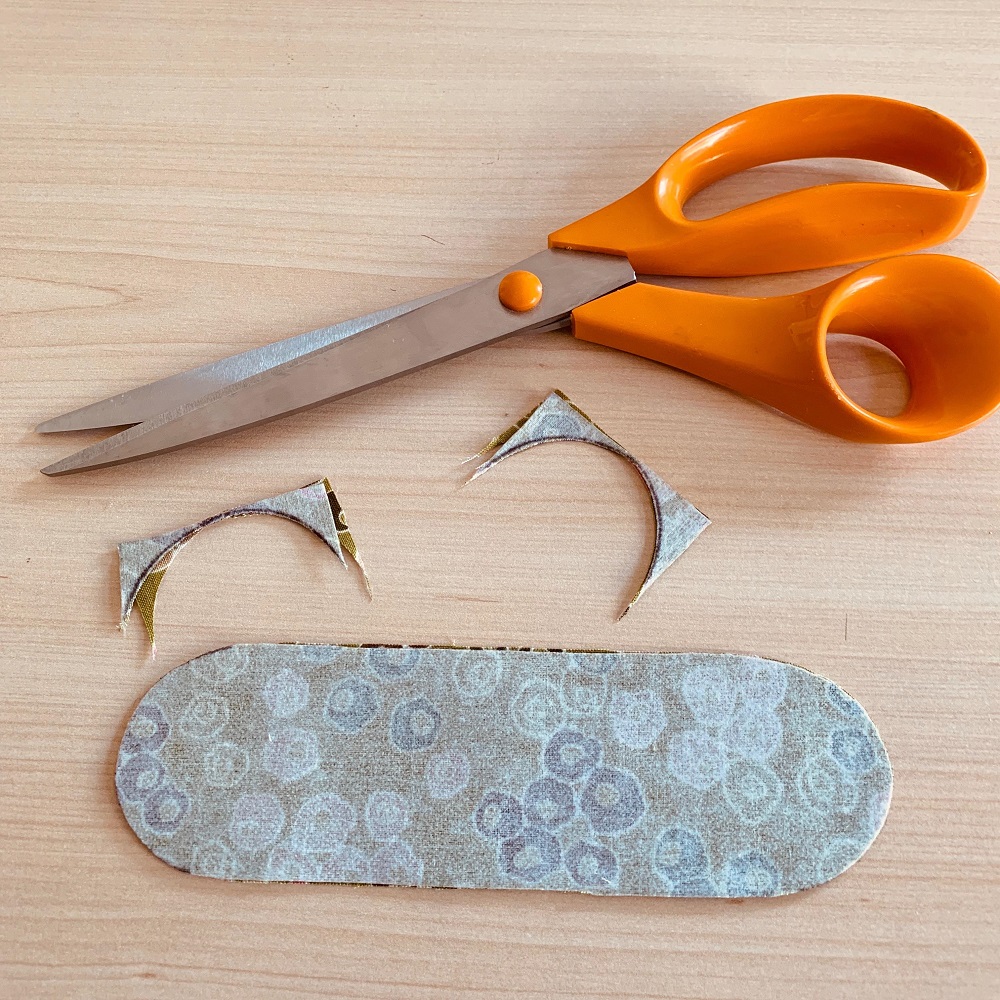
3. Carefully trim off the curved ends and move on to step 5.
4. If you have square ends still on your strips, then stitch the two pieces together around all edges, pivoting your work at each corner, with your needle down through the fabric, to create neat corners. Leave a 5cm opening along one long edge for turning right side out.
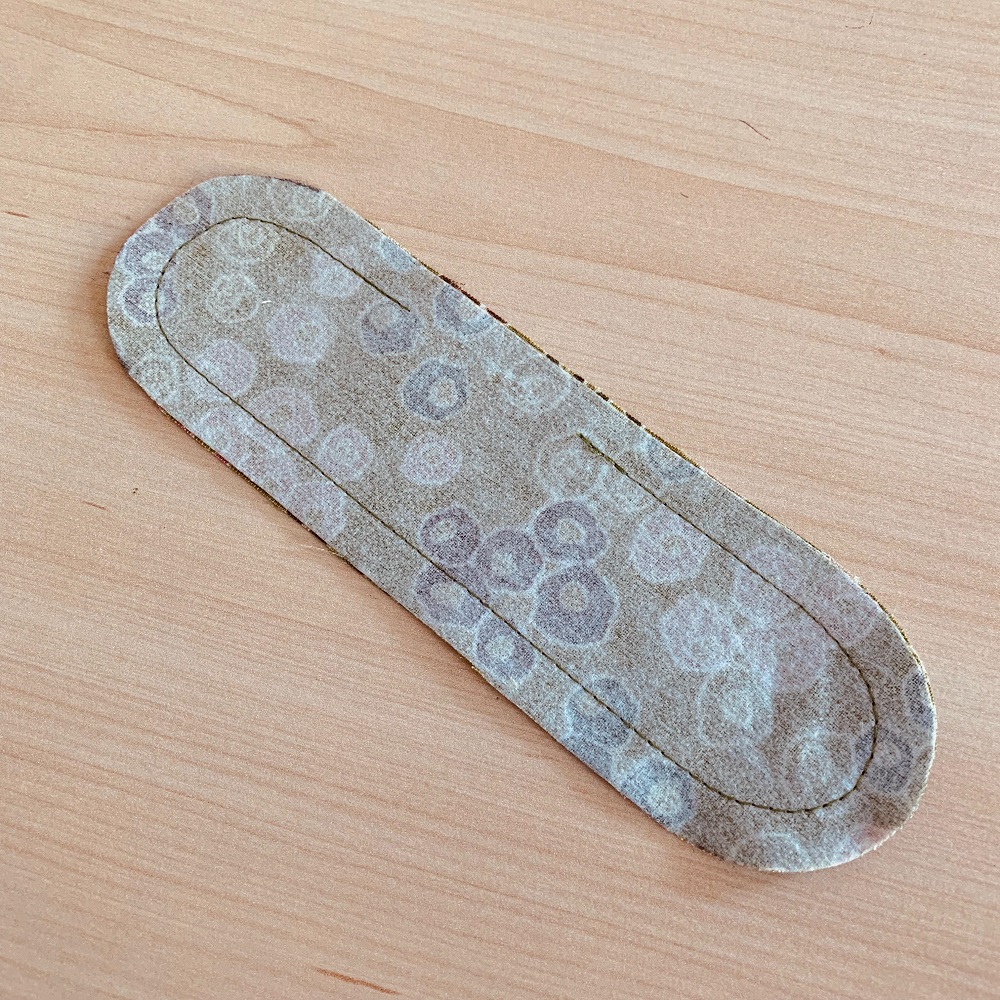
5. If you have curved off the corners, stitch the pieces together, taking extra care around the curved ends and using the stitch guide on your machine to keep you level. Leave a 5cm opening along one long edge for turning right side out.
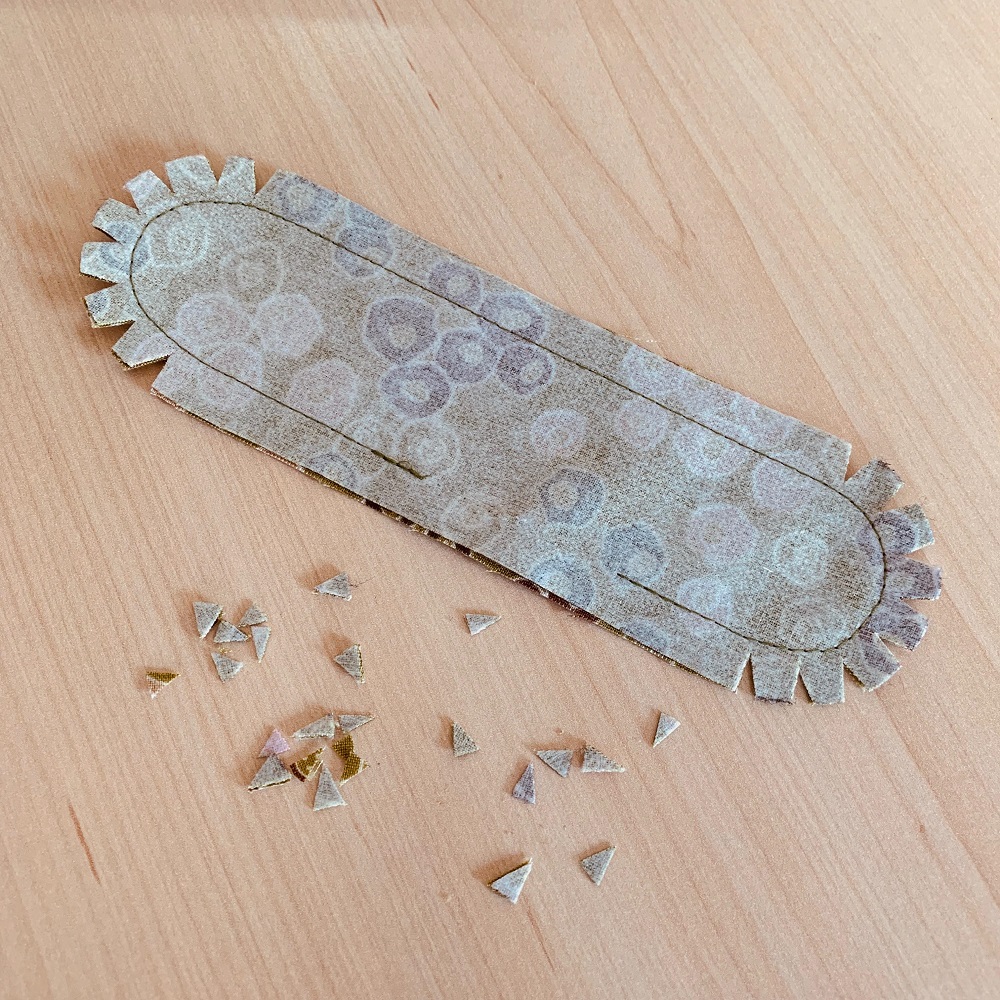
6. If your band is rectangular in shape, clip across the corners to reduce bulk. If rounded in shape, then clip into the curved seam turnings to reduce bulk, as shown, taking care not to snip into the stitches.
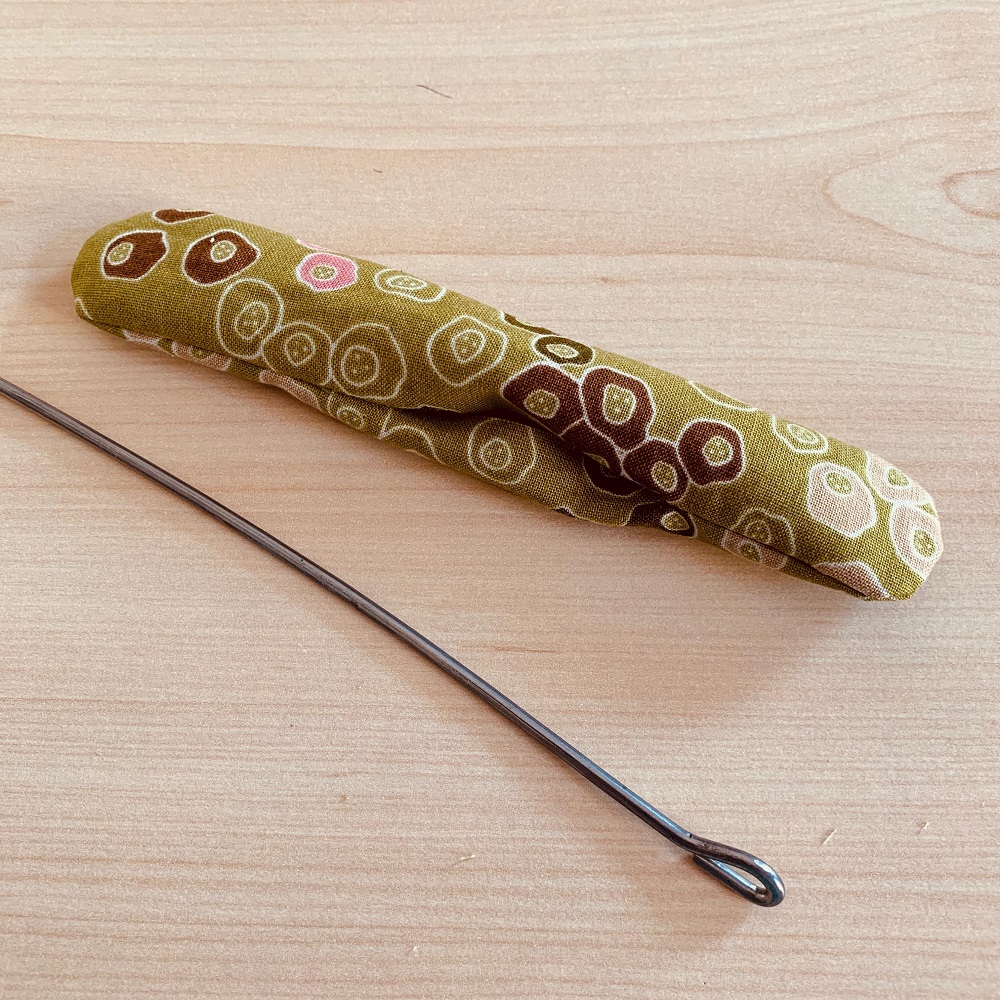
7. Turn the band right side out through the opening, with the help of a knitting needle or similar object to help you push out the corners.
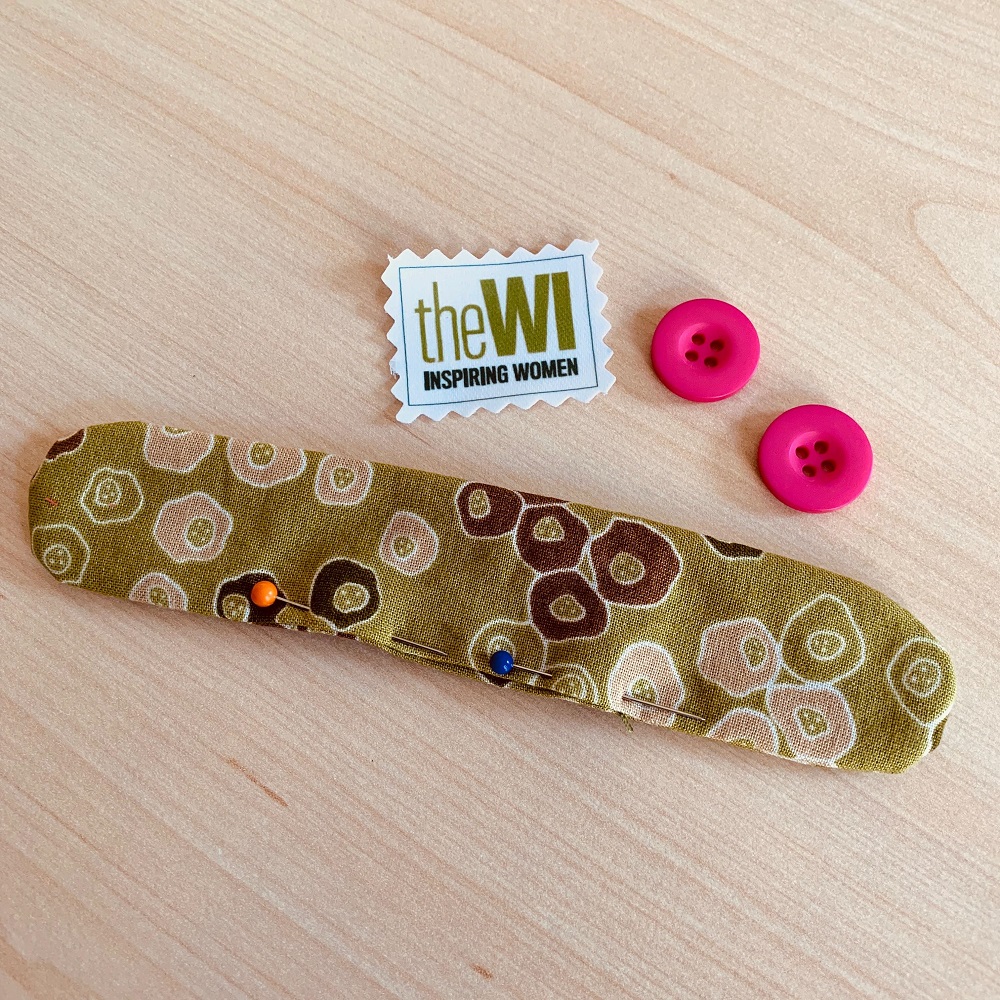
8. Carefully press the seamed edges flat and then pin and hand-sew the opening edges closed.
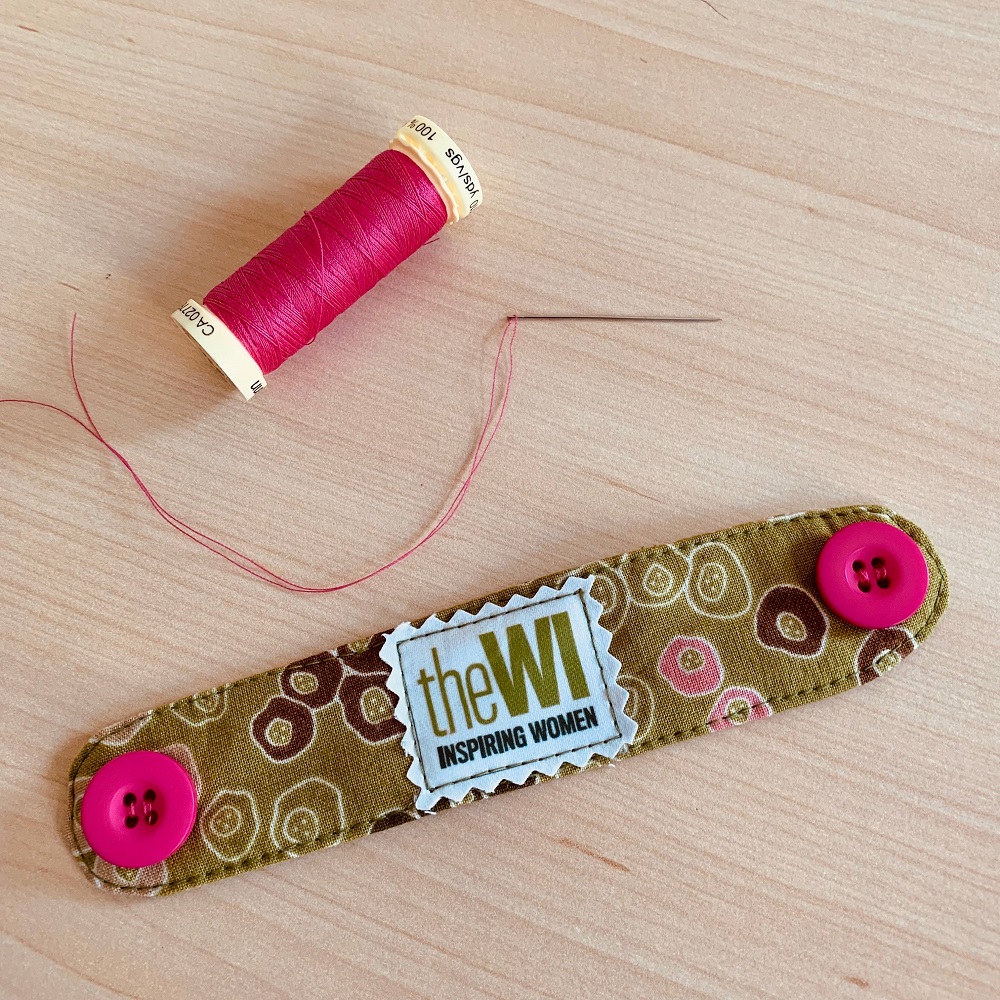
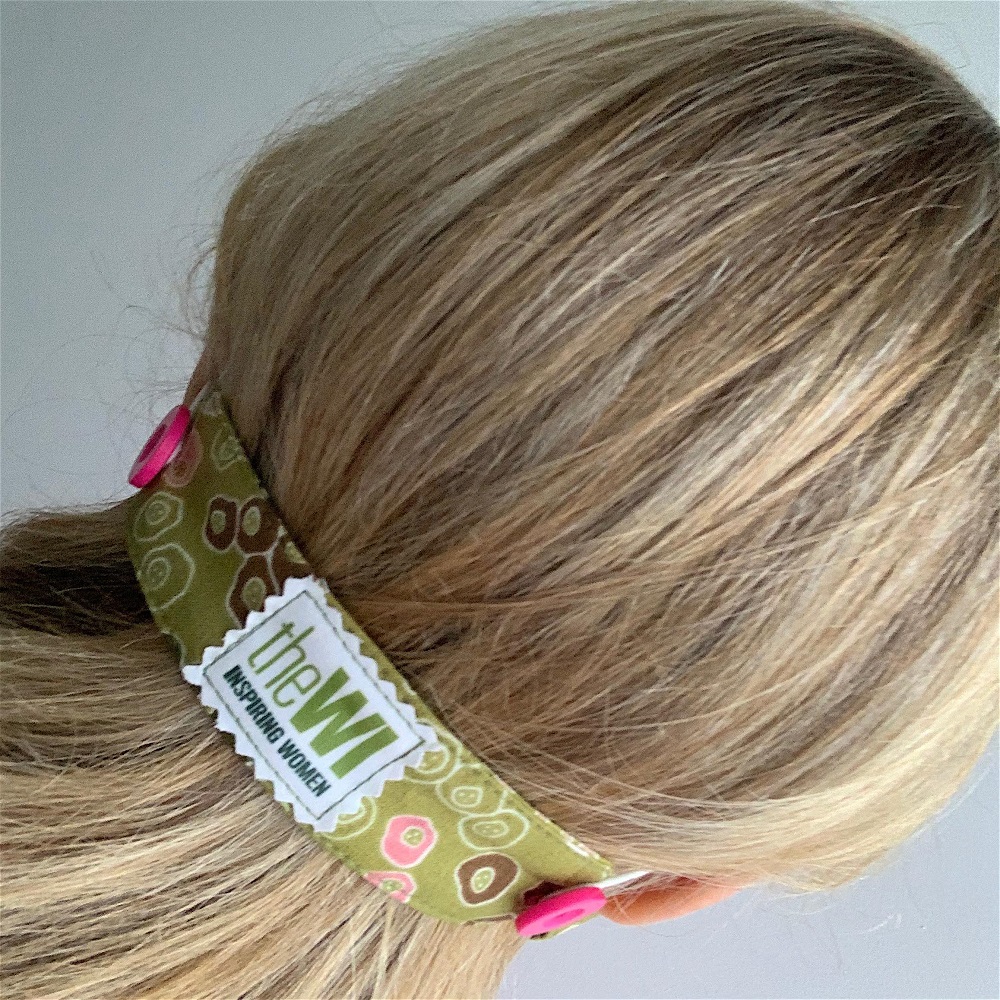
9. If desired, stitch around the edges of the band for a neat finish. Sew a button to each end of the band and add a mini WI logo if you wish. To do this, download and print out the mini reversed WI logos onto T-shirt Transfer Paper and following the manufacturer’s instructions iron them onto a piece of plain white cotton fabric. Cut out a logo using pinking shears and stitch centrally in place using the narrow green line as a stitching guide.
