Appliqué Donate Pin Badge
You will need
- Droplet template
- Reversed Donate word template
- 10cm square piece of plain white linen or cotton fabric
- Small scrap of red fabric
- Scrap of Bondaweb – Paper-backed adhesive web
- Giant 64mm self-cover button, or see Top Tip
- Brooch back
- Inkjet fabric transfer paper for light fabrics
- Inkjet printer
- Glue gun or strong adhesive
- Iron
- Embellishments: red stranded embroidery cotton and embroidery needle, sequins, gems
To make
- Using an Inkjet printer, print out the droplet template at 100% onto A4 paper and cut out the smallest size. Swap to the special Transfer paper and print out the reversed ‘Donate’ words, following the manufacturers instructions. If using A5 paper print out at 100%, if using A4 paper print out at 50%.
- Cut out a circle from the white fabric, using round template supplied with your covered button.
- Carefully cut around your printed words, leaving a 2mm border around the edges. Position the words onto the white fabric circle, ensuring that they will sit on the top of the button, when the edges are folded under. Fix in place using a hot dry iron, following the manufacturers instructions.
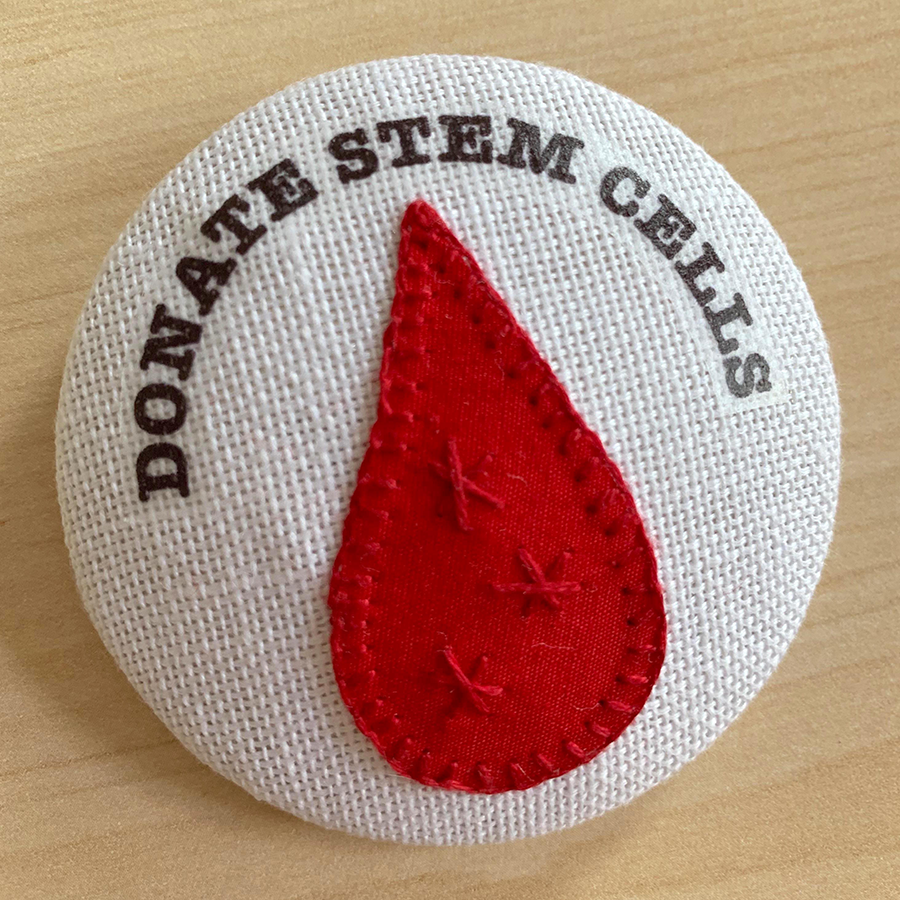
- For the appliqué, iron the Bondaweb to the wrong side of the red fabric scrap and draw around the droplet template onto the paper backing; cut out shape. Peel backing paper off and position the droplet, glue side down beneath the wording. Using the tip of a hot dry iron and making sure that you don’t touch the words, press firmly down for a few seconds until the glue melts. Leave to cool and check that it has stuck securely. If you can’t access Bondaweb, you could also write on the fabric with a fine fabric marker.
- At this stage you can decorate your droplet, by working small blanket stitches around the edge, using two strands of stranded embroidery thread, and work simple stars with straight stitches in the centre, see stitch guide for how to work blanket stitch. For a no-sew version leave as is, or glue on sequins or gems to decorate.
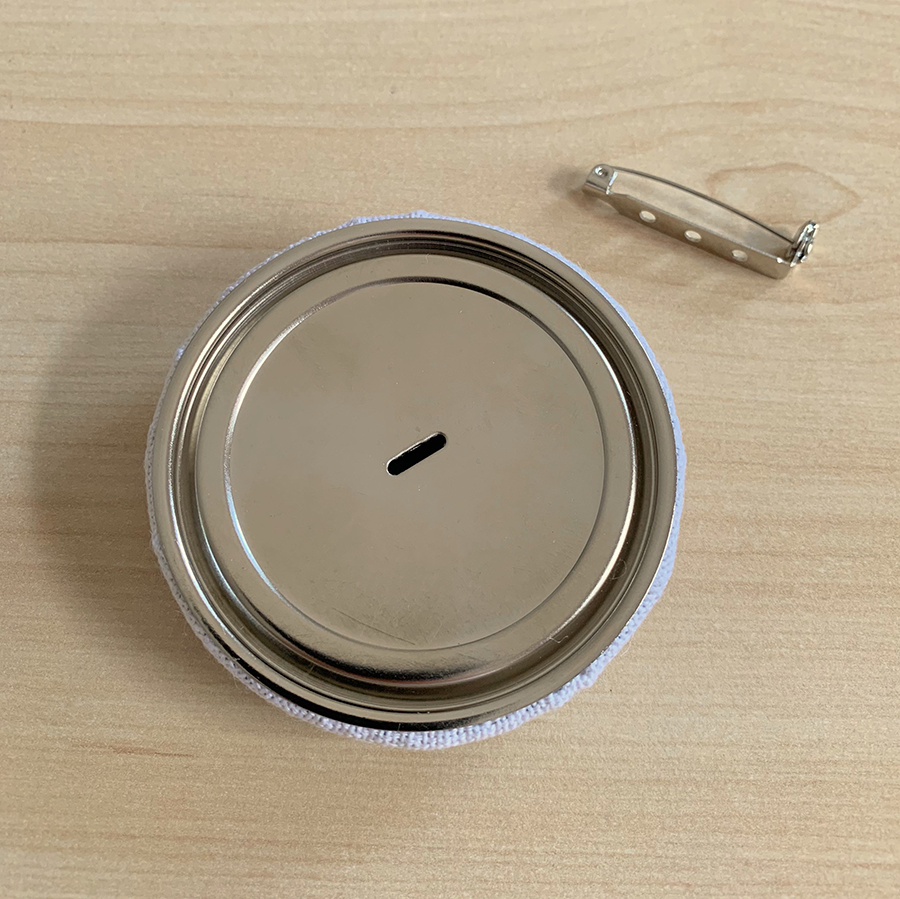
- Finally, remove the metal button loop from the back of the button top, if it has one. Cover the button following the manufacturers instructions and attached the backing plate. Glue a brooch pin onto the back and leave to set.

Top tip:

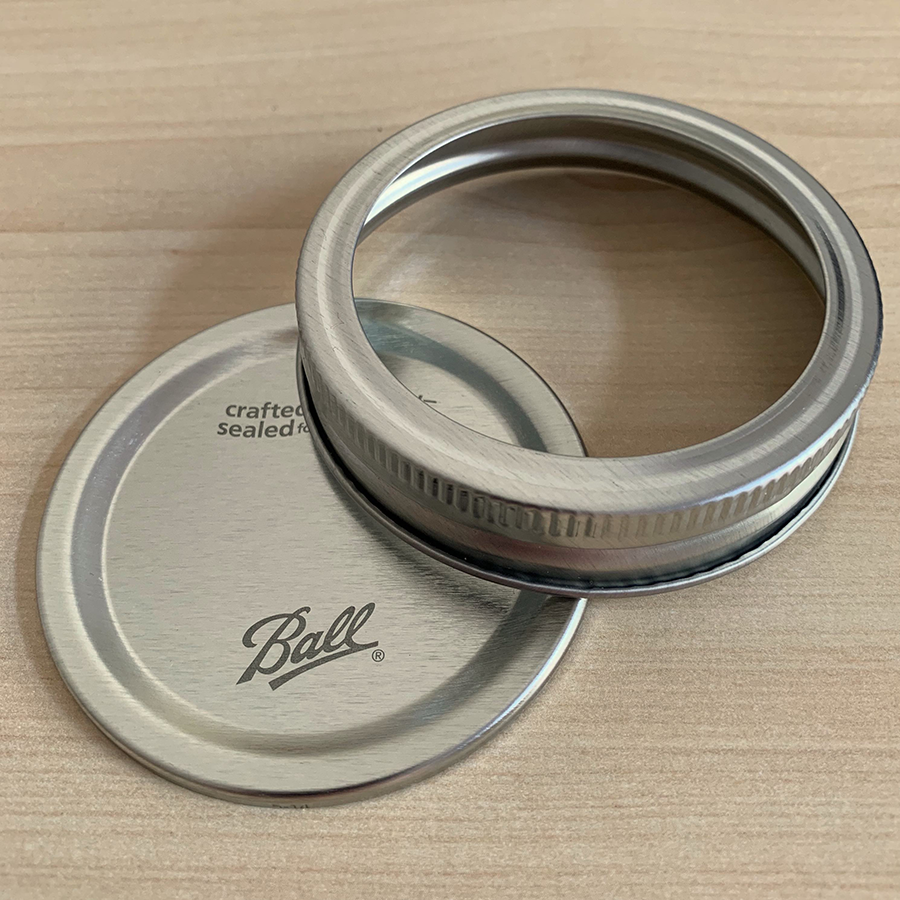
If you are unable to obtain giant self-covered buttons, then you could cover a flat metal disk from the lid from a preserving jar, or even cut a disk of strong mount-board to form the base for your badge.

