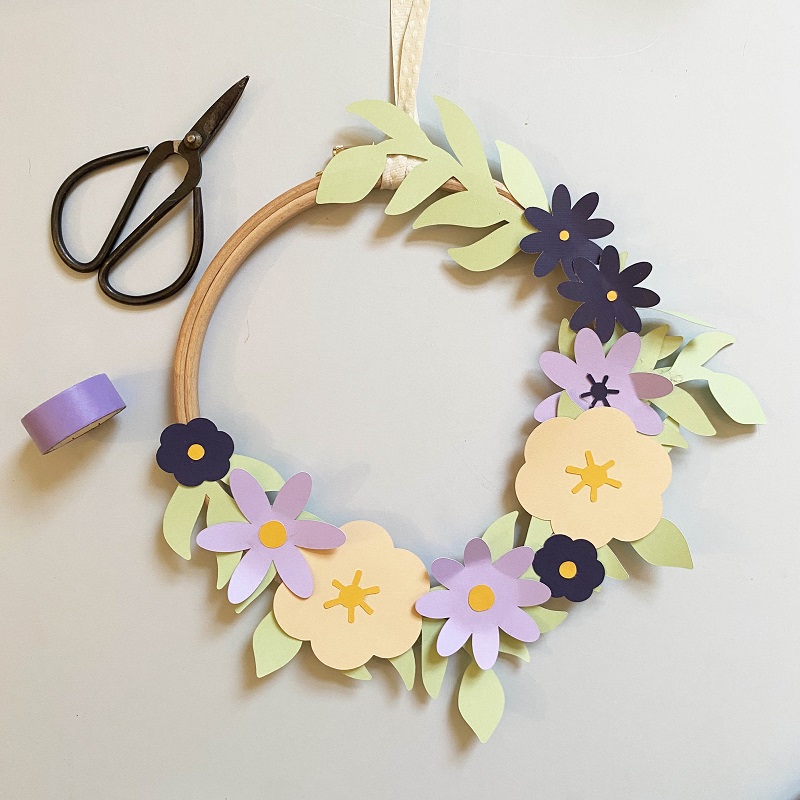
Spring Wreath
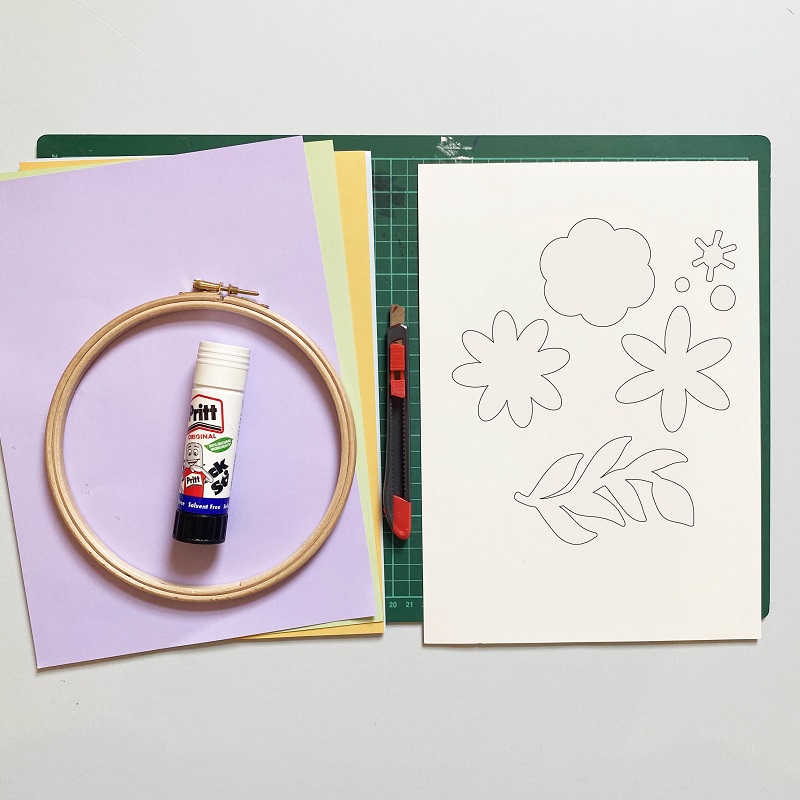
You will need
- Coloured card
- Embroidery hoop
- Glue stick
- Templates
- Access to a printer
- Cutting mat
- Craft knife/scissors or Cricut machine
To Make
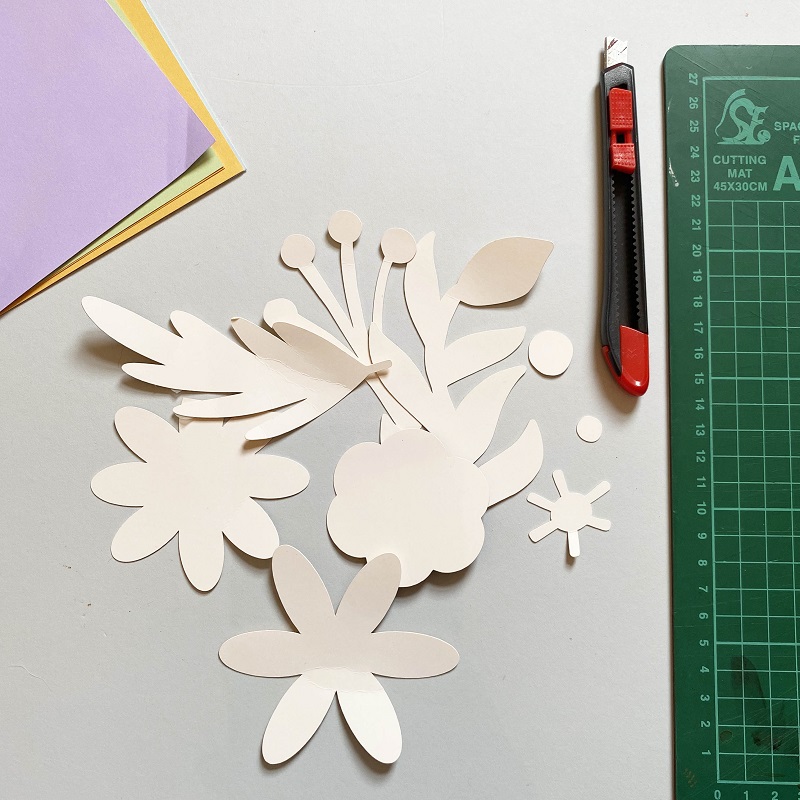
Print out the project templates.
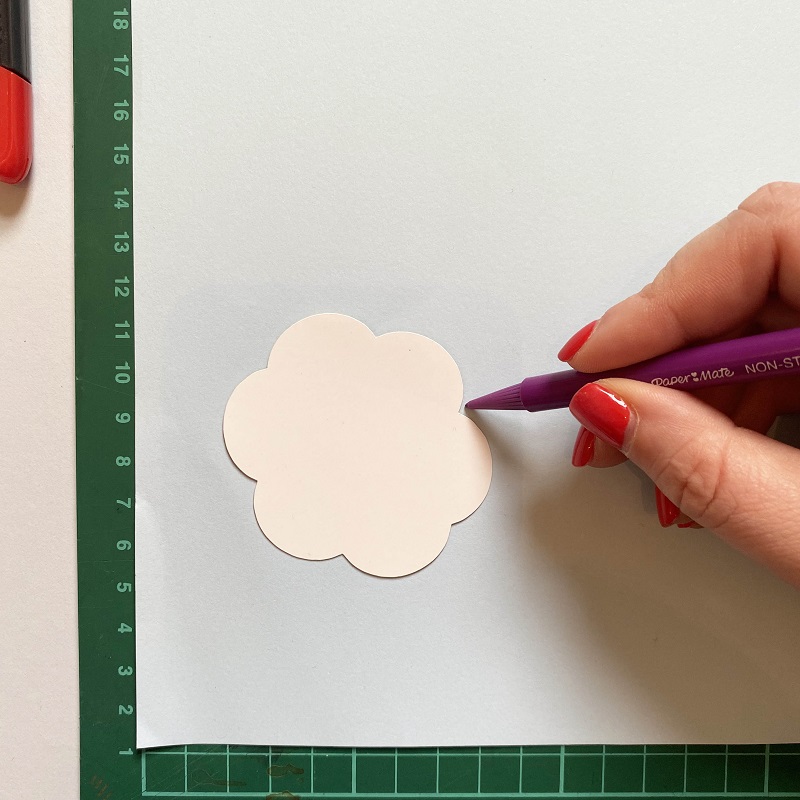
Using the templates cut out your foliage, flower and flower centres on your coloured paper.
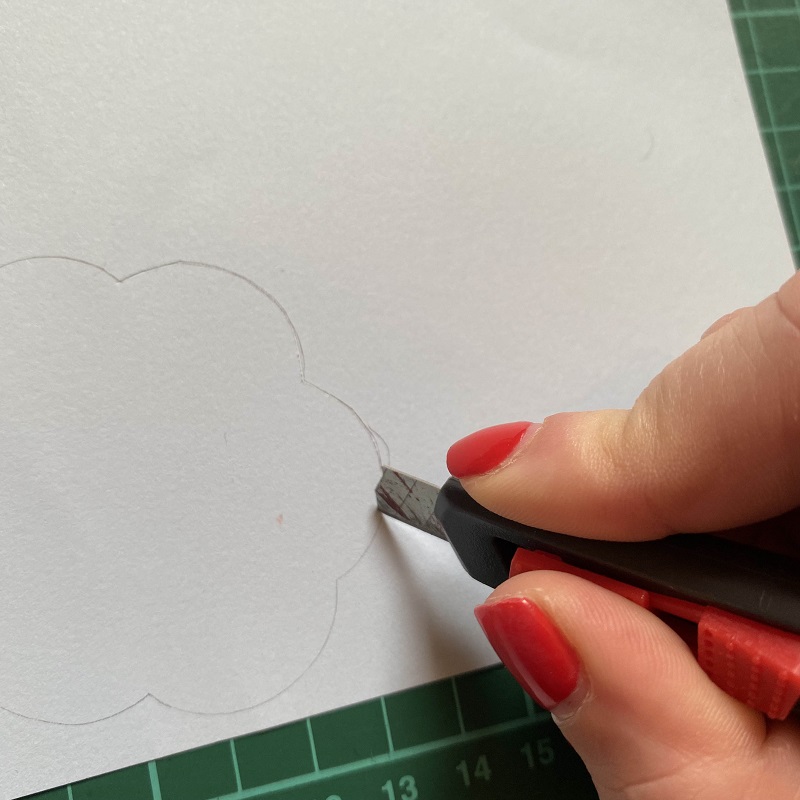
You can use a craft knife with cutting mat or scissors, as these templates aren't too intricate, if you are more comfortable, scissors will work fine.
The templates have been supplied in a range of sizes, giving you various options depending on what size you’d like to make your wreath and how many flowers etc. you would like to use.
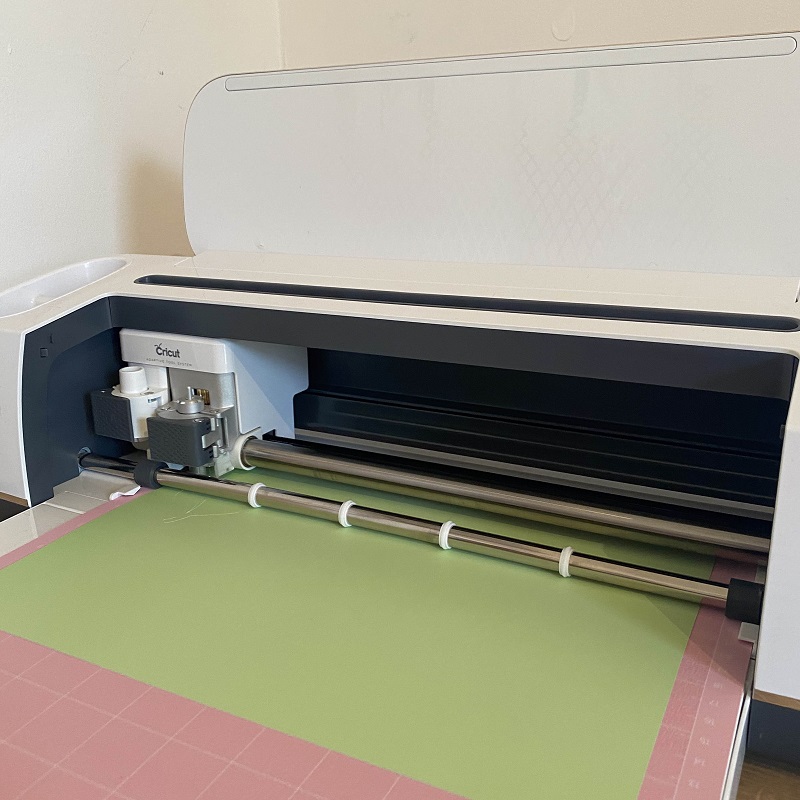
If you have a Cricut machine you can import the templates into the design space and adjust the sizes to how big or small you’d like to use them before cutting.
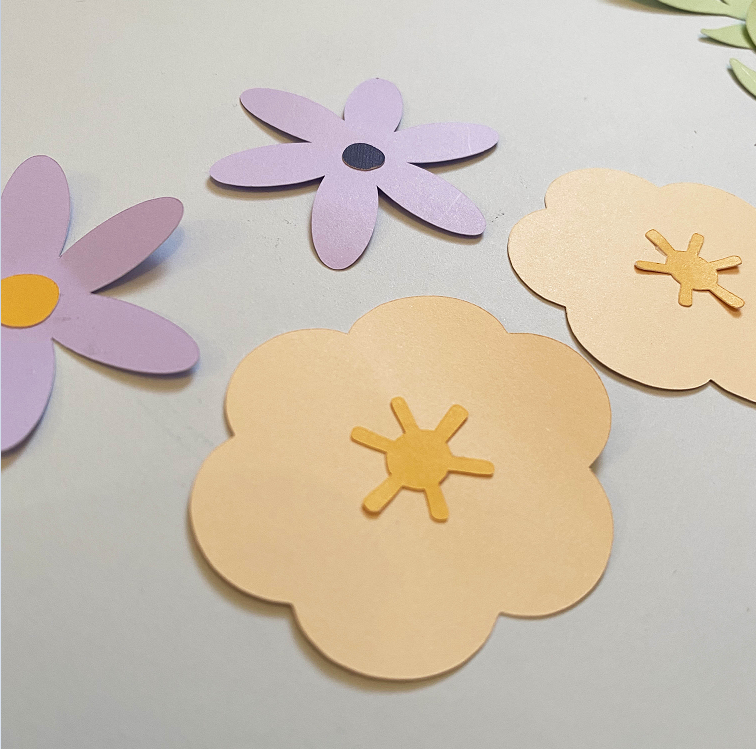
Stick the flower centres onto the petal shapes. You can use a mix of different centres on each of the petal shapes.
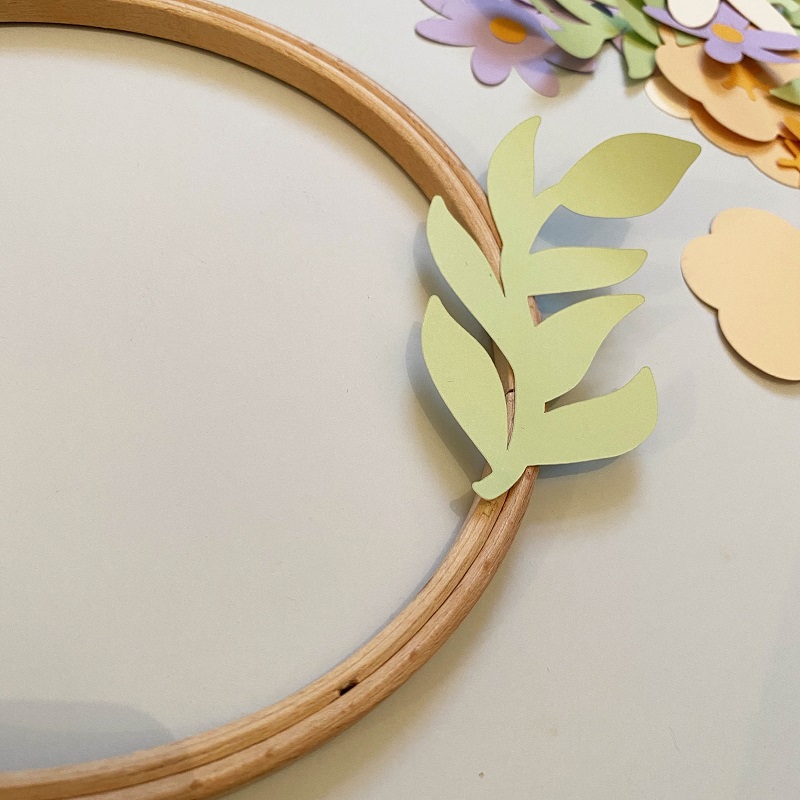
Begin sticking your foliage around the hoop to create your foliage base, working in the same direction with each stem.
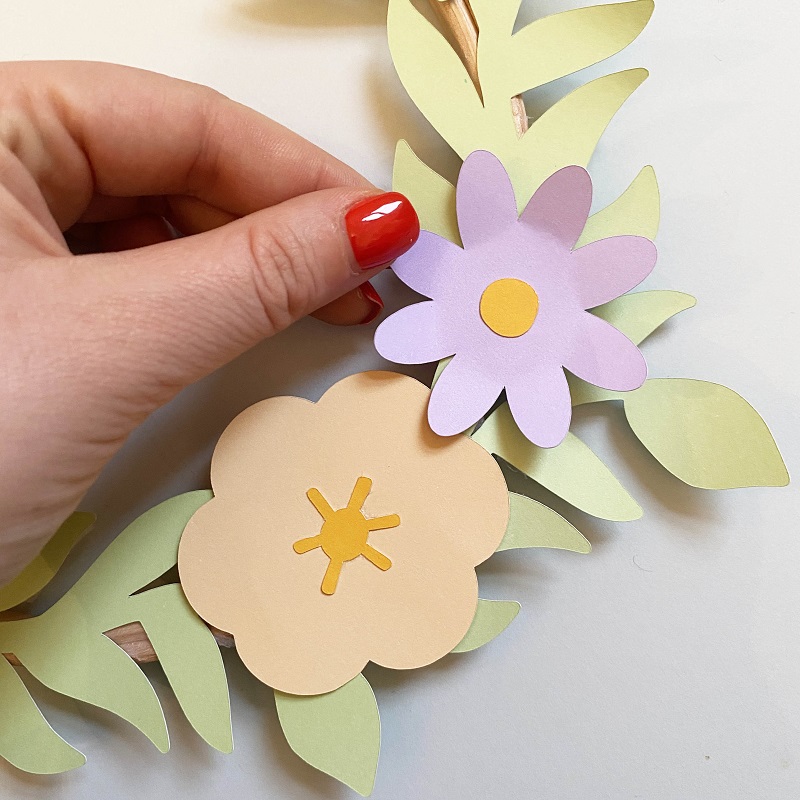
You can then build clusters of flowers onto the base, bending the petals slightly to create a more 3D look to your flowers.
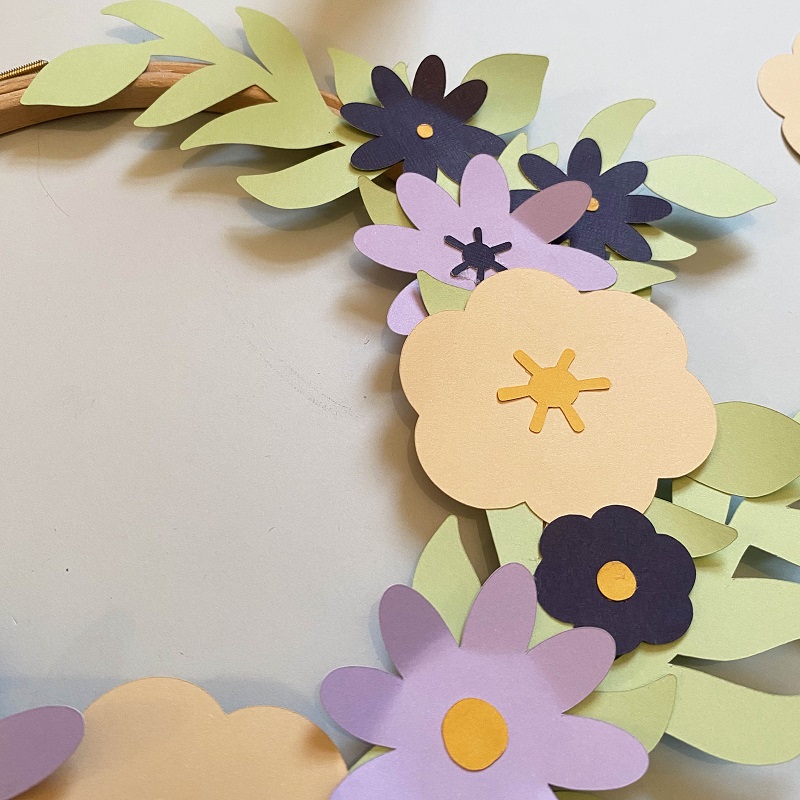
5.You can add as much or as little as you like: in this design, a section of the hoop has been left bare for a modern but wild and whimsical look. Once you are happy, add your ribbon and hang for some serious spring vibes!
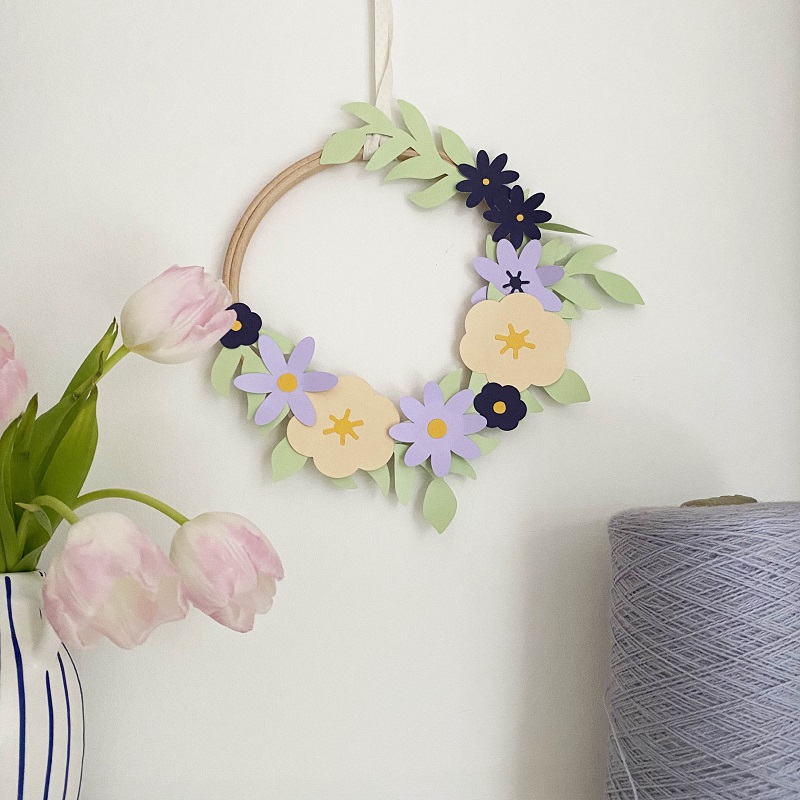
Credit: Project by Becki Clark

