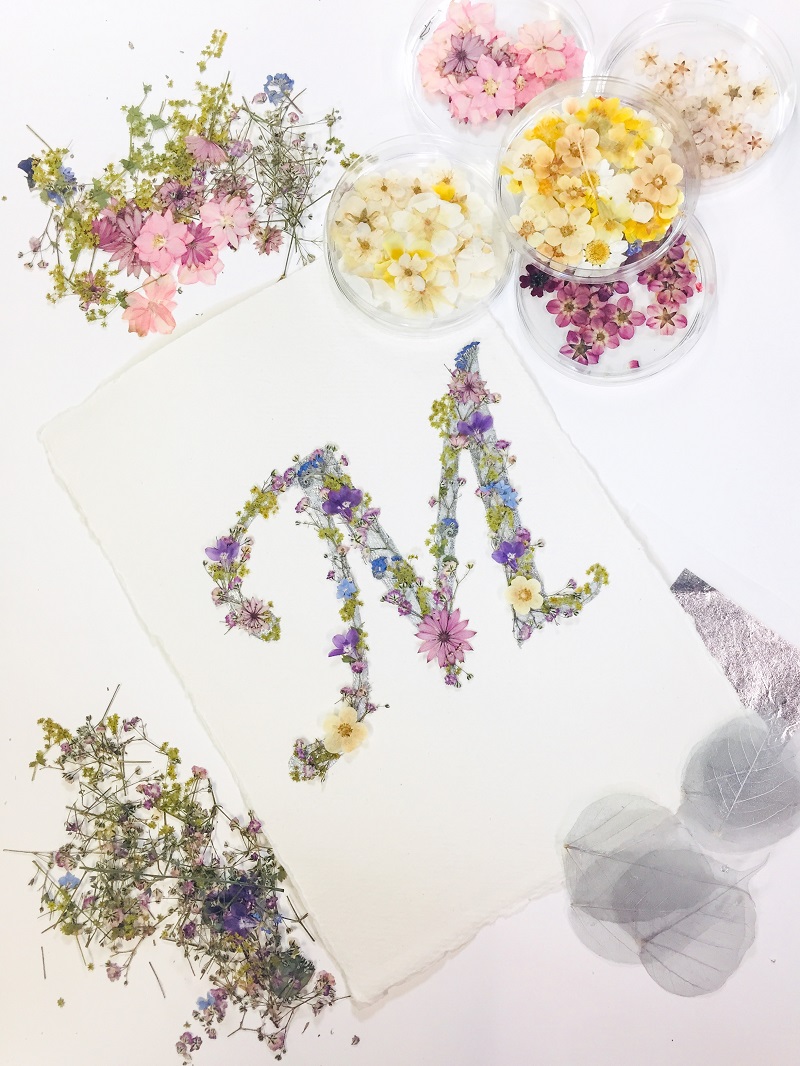
Say it with Flowers
You will need
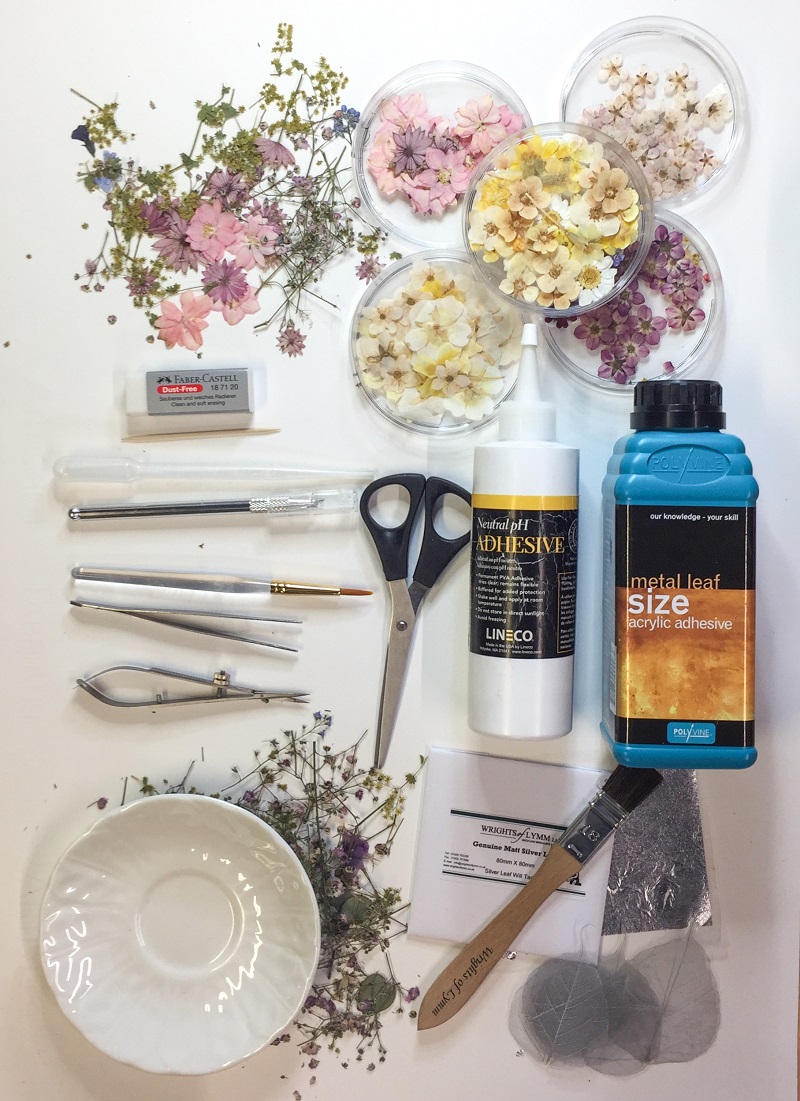
- Drawing paper - To practice your lettering skills
- Tracing paper - To use for transferring your word or letter
- Pencil - To use to create your word or letter
- Eraser - It is important to have a good eraser, preferably a dust-free one. If you are transferring the letter onto paper with a pencil, it can leave smudge marks, so a good rubber will clean this up.
- Watercolour paper/textured card stock/Handmade paper (A4 for this tutorial)
- Pressed flower - If you don’t have your own pressed flower materials, then there are quite a few online sellers to purchase from. Think about the size of flowers now, as this will dictate the size of your letter or word.
- Gold Leaf - Gold Leaf comes in many varieties and in this tutorial genuine silver leaf matt transfer has been used. It is recommended to use imitation (Dutch Gold) leaf, which comes on transfer paper, rather than using loose or flakes, especially if this is your first attempt at gilding.
- Acrylic size - Special adhesive for the Gold Leaf. Even the smallest amount will go a long way, so don’t rush out and buy a large amount.
- PVA Glue – In this tutorial a Neutral PH PVA has been used, but that is not necessary for this tutorial, just remember that you don’t need to use a lot.
- Toothpick or cocktail sticks - An essential tool for applying the PVA glue to the flowers and for holding things in place.
- Scalpel, Craft scalpel and/or Micro Scalpel - For trimming plant material.
- Tweezers - To limit the amount that you touch the floral material with your hands and essential for moving things into place.
- Scissors - Normal craft scissors will do, small and sharp would be best to trim plant material
- Pipette (water dropper) - To add small amounts of water to PVA and Acrylic Size
- Brush - Soft-headed brush for cleaning the piece of excess Gold/Silver Leaf and plant material, this should be clean.
- Brush - For applying the acrylic size and PVA glue, use a small acrylic paintbrush (number 1 or 2)
- Cutting mat – To trim your flowers/plant material
- Saucer - For the Acrylic Size and PVA glue, something shallow, so that you limit the use of both.
- Frame – This can be a shop bought frame or you can have something bespoke made by your local framer.
- Camera – To take reference pictures to work from and to share your marvellous finished piece (not essential, but rather handy).
To make
1. Fontastic
Picking the right font (or in fact typeface) is where this project starts, each letter of the alphabet works slightly differently, so a font you really like, might not work for every letter.
If you are confident in your hand lettering skills, then it is simply a matter of deciding what size of paper to use, then away you go to Step 2.
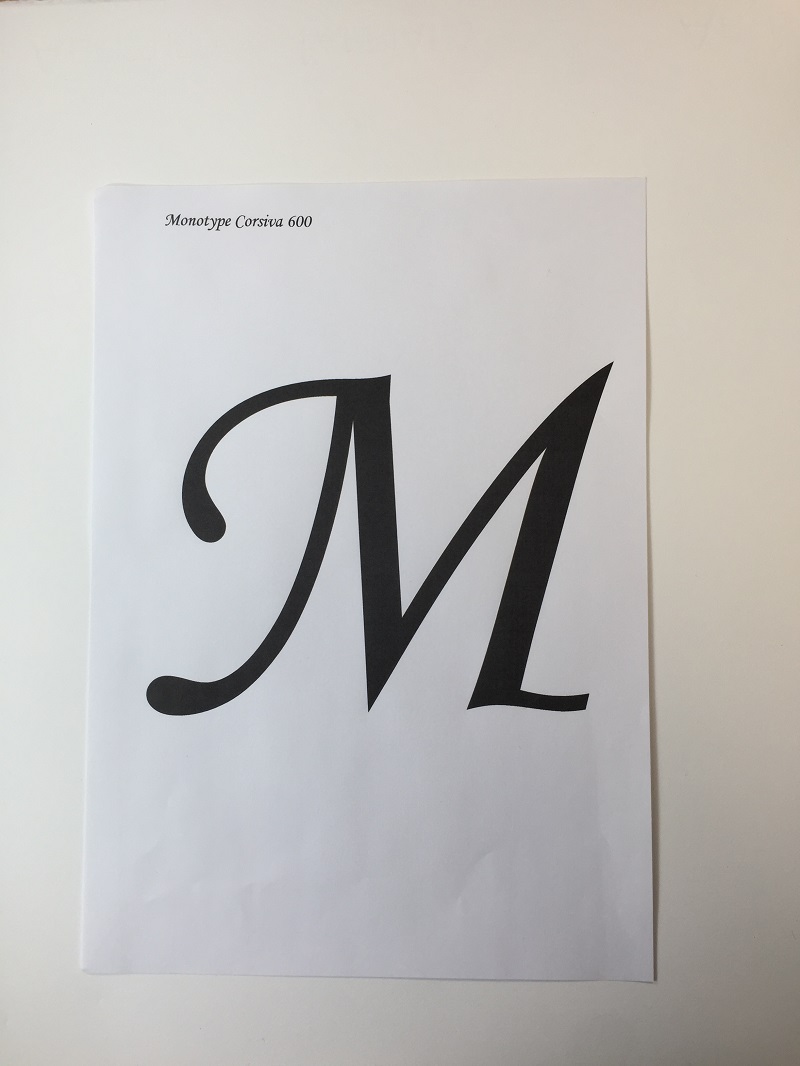
A simple way of creating your letter template is to use Word to find a font that you like; it would be best to pick a simple font to start with, whilst you get the hang of it. Then decide on the size, going up to 600 if working on a single letter on A4 sized paper.
Alternative: You could also print directly onto the paper to create the template letter rather than creating a template, so if you feel that you would like to try that method, then it might be fun to experiment.
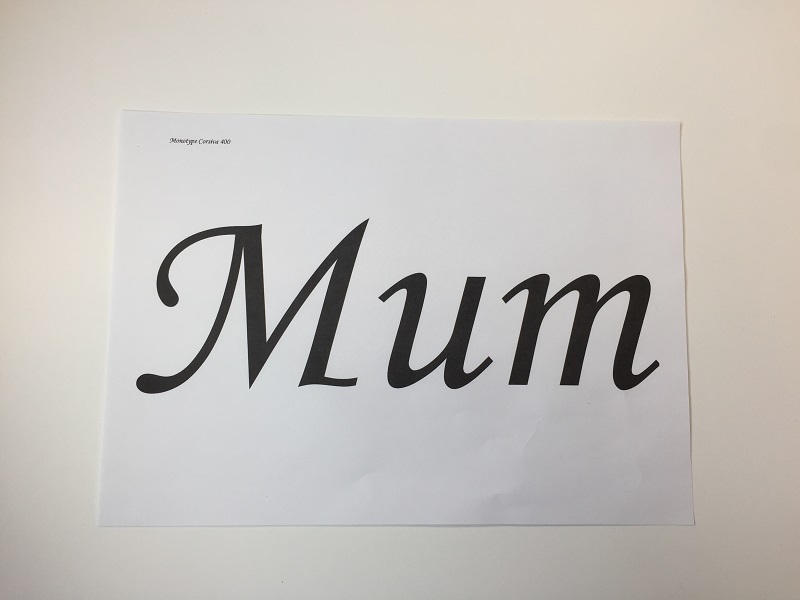
Note: You need to think about the size of your final piece, what size it will be when it is framed etc. This tutorial has been based on using A4 sized paper, so you will need a frame that will accommodate that size of the piece. If you are tackling a whole word (like ‘Mum’) then you should aim for around 400 for font size and remember to set your document to landscape if creating on Microsoft Word, so that the whole word will fit on.
2. Picking and Preparing the Paper
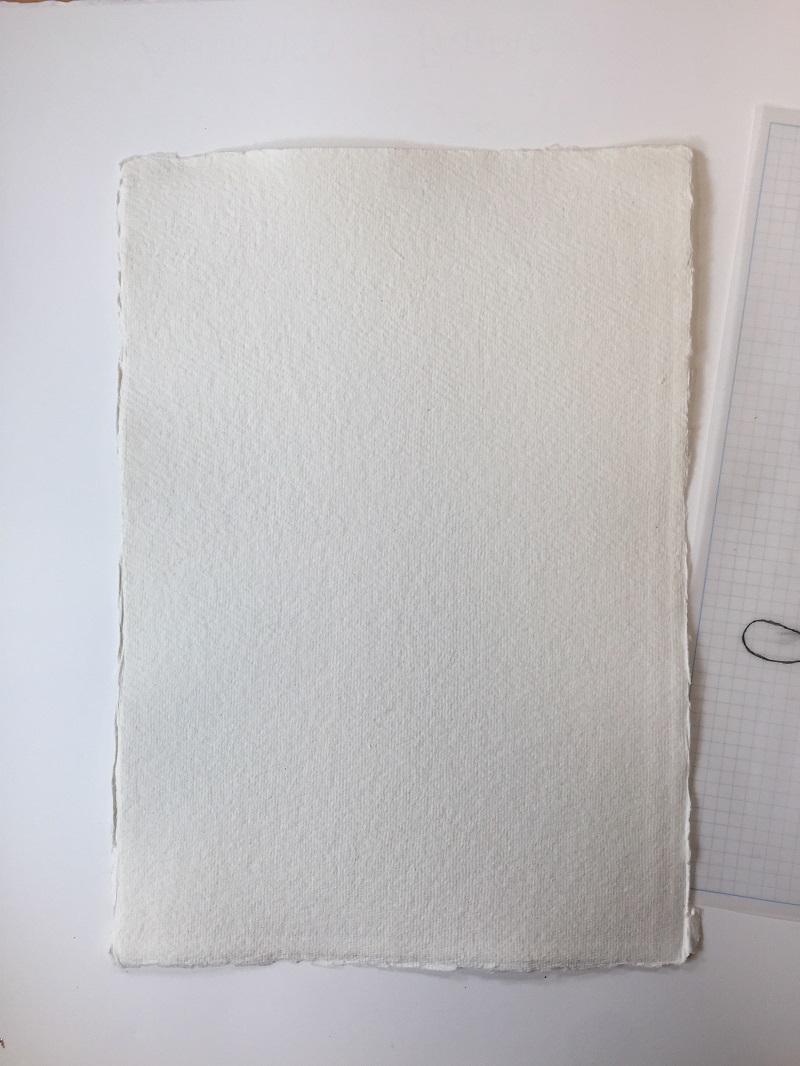
The best paper to use for this tutorial is a slightly textured watercolour paper or a fair-trade handmade paper. You may like to even use your own handmade paper.
Once you have the letter of your choice ready, you will need to transfer it onto the paper, creating a template to work with.
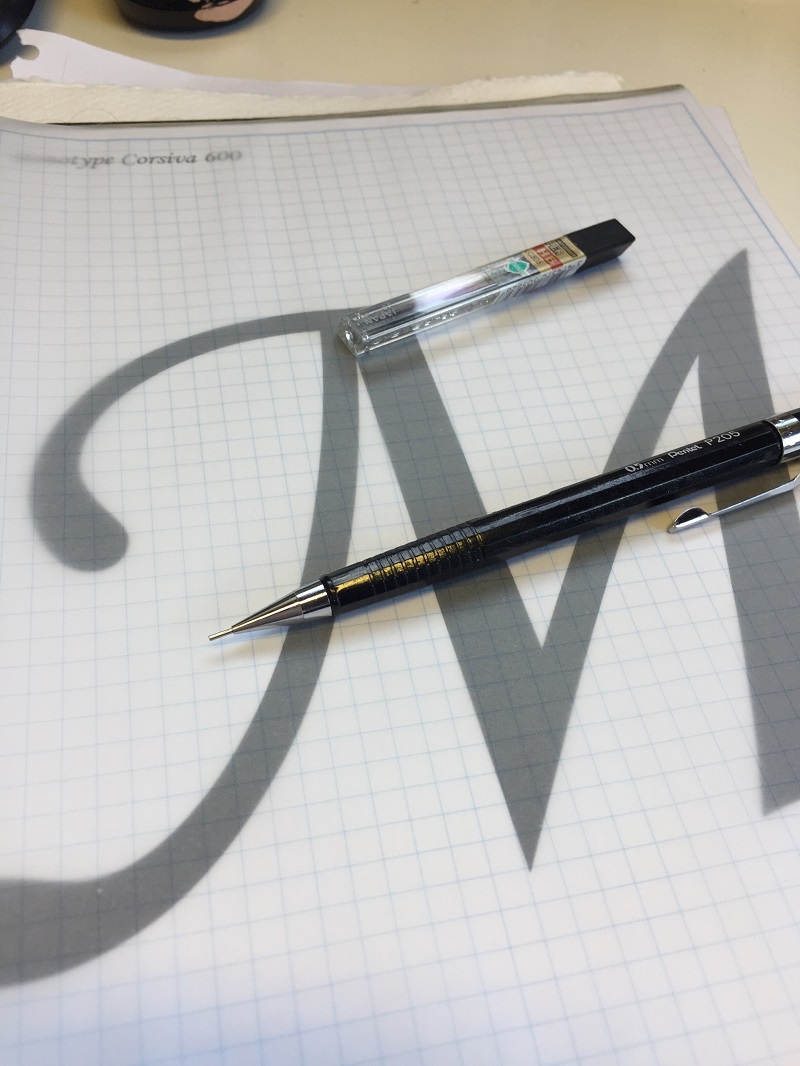
To trace the template: Using tracing paper, use a pencil to trace the print out of the letter.
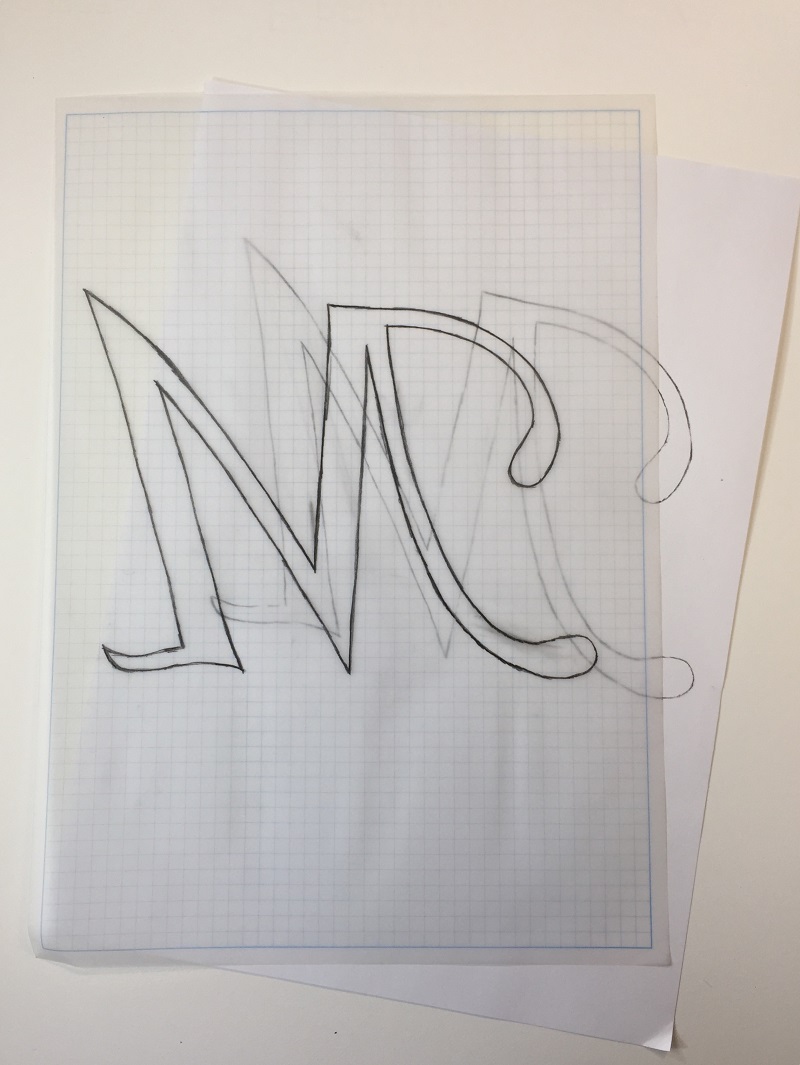
Once complete, turn over the tracing paper to the reverse and on a spare piece of paper, go over the tracing when it’s back to front.

Turn back over so that the font is the correct way around and place the tracing paper over the watercolour paper. Draw over the text once again, leaving an imprint on the textured paper.
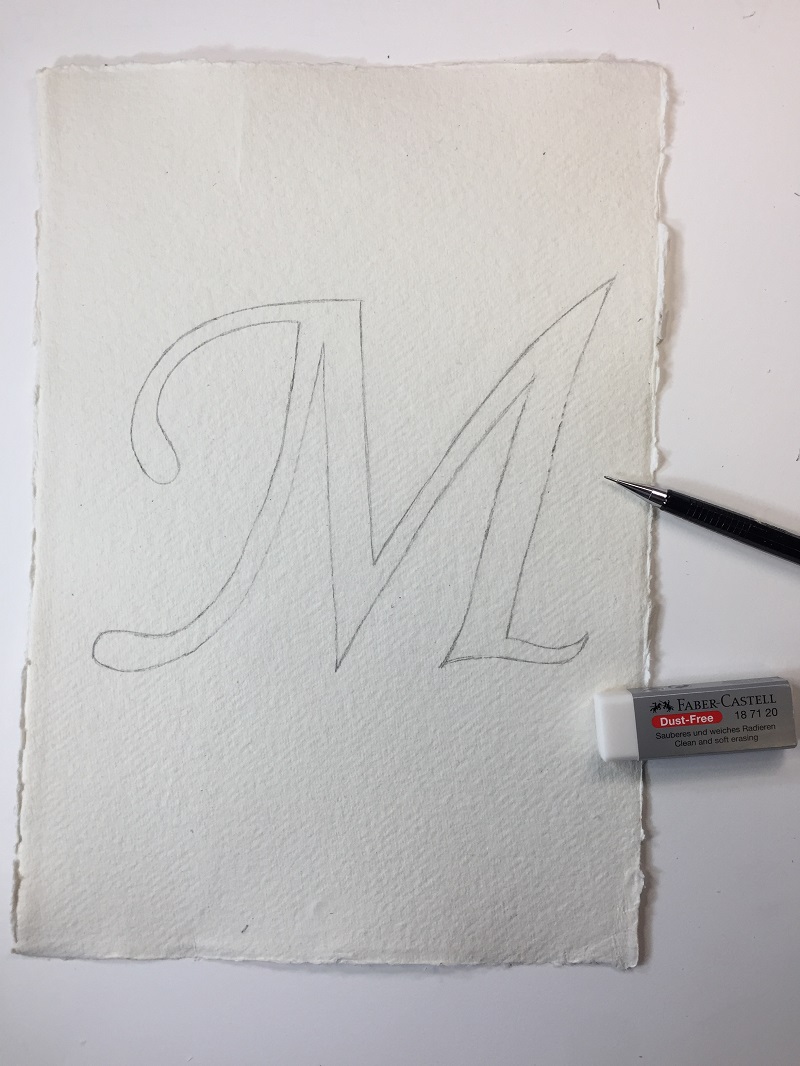
You will then need to rub away any smudge marks and have the paper as clean as possible, ready for the Acrylic size (fancy name for the glue used for the gold leaf).
Note: If you are going to print directly, then you will need to pick a paper thickness that your printer will handle, but this can be quite a stressful tug of war if you have ever had to fight with your particular model.
3. Sizing it up
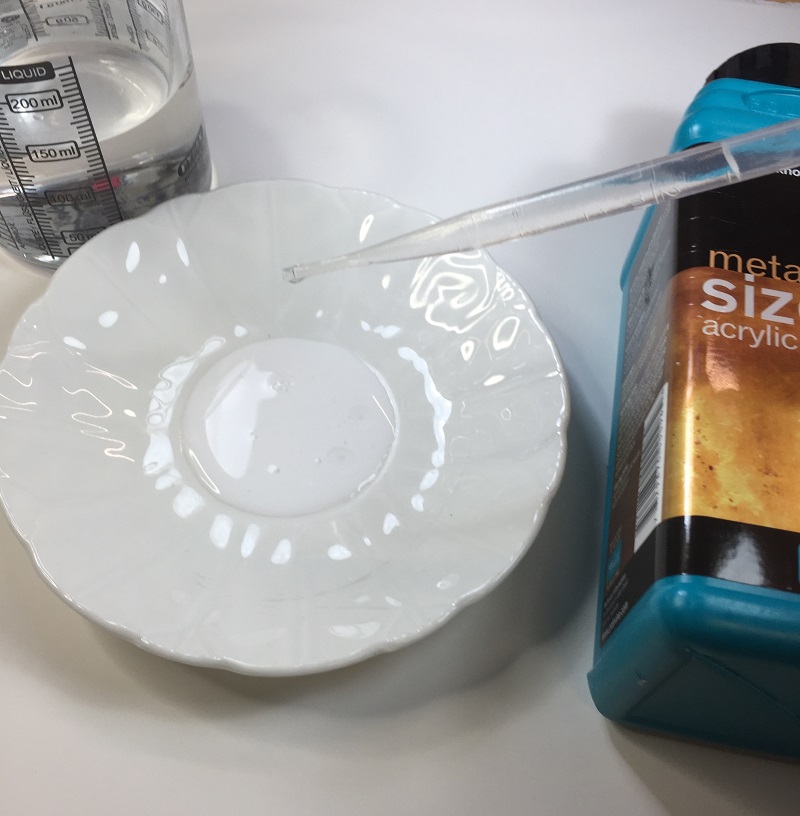
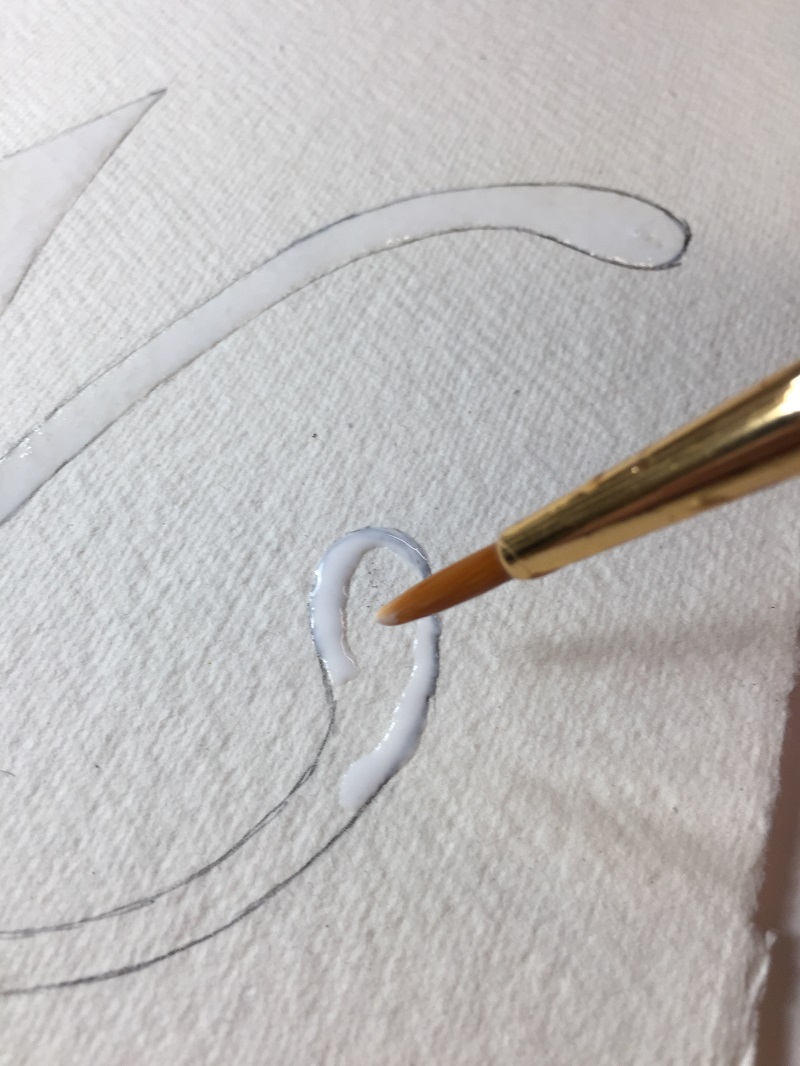
Acrylic size has the same consistency as PVA glue, and the trick is not to use a lot of it. It is useful to water it down slightly and treat it more like you are painting a light watercolour layer. You can use a teacup saucer (the small well in the middle) and a few drops of water.
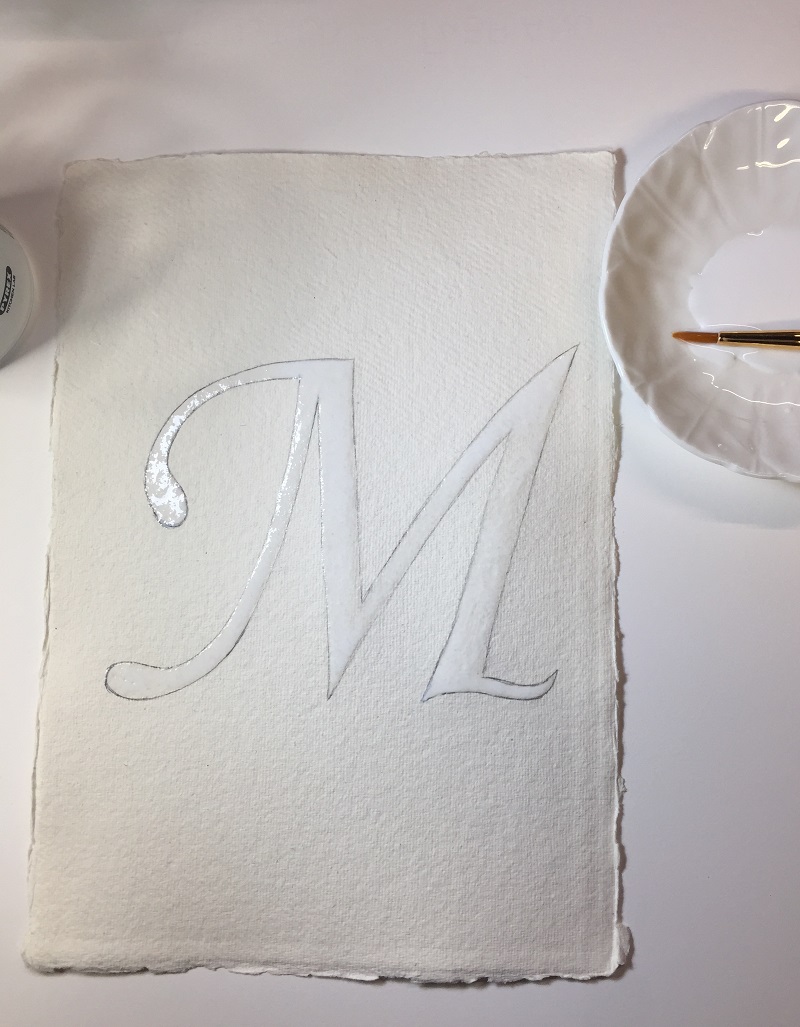
Once you have applied the acrylic size, you should now leave the piece for at least thirty minutes, until the acrylic size is tacky to the touch, if you are not sure, leave it another ten minutes. You could in fact leave it for a couple of hours, as it will stay tacky and be ready for gilding for quite a while. Always err on the side of caution before adding the gold/silver leaf, as the results will be much nicer if you give it enough time.
Tip: Look out the colour change, from a milky/cloudy colour to a translucent barely-there effect.
4. Leafing it
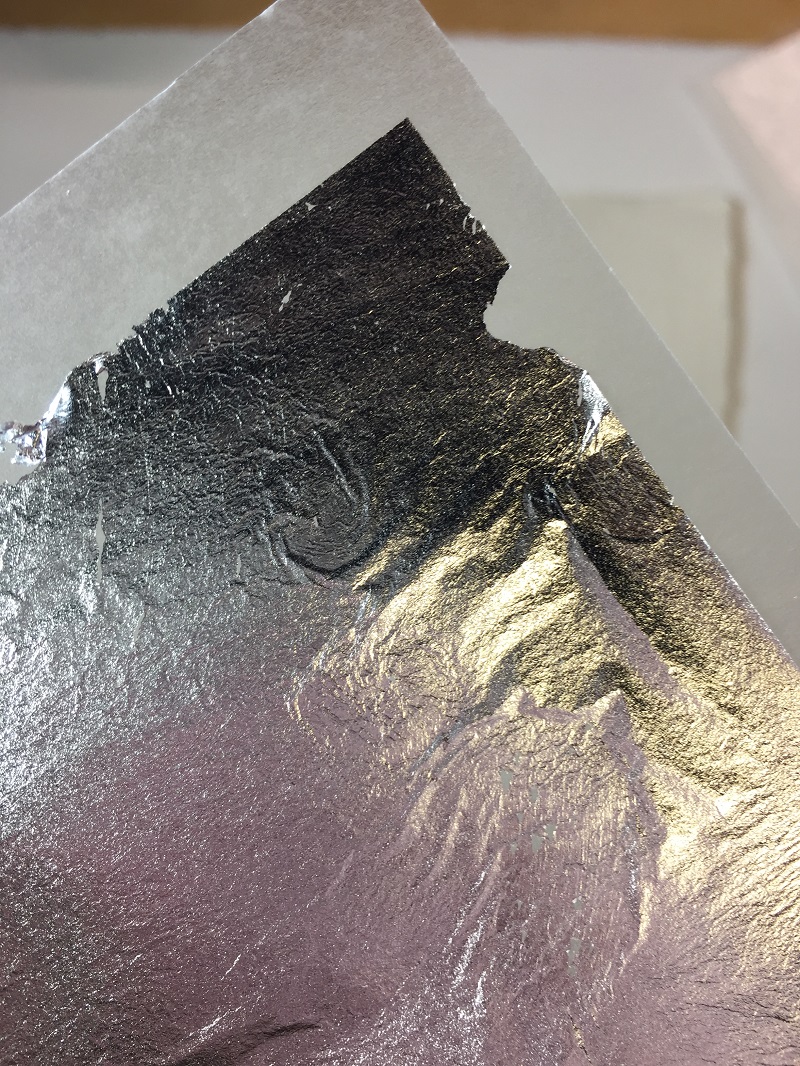
Once you are certain that the acrylic size is tacky, you can then add the gold leaf (or silver leaf in this case). You can use transfer sheets to cover the whole piece, smoothing it over gently.
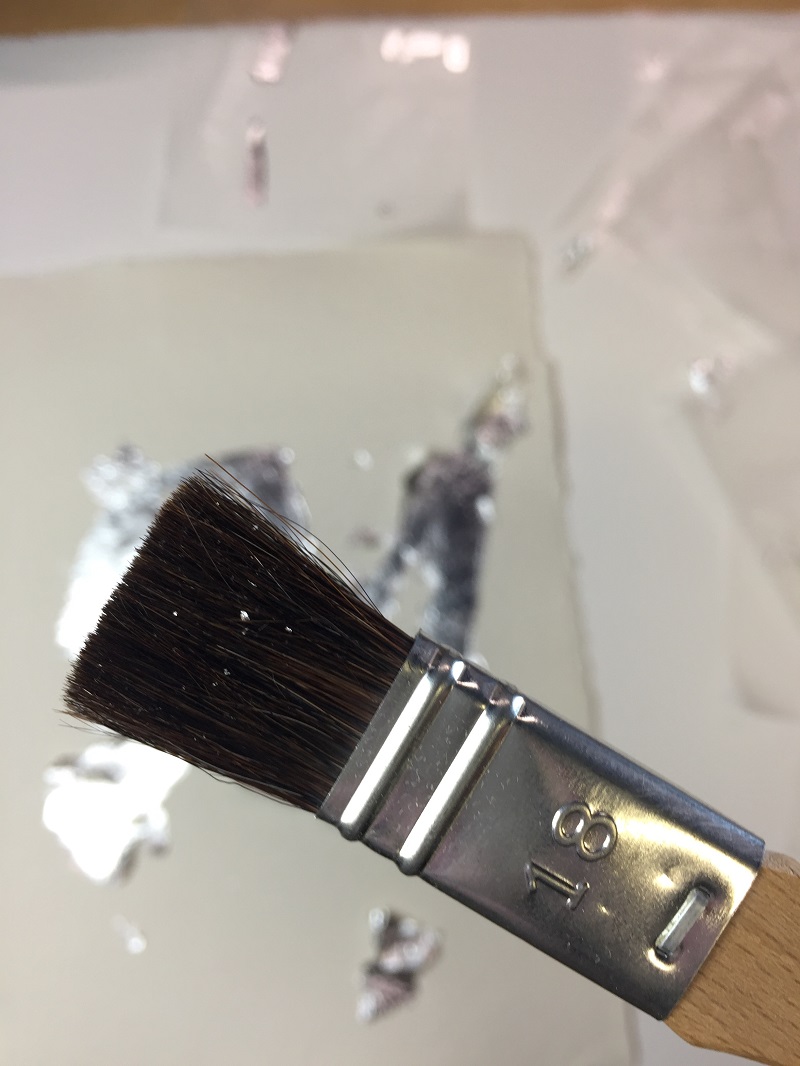
Peel back the paper, then carefully brush away the excess, revealing your letter or word.
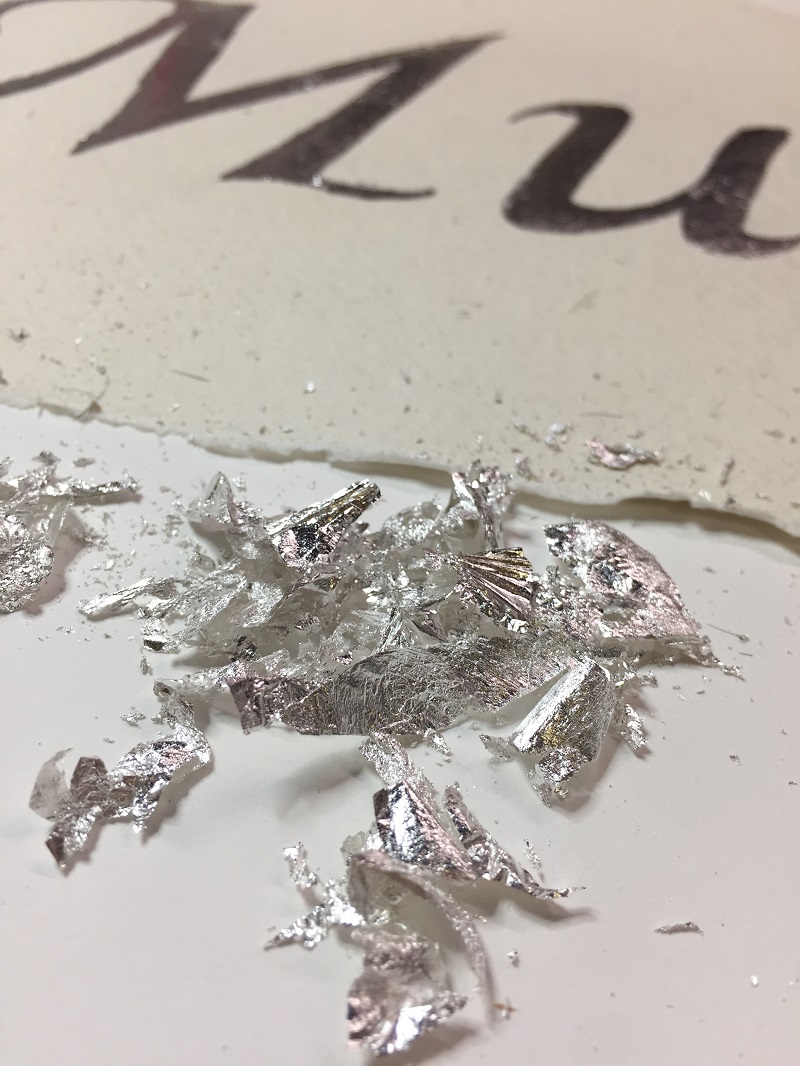
Nothing goes to waste though, simply brush the excess into any plastic container you have to hand.
Note: In this tutorial, genuine silver matt transfer leaf has been used, but the imitation leaf is brilliant stuff and highly recommended, especially when you are just starting out.
5. Tidying and Fixing
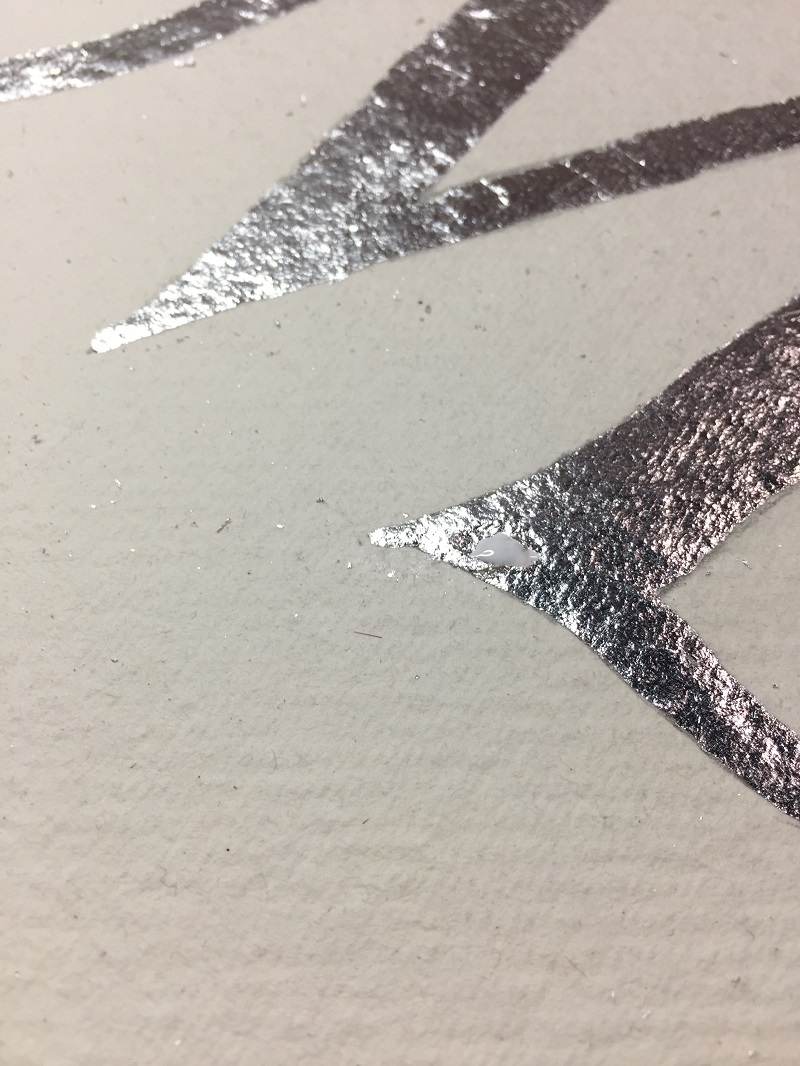
You may have noticed some gaps when you have brushed the excess away, but don’t worry, that is easy to fix. Make sure your piece is as clean and dust-free as possible, then simply go in and add a tiny amount of the acrylic size in any of the gaps, wait till tacky once again, then use some of the leftover leaf to touch it up. With your soft brush, you can now give the whole piece a gentle brush, to get rid of any remnants.
6. Skeleton time (This step is optional!)
If you would like to use a layer of skeleton leaves over the gold or silver leaf, it creates a nice look to the project.
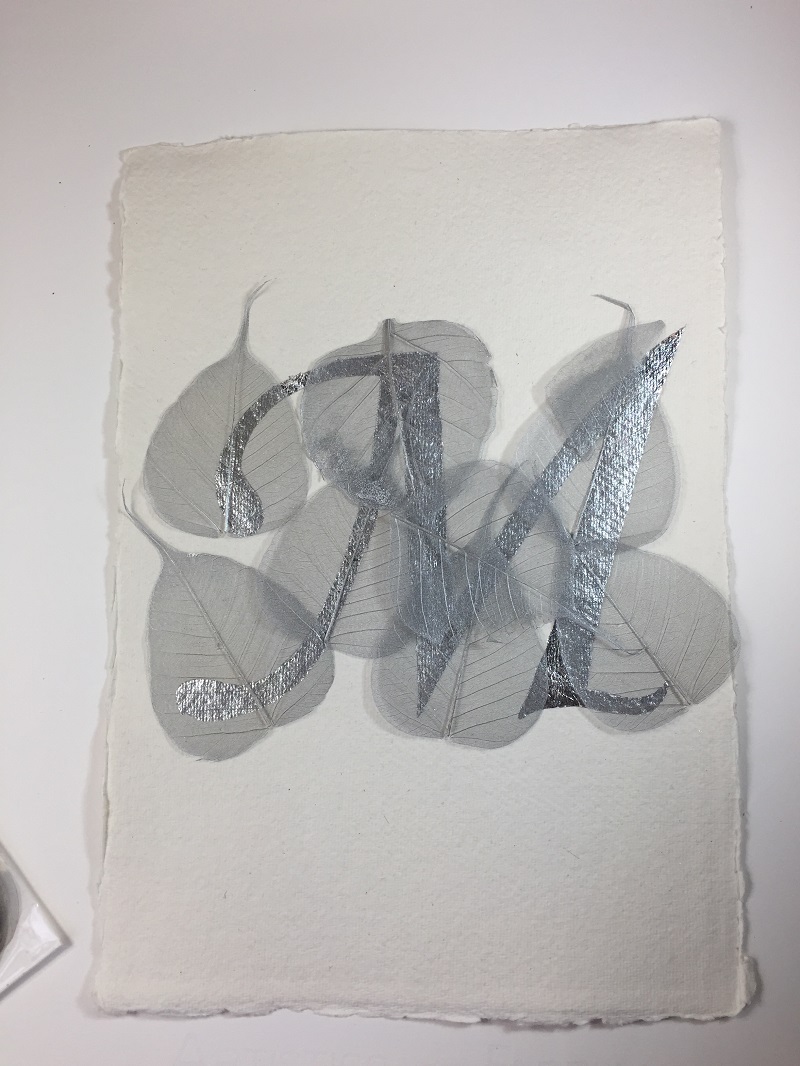
Apply the skeleton leaves with the smallest amount of PVA glue, which has been again watered down with a few drops of water.
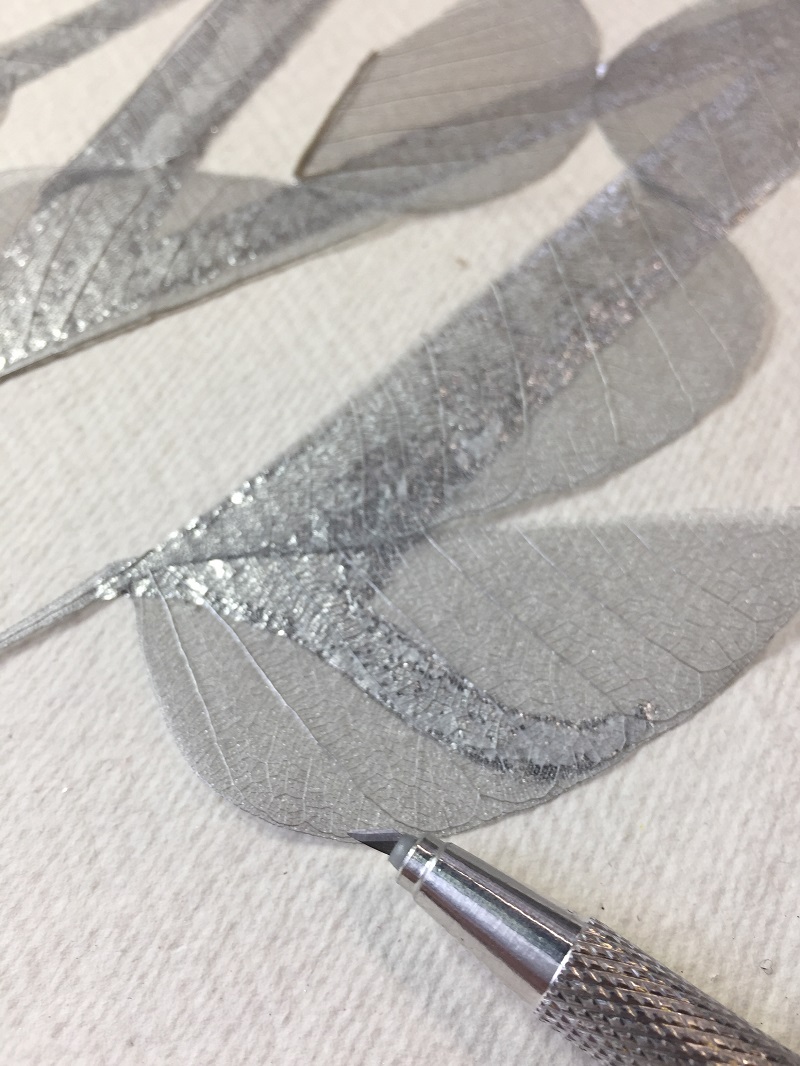
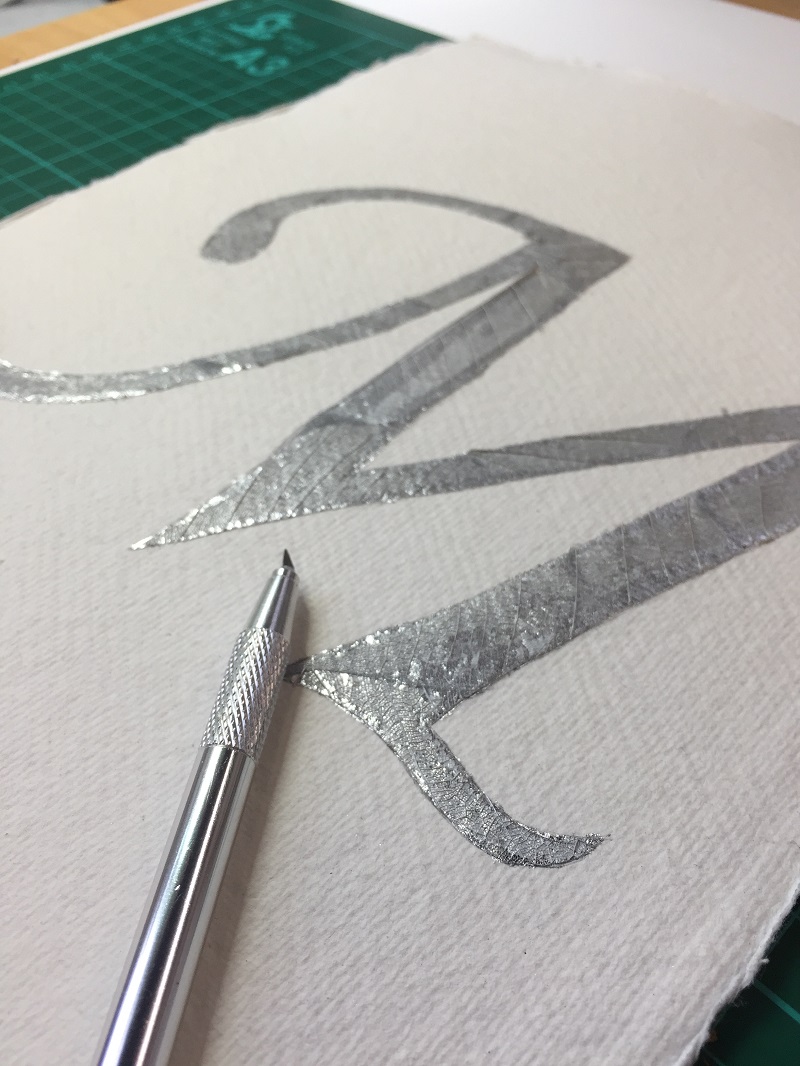
Once the leaves are dry, trim away the excess using a micro scalpel.
7. Floral Dance
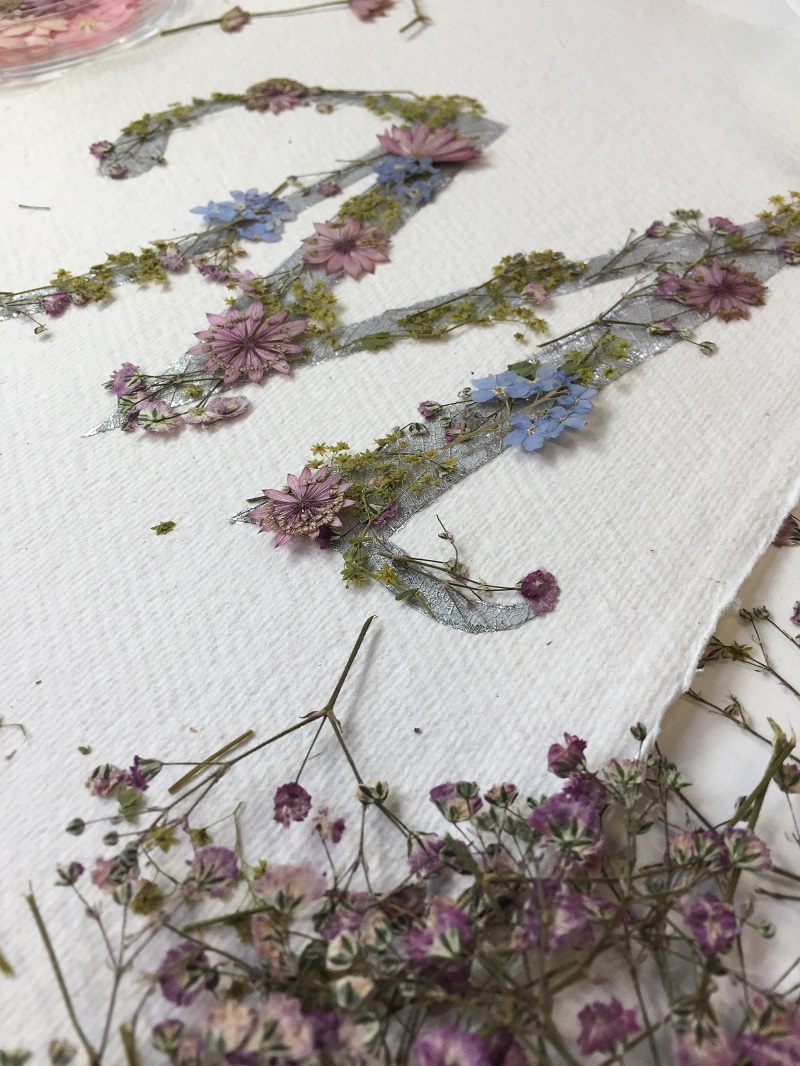
What flowers you use will depend on the size and shape of the word or letter that you have chosen to do. So before you get the glue out, have a play around with the layout, take a step back, take photographs, make a cup of tea and then proceed to the next step. Try to minimise how much you touch the flowers with your fingers, using tweezers whenever possible.
Tip: Flowers that are especially nice to use are usually the smallest ones that can be pressed, from Forget Me Nots to Gypsophila and Lady’s Mantle. If you are buying your flowers online, then depending on what time of year it is, there will be limited availability due to the seasonality of flower pressing. The flowers used in this tutorial were all pressed last summer or bought the year before that.
Note: You may want to wear a facemask, to prevent sending the flowers into a floral dance with sneezes, laughter or coughing.
8. Final layout
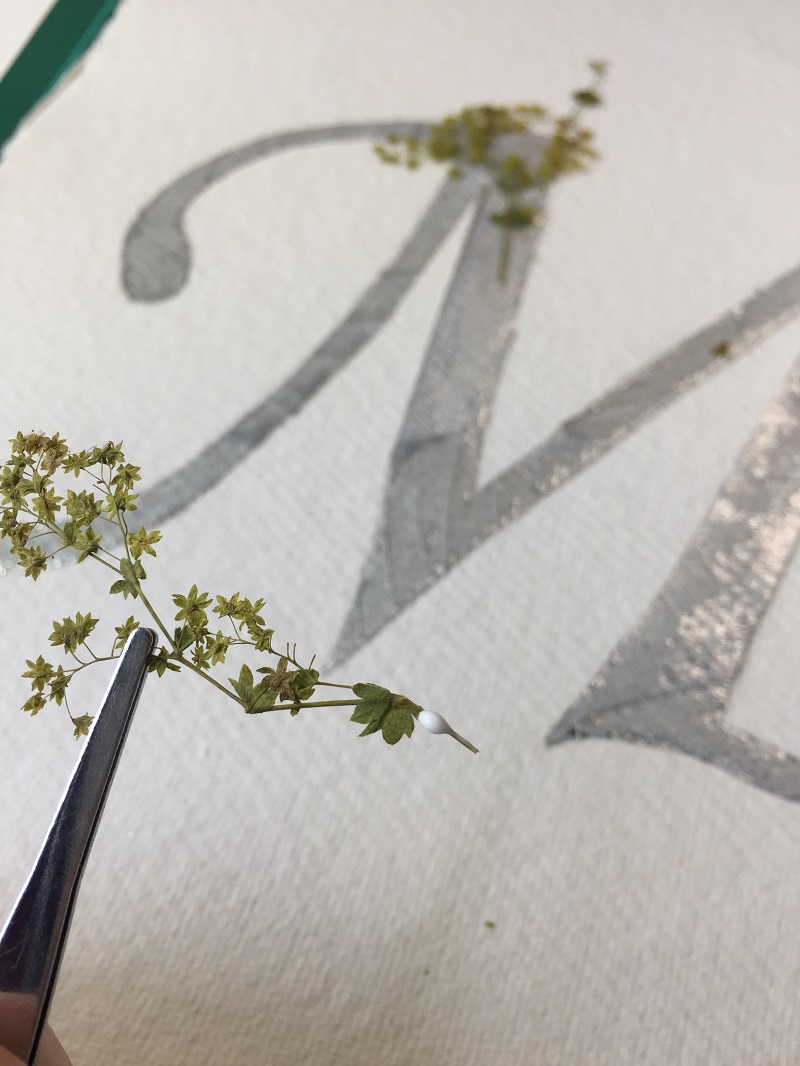
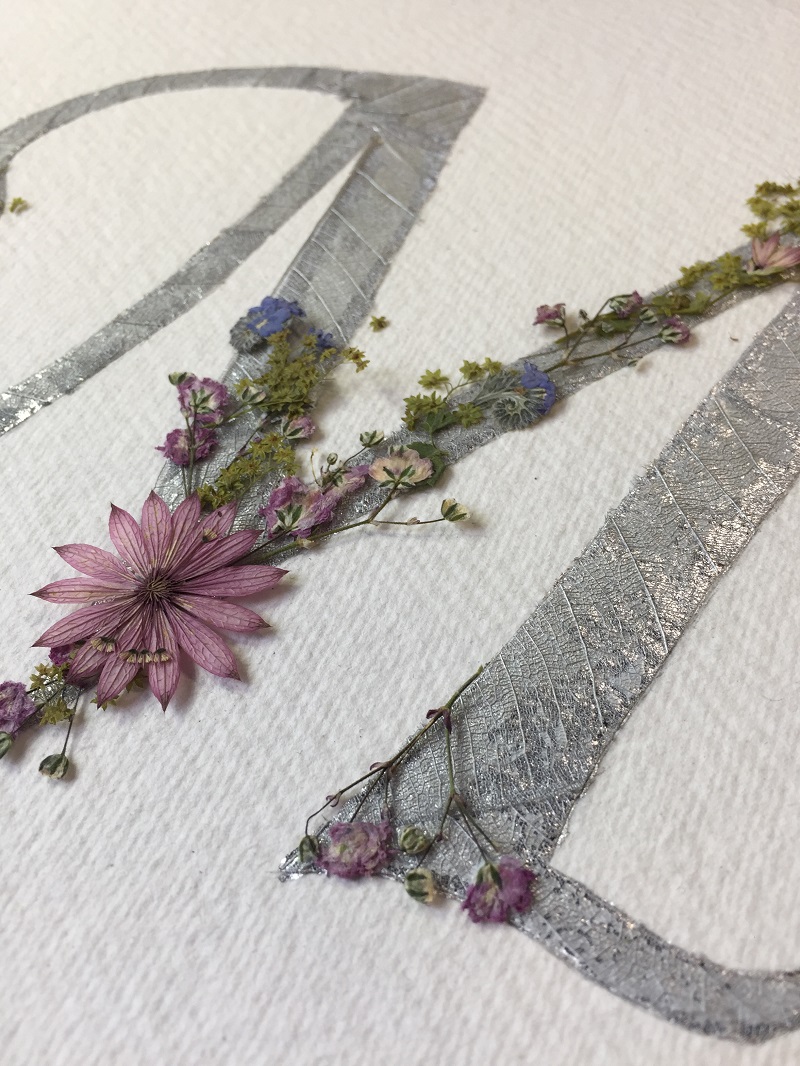
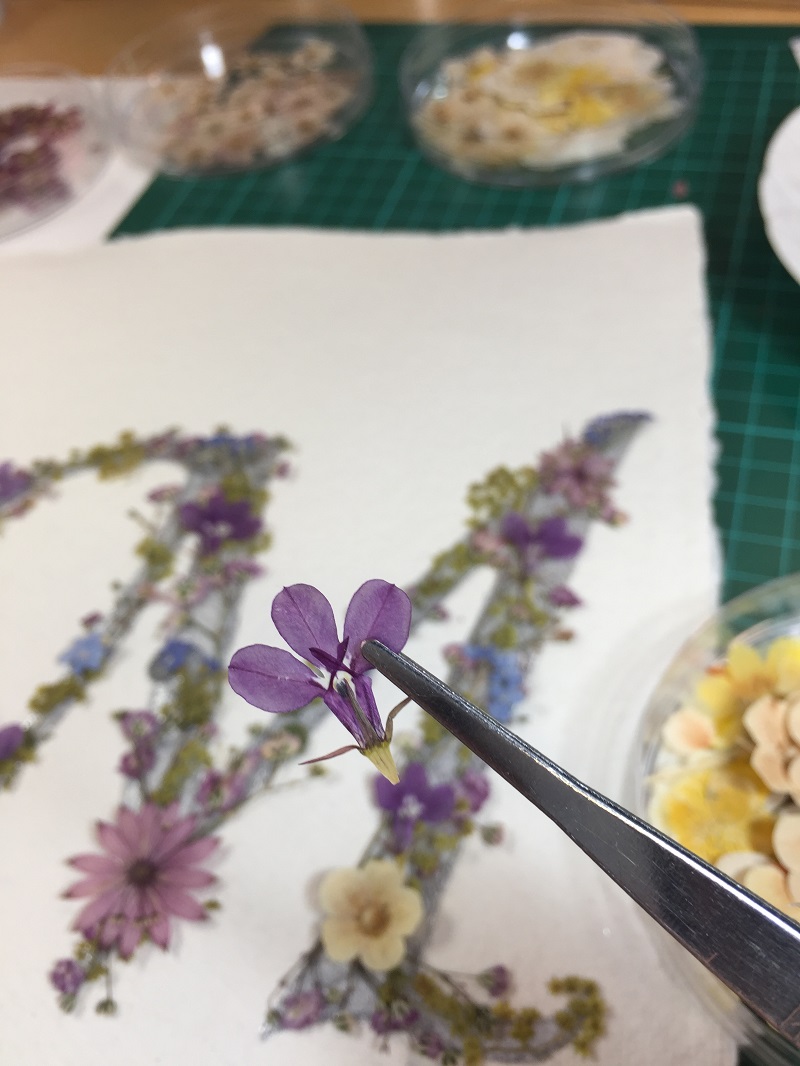
Once you are happy with your final layout, take a photograph and then clear the flowers to one side. Using the photograph for reference, start to glue your flowers back into place. You only need to use the smallest amount of glue, and that is where your cocktail stick comes in handy, you really just use a tiny amount. Allow things to dry for at least half-hour and then place the piece upright and give it a gentle tap, this will allow you to see how secure everything is. If anything needs trimming, then use your scalpel at this point.
9. Frame it
Due to the botanical nature of the piece, it needs to framed behind glass, if you would like the piece to last for years to come. The finished piece will be surprisingly robust, so if you need to wait a while before framing, keep it protected from moisture and direct sunlight. You could keep pieces in plastic boxes with tissue paper and packets of silica gel and they will be quite happy for a while.
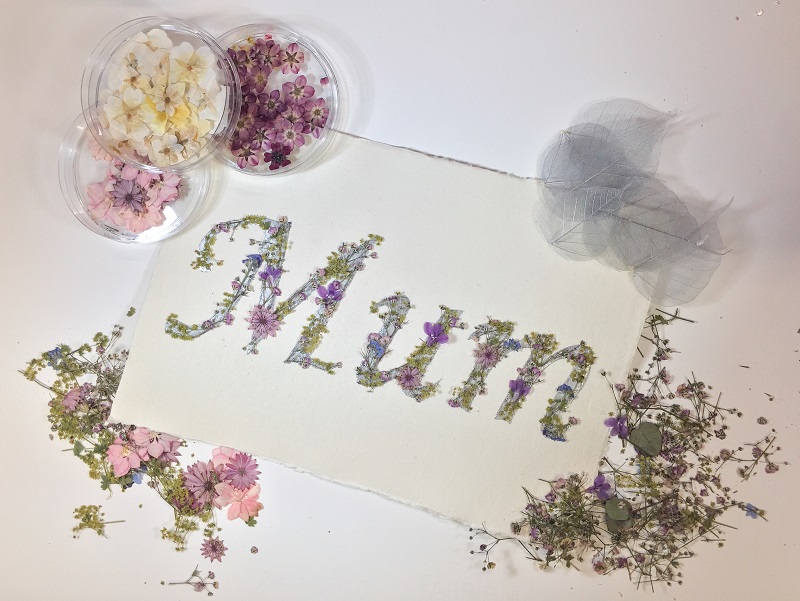
Project by: Claire Rachael Pitt ‘C.R. Pitt Designs’, a proud member of Runcorn Women’s Institute ‘The Ferry Girls’.

