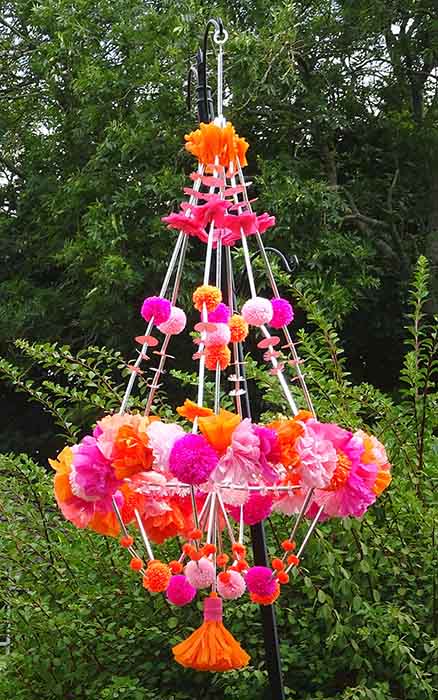
Paper chandelier
You will need:
- A total of 6 sheets of tissue paper in your chosen colours
- About half a pack of crepe paper in total
- A couple of sheets of coloured A4 paper
- 15m strong thread (4 x 3m and 3 x 1m lengths)
- 30 drinking straws (you could wash and recycle used plastic straws)
- A small plastic ring for hanging
- A 40cm plain metal ring
- Scissors
- Quick dry adhesive/hot glue gun*
- Large sewing needle
- Half a dozen pegs or paperclips
- Circle/flower punch*
- Pompom gadget*
*If you have them
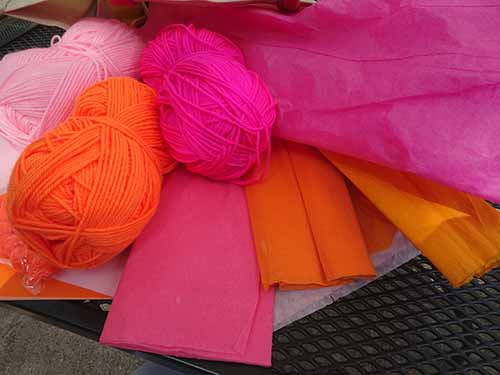
Though the traditional pajaki have 8 strands, we’ve chosen to use just 6 for our project.
The spirit of our chandelier project is to use what you have. This is a chance to use bits and pieces of all kinds of paper and yarn: there is no greater satisfaction than creating something from the things you have already!
The only ingredient you might need to buy is a pack of approximately 30 drinking straws (depending on the size of your project). If, like many of us, you have a box of plastic straws at home, this might be a good opportunity to put them to good use (or you might wash and recycle them).
Remember that your chandelier doesn’t have to be the same as the featured image: replace the pompoms with extra crepe paper flowers, or add more coloured paper shapes. It’s up to you!
To make
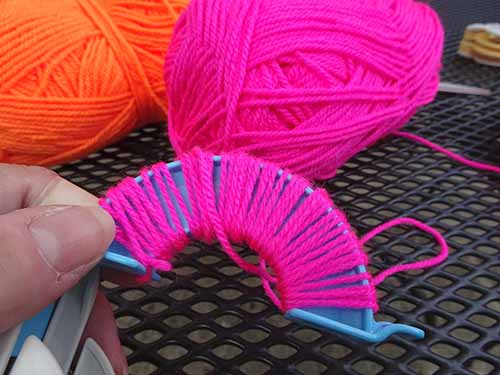
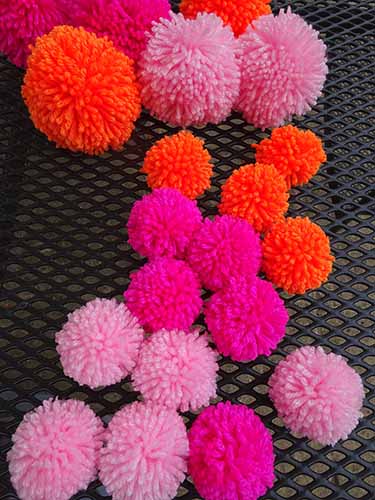
1. First, make the pompoms. If you have a gadget, this makes it quick and easy. If not, then use your preferred method to make 6 large (8 to 10cm) and 12 small (5 to 6cm) pompoms in an assortment of colours.
2. Tissue paper flowers next. Use your own method of making them, or take about quarter of the sheet (20 x 50cm) and make concertina folds across the narrow width at about 2cm intervals.

3. Fold the stack of pleats in half and tie with a piece of yarn.
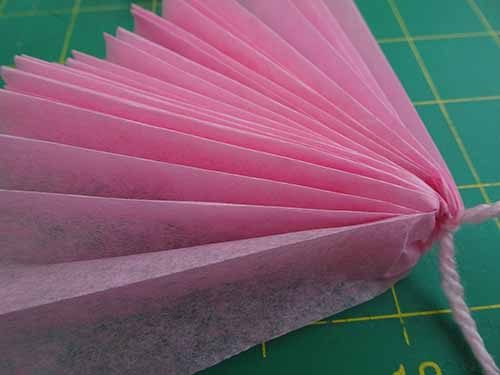
4. Cut the edge into a curved petal and carefully pull out the folds.
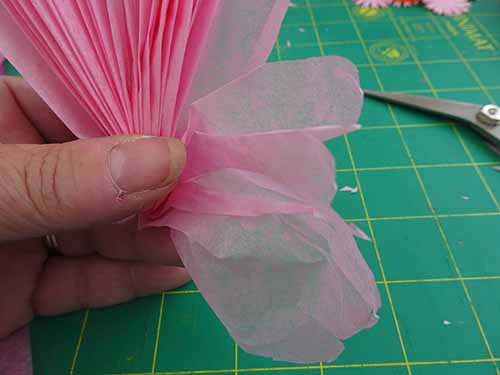
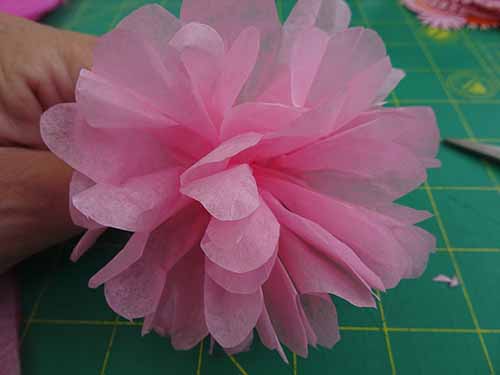
5. Gently pull into a flower shape and place to the side.
Make an assortment of colours if you have them.
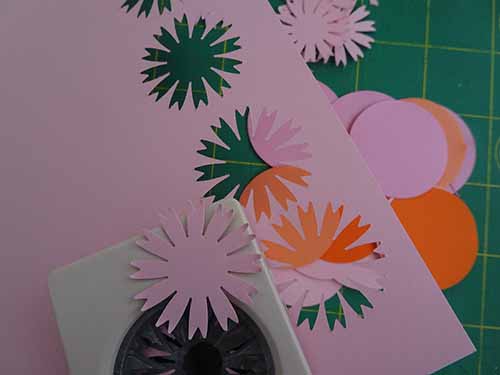
7. Cut about 50 (max 5cm) shapes from the coloured paper. A paper punch makes this easy, but as the shapes don’t have to be accurate, scissors will be fine.
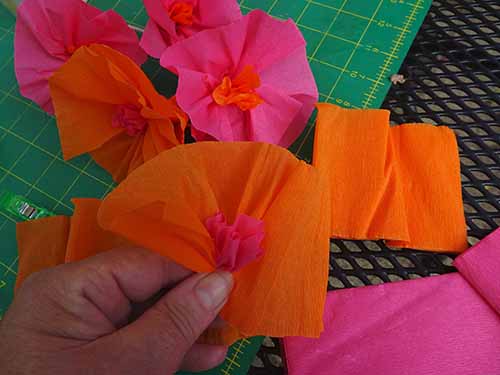
8. Make crepe paper flowers using an 8 x 30cm strip of crepe (with the crepes parallel to the short edge). Wind this long strip around a smaller scrap of a contrast colour, tie the base with a small piece of yarn and stretch the top open to form a flower.
You’ll need at least 24 flowers, which can be a mix of colours and styles, tissue and crepe paper.
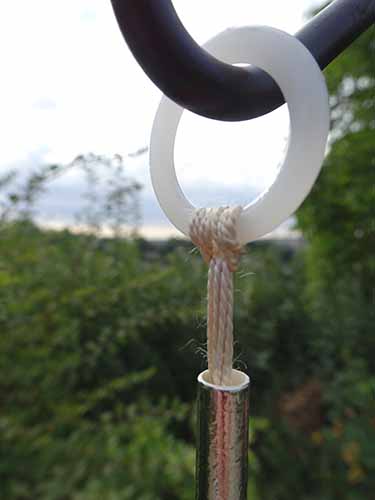
9. With a collection of paper flowers, pompoms and paper shapes on hand, it’s time to begin the chandelier. Take the 4 x 3m lengths of strong thread, fold in half and thread through the hanging ring as shown to secure.

10. Here’s where having a hanging hook is useful — thread the 8 ends of thread through a 10cm length of straw using a large needle.
From this point onwards, you’ll work with 6 of those threads, leaving 2 empty threads hanging in the centre.
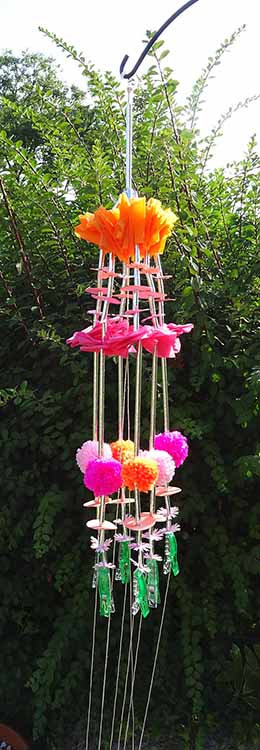
11. Begin to thread each strand with an assortment of decorative bits and pieces separated by small pieces of straw. We used the following (as shown in the picture):
- An orange concertina fold of crepe paper with a 2cm piece of straw underneath
- 3 cut paper shapes, separated by 2cm straw pieces
- A pink crepe concertina fold with a 10cm straw underneath
- A small pompom
- 3 more paper shapes with small pieces of straw separating them
- A 10cm piece of straw
- A second concertina fold of orange crepe was added before the ring was tied on – shown in the next step
You don’t have to follow this slavishly – replace the crepe folds with tissue paper flowers, or add more pompoms… it’s up to you.
Note the 2 empty strands of thread hanging down the centre.
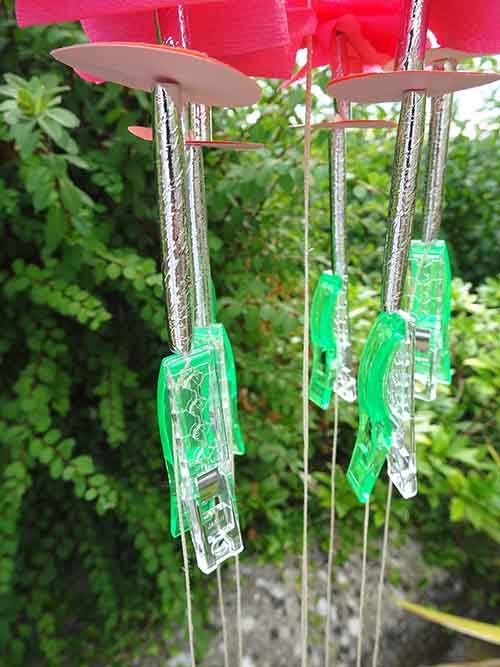
12. Pegs are a great way to stop everything from dropping off the bottom.
13. Prepare the metal ring by covering it roughly with a strip of crepe paper. Florists would do this very neatly and tightly, but for our purpose, it’s better that it’s a bit thicker and not quite so tight. That way, when the flowers are attached, they have a little more to hold on to!
Thread each of the 1m long pieces of thread with as many paper shapes and 2cm straws as needed to stretch across the ring as shown and secure with a knot at the edge. Cut off the long ends as you go.
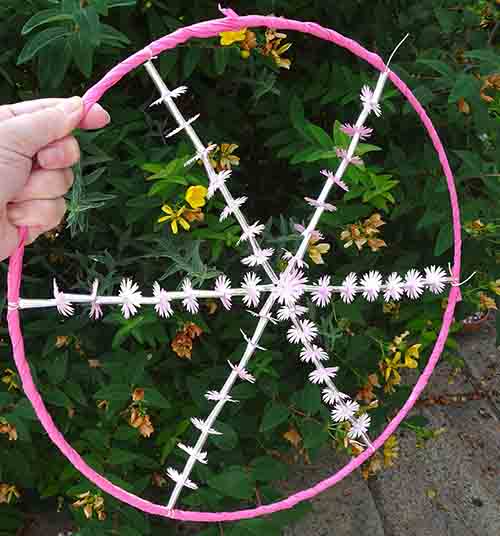
14. The next step is to tie the 6 decorated hanging strands to the covered ring. Tie them loosely at first, hold with pegs and check that the whole pajaki hangs straight before securing it firmly. Don’t pull the decorated strands too tightly – leave it fairly loose so the straws don’t scrunch up into the pompoms.
Check the 2 central, empty strands and decide how to decorate them. We had some spare small pompoms, but you could use something different, of course.
Having decorated the centre threads, tie them around the centre ‘cross point’ of the ring, bringing the whole thing together.
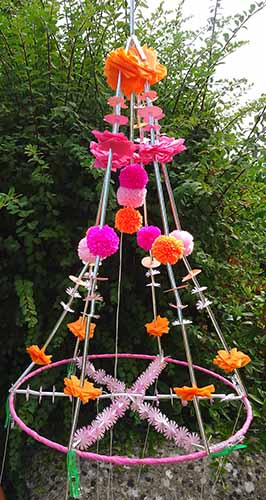
15. Take the chance to straighten out any wonky bits!
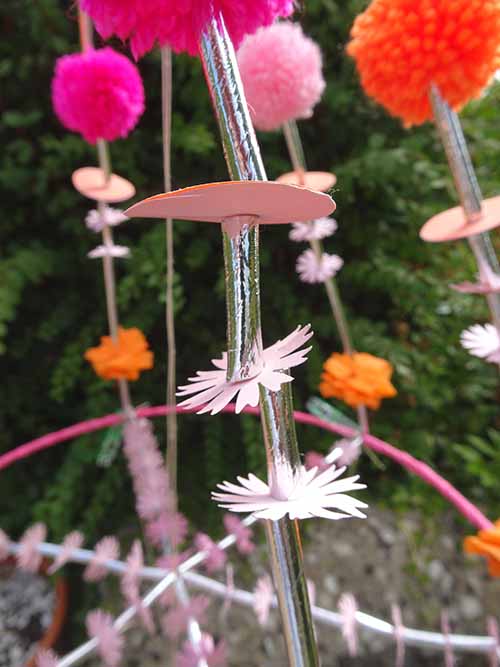
16. Using a hot glue gun or quick drying adhesive, attach the 6 large pompoms over the knots holding the ring in place. Leave all the strands of thread dangling for now.
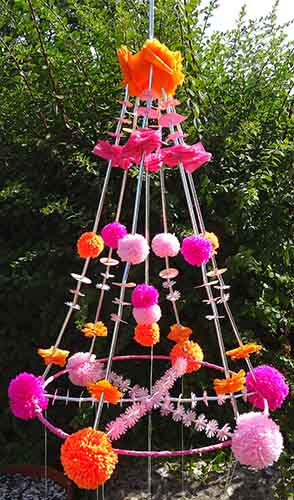
17. Begin to attach the paper flowers in a pleasing arrangement of colours and shapes around the ring, using the hot glue gun or quick dry adhesive. Trim loose ends and strings of glue as you go.
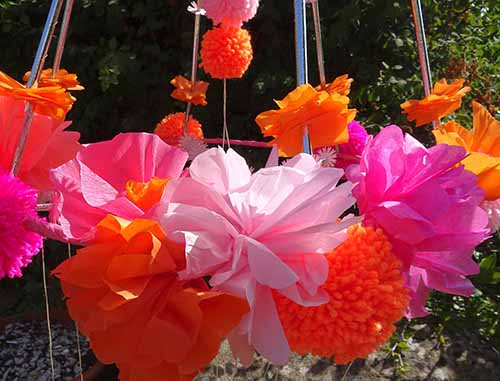
18. Step back from time to time and look for gaps or areas where the colours are not so well distributed and add more if needed. Have fun and be lavish!

19. When you are happy with the arrangement, turn your attention to the centre strands and the pompoms (or whatever decoration you chose to use). Check the height of them in relation to the rest of the ring and decorations on the 6 holding strands and make adjustments if necessary.
Cut a couple of straws open along the length and use them to cover the centre threads, pushing the thread through the cut in the straw.
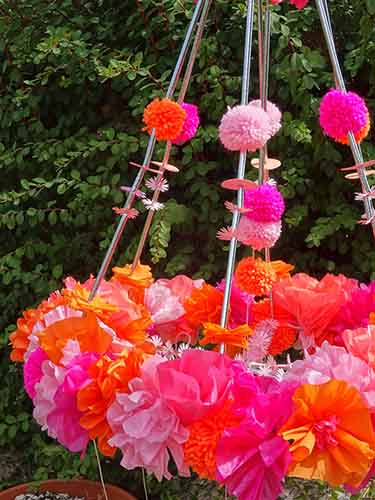
20. Take each of the 6 holding strands and work on the part beneath the ring. Thread with a 10cm straw, 2 paper shapes or similar, a small pompom, 2 further paper shapes, each separated by 2cm straws. Finish with a final 10cm straw and thread these 6 strands and the 2 centre strands through a single, 15cm straw.
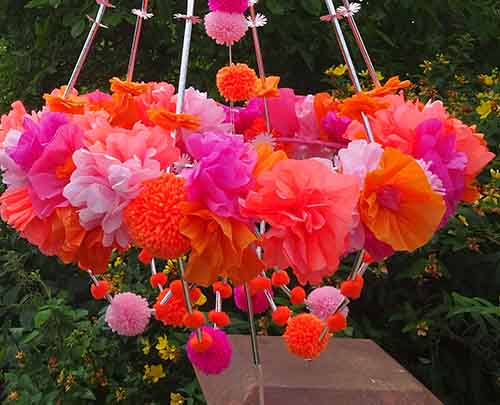
21. Draw the 6 holding strands up into evenly shaped hanging loops by pulling the centre strands taut. Tie with an overhand knot as close to the base of the straw as you can.
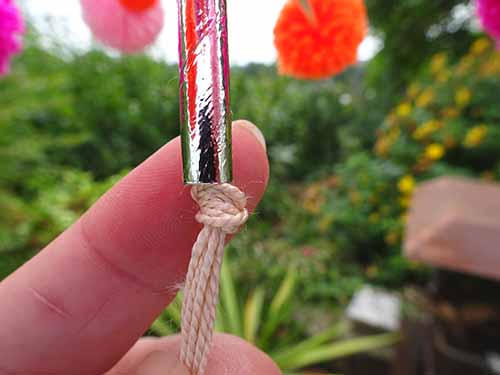
22. Make a tassel by cutting a fringe along the long edge of a 15cm wide piece of crepe paper and rolling, gently stretching the uncut edge as you go, which makes the tassel come to life. Wrap the top with a piece of a contrast colour.
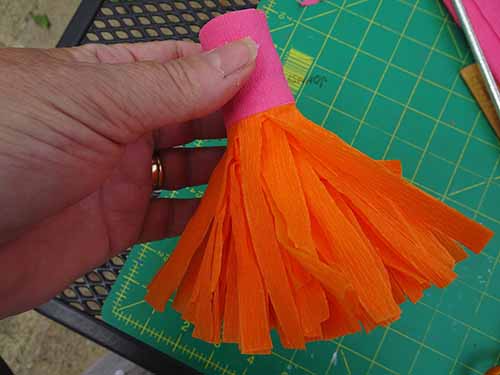
23. Thread the 8 strands through the centre of the tassel and tie in place with a knot under the skirt. Trim the ends and hide them in the fringe.
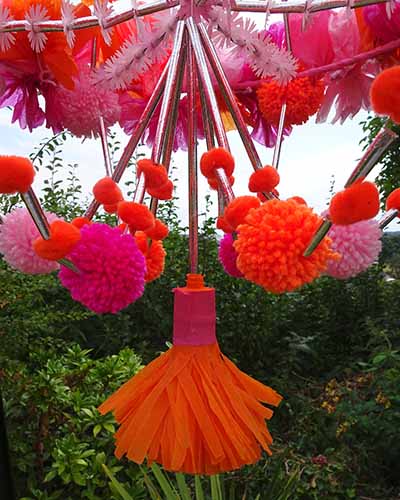
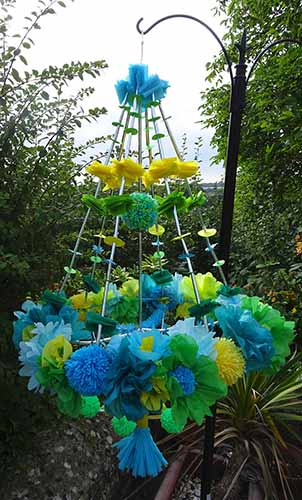
24. Step back and admire your work… then make another!

Project by: Gill Thomas, Avening WI, Gloucestershire Federation

