Pressing Flowers
You will need
- Flower press: I prefer my handmade wooden ones, over the bought MDF ones, but those still work. I haven’t personally layered up in books, but as long as you don’t press anything too thick, I would give it a whirl.
- Cardboard: Essential for creating protection in between the layers of flowers, especially from mould if one layer doesn’t press well. It also helps create an even press. I cut my cardboard to size from old boxes and packaging.
- Paper: I vary between using blotting paper and heavy cartridge paper, as I buy large sheets and cut them down to size (if you buy a flower pressing kit it will usually come with paper and cardboard). Try to avoid using kitchen towel paper, it is very absorbent, but flowers are more likely to stick to it and be ruined.
- Tweezers: Essential for moving flowers around and for coaxing off the paper when the flowers are pressed.
- Scissors (or secateurs): For collecting your florals and prepping them for the press.
- Flowers: Grow your own, forage for them or buy them. See Notes below.
Notes:
- If you don’t have a garden to collect flowers from then some sensible foraging is recommended - check the latest guidelines on what you can and cannot pick (see links below). If you are collecting on a foraging walk be mindful that those flowers will need to either be pressed pretty quickly when you get home or placed in some water to revive.
- If you have collected your flowers from the garden or on a foraging trip, there are going to be some creepy crawlies in the mix, from aphids to spiders. You can try brushing them off with a soft paintbrush, but some will get pressed along with the flowers. You can also spray with a gentle bug killer and leave overnight, I have never bothered with this method. If you want bug-free, then the florist option might be for you!
- I would also heartily recommend visiting your local florist (remotely) or trying one of the letterbox delivery services. This way you get to enjoy the flowers for a few days, before pressing them. I recently tried one of those ‘through the letterbox’ companies and was super impressed, but in the process discovered I am one of the few people that can’t smell freesias, I’m still in shock over it.
- Protected Plants Info:
https://www.plantlife.org.uk/uk/discover-wild-plants-nature/picking-wildflowers-and-the-law
https://www.legislation.gov.uk/ukpga/1981/69/section/13
https://www.legislation.gov.uk/ukpga/1981/69/schedule/8
To make:
1. Prepare your paper and press
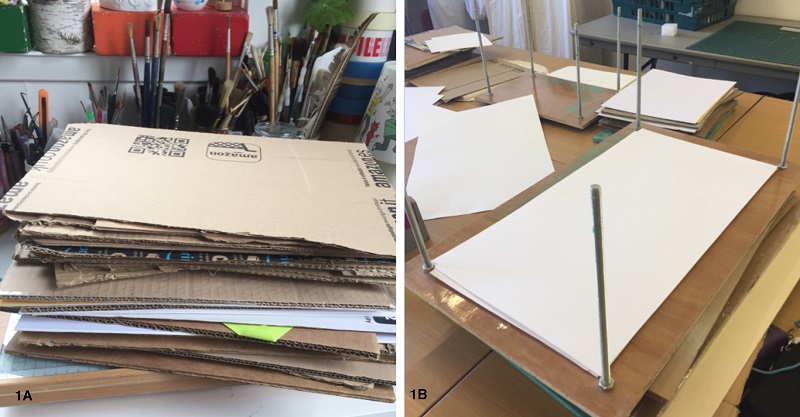
Having your cardboard layers and paper ready is essential when preparing to press flowers. It means that you are ready to press, when the weather is good or when you have flowers to hand (1a). Our British weather is so precarious, so although it feels like days of endless sun at the moment, I have made that mistake before and picked flowers in a mad dash, without being prepared (1b). I would also recommend preparing extra fresh paper now, for when you check on the flowers during the pressing process, in case of mould and the need for paper changes.
2. Collecting the flowers
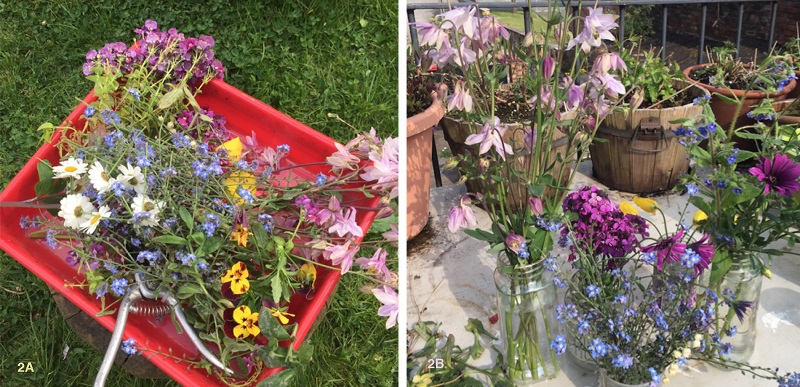
A dry sunny day is always going to be the best day to collect flowers, this is the time to have some fun and pick the flowers that you are drawn to. Don’t go for large-headed flowers such as roses or peonies, unless you want to press individual petals. Try and cut as much stem as possible, this will help later on when you condition the flowers, in the same way you would when dealing with a bouquet of flowers, the flowers will then be in the best condition to press (2a). Trim off any excess stem and place in water with a bit of sugar for a few hours or overnight (2b).
3. Prepping the flowers
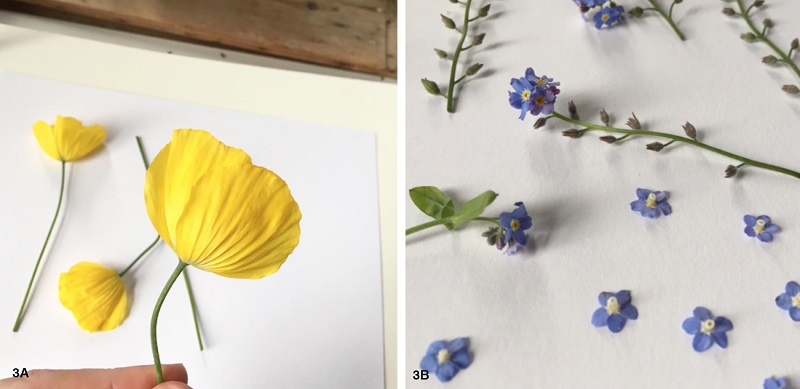
If the flowers have been in water, you must remove any part of the stem that was submerged, as you do not want any excess moisture going into the press. Trim everything down to the size you like, pressing just the flowers or keeping some leaves and stem. I prefer to press flowers sideways, rather than face down. This is not just for aesthetics, I have found that they press so much better this way (a). Although I always try and mix it up a bit and sometimes just hope for the best.
Make sure you leave enough space around each flower so that as they expand and flattens, they don’t overlap (b). Try and photograph your flowers at this point, you will be amazed to see how the shape and colour of the flowers changes in the pressing process.
4. Layer it up the floral sandwich
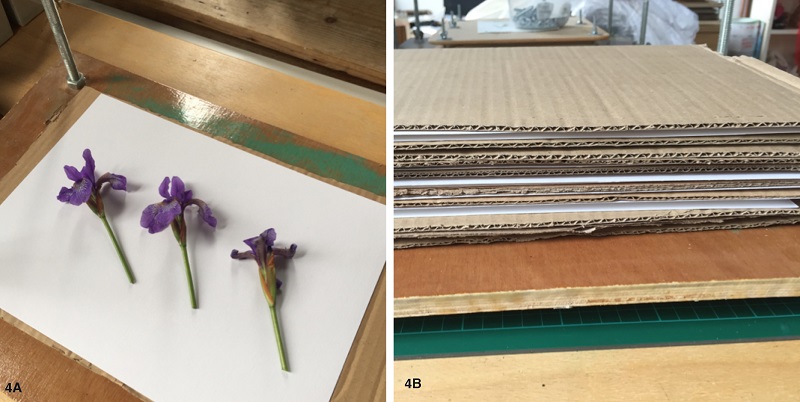
In terms of how to layer up your press, place the flowers that have the thickest stems and larger flowers on the bottom and work your way up that way (a). You want to stick with flowers of the same size and height on every layer, otherwise, some will press better than others.
Remember, the flow is a cardboard layer, then your paper, then add the flowers, then add your second piece of paper over this and then the next cardboard layer (b).
Tip: Try and make a note of what is in every layer that you press and the date that you pressed it.
5. Consistent pressure
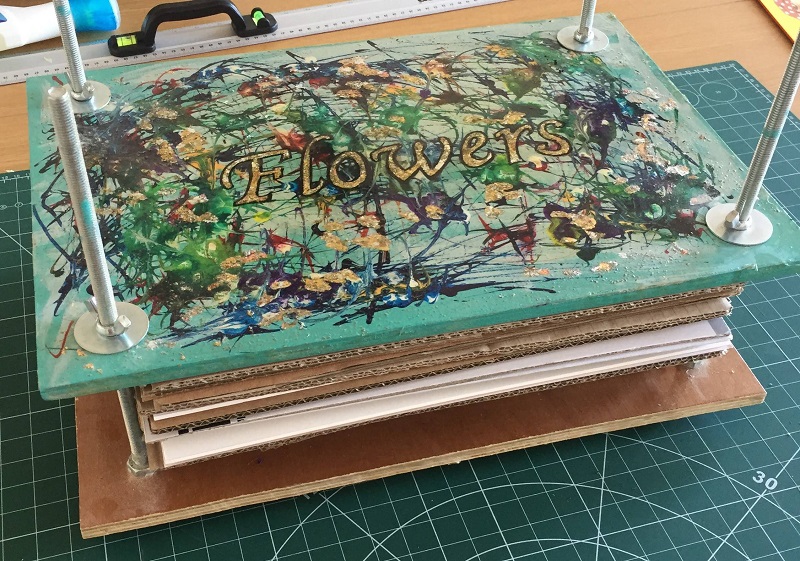
Once you are fully layered up, if you have wingnuts to tighten, then twirl them around halfway on all the points, check to see if everything looks even, then tighten as far as it will go, making sure all sides are equal. I find adding a heavy book or books in the centre of the press also helps. If there are any gaps, this means that the flowers are more likely to shrivel up as the air gets to them (another reason why I prefer to sideways press, as this creates less height).
6. Change the paper
On a trip to the National History Museum, I had a great conversation with a collection officer, who was a botanist, a geologist, a zoologist and a few other things too! He recommended changing the paper every day, but well, that’s not going to happen... but I would recommend checking after a few days/maybe a week, remove anything that looks iffy (mouldy/slimy), change the paper if anything is too damp and then don’t peek again for four weeks.
7. Out the press
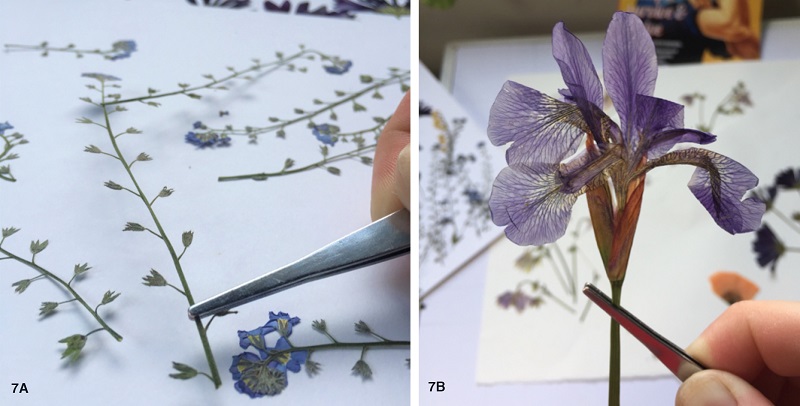
Once at least four weeks have gone by, check your flowers again and see if it’s time they come out the press. The flowers should come away from the paper very easily, if not just gently tap the paper and see if that loosens them (a).
Some flowers that have a higher water content in them, may be slightly stuck, so you can very gently ease them off the paper with a scalpel or tweezers (b). If they are completely stuck to the paper, then you may just have to salvage the petals or send to the compost bin, it’s meant to be fun and if there are a few floral casualties, that is absolutely fine.
Tip: Now is the time to make notes about what has worked and what hasn’t and what colour changes have happened.
8. What to do with the flowers now they are pressed?
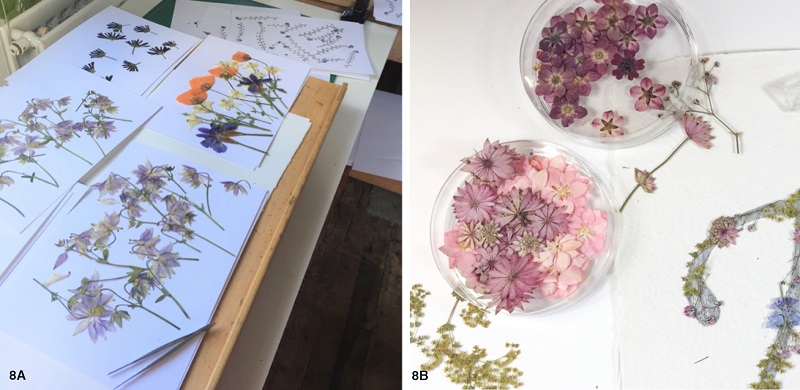
Think about storage for the pressed flowers, the better you store them now, the longer they will last in good condition. I would either place them back in the press on fresh paper - if not using the press immediately (a), or place them in paper layers, in a plastic box (with a good lid) and then store in a drawer or dark cupboard (b).
9. Great Creative
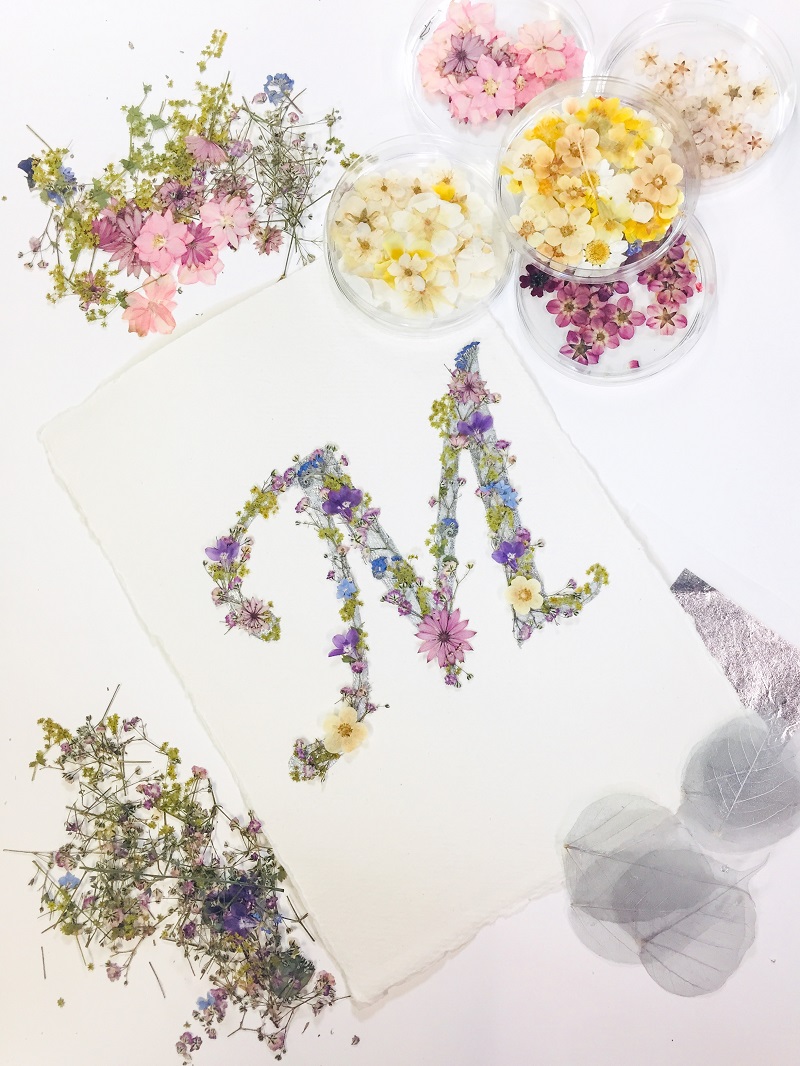
Now that the flowers are pressed, what are you going to do with them? You could frame a selection, make cards or bookmarks with them, start your own herbarium collection, or experiment with new techniques like setting in epoxy resin, printing florals and so much more.
Project by Claire Rachael Pitt, C.R. Pitt Designs, a proud member of Runcorn Women’s Institute ‘The Ferry Girls’

