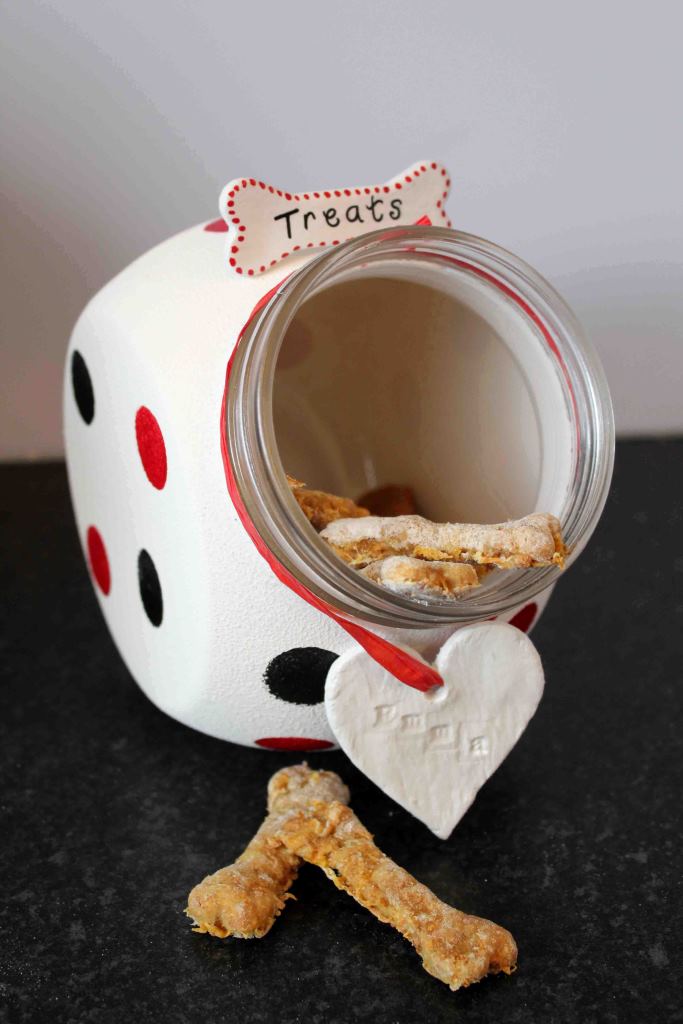
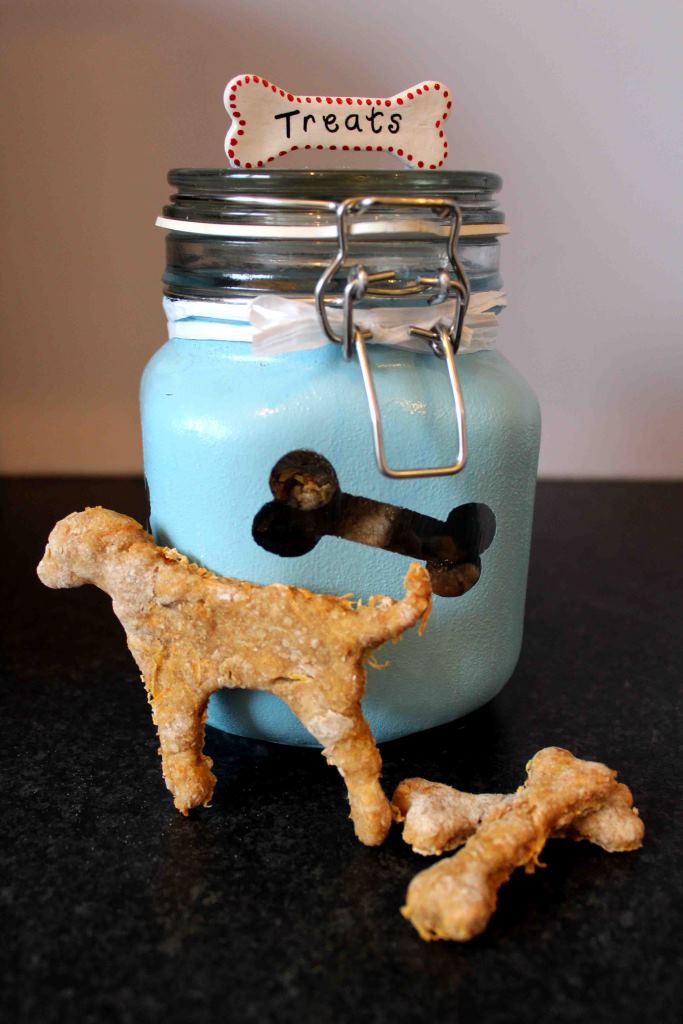
Painted dog biscuit jar
To paint the jar
You will need:
- Jar
- Chalk paint
- Water-based varnish
- Small paint brush
- Sponge dabber
- Masking tape
- Sticky labels
- Pen
- Ribbon
To make:
- Rinse the jar with water and leave to dry.
- Coat the jar in clear varnish.
- To create the bone-shaped stencils – draw or print bones of the desired size/s onto sticky labels and cut out.
- When the varnish is dry, stick the bone stencils onto the jar.
- Add masking tape to the top rim of the jar to create a neat edge.
- Using the dabber, sponge 1 coat of chalk paint onto the jar and allow to dry.
- Repeat step 6, giving a total of 3 coats of paint.
- Very carefully remove the stencils. If slight touch-ups are required, do so with a small paintbrush.
- Remove the masking tape.
- Add ribbon to decorate.
To make the ‘treats’ decoration
You will need:
- White air dry clay
- Rolling pin
- Bone shaped cookie cutter
- Permanent marker pen (thin nib)
- Water based acrylic paints
- Water based clear varnish
- Paint brush
To make:
- Using a rolling pin, roll out a portion of the air dry clay to approximately 2cm thickness.
- Cut out a bone shape using the cookie cutter.
- Leave to dry (this may take up to 24 hours).
- Decorate the bone with the acrylic paints or permanent pen and once dry, coat with clear varnish.
- Glue to the jar.
Now you’ve learned the basics, why not have a go at creating your own design?


