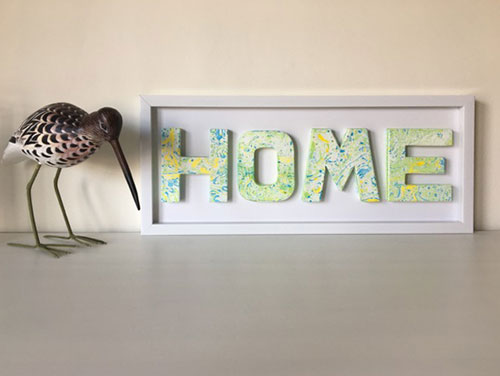
Marbled ‘Home’ Letters
Skill level: Beginner
This simple method of marbling uses marbling inks on water to create fun abstract patterns.
Note:
The dye bath can only be used for one letter before new colour needs to be added, therefore you cannot make a repeat pattern on different letters. For the project the same colours were used; the pattern varies but the colours are the same. You can of course change this and work each letter with a different set of colours.
You will need:
- 12cm White papier maché H.O.M.E letters (available online or at craft shops)
- 50 x 23cm White deep rectangular frame with removable front
- Piece of white mount board cut to fit inside the frame
- Clear craft glue
- Large old deep baking tray or cat litter tray – at least big enough to take an A4 sheet of paper
- Marbling inks (available online)
- Skewer to agitate the inks
- Tongs
- Matt spray varnish
- Newspaper
- Rubber gloves (optional)
To make:
1. Protect your work surface with newspaper. Fill the tray with cold water approx. 4cm deep, place on your work surface and let it settle. The inks come in drip bottles, shake well before use.
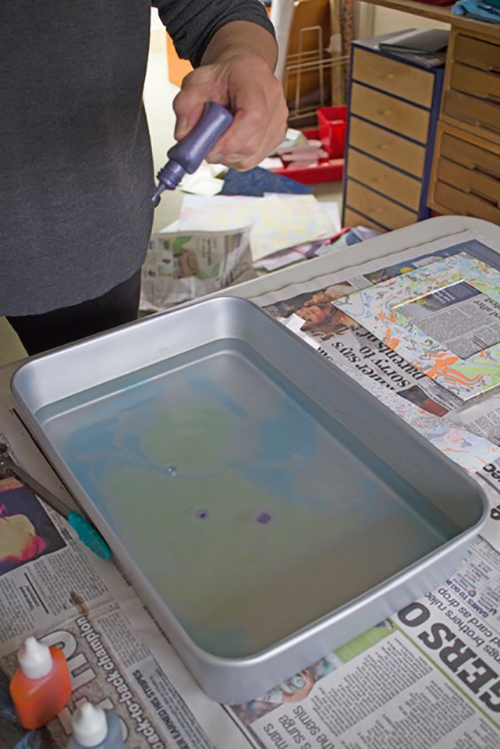
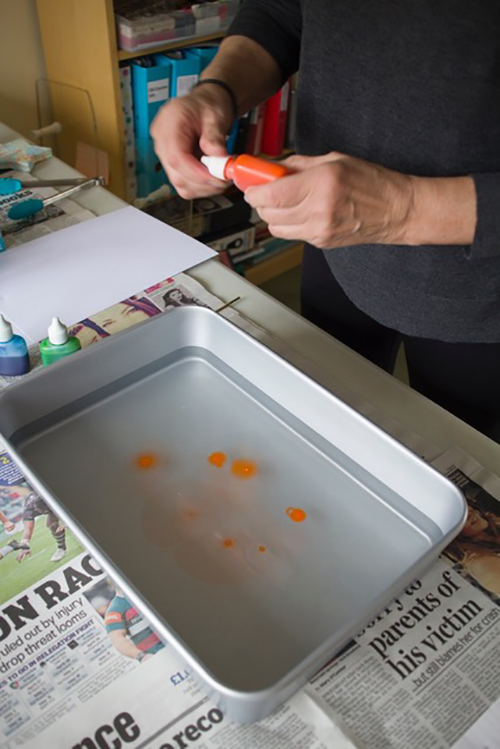
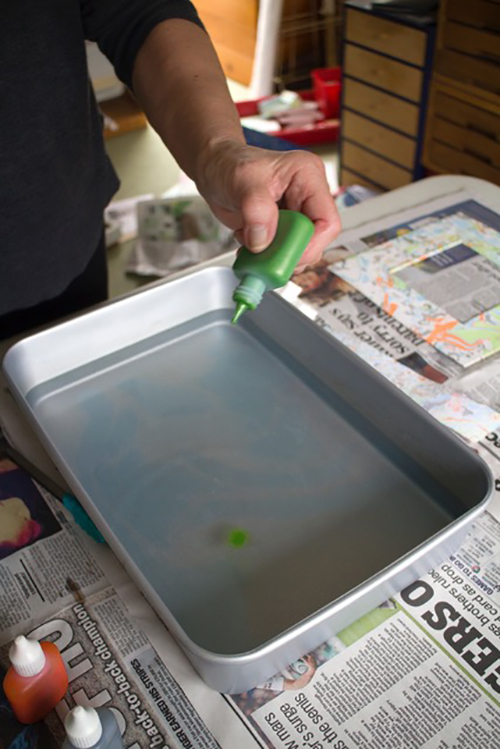
2. Choose your colours and drip the first on onto the water, use four to five drops, the ink will start to disperse across the surface of the water, add further colours on top, another four to five drops, and these will start to blend into one another.
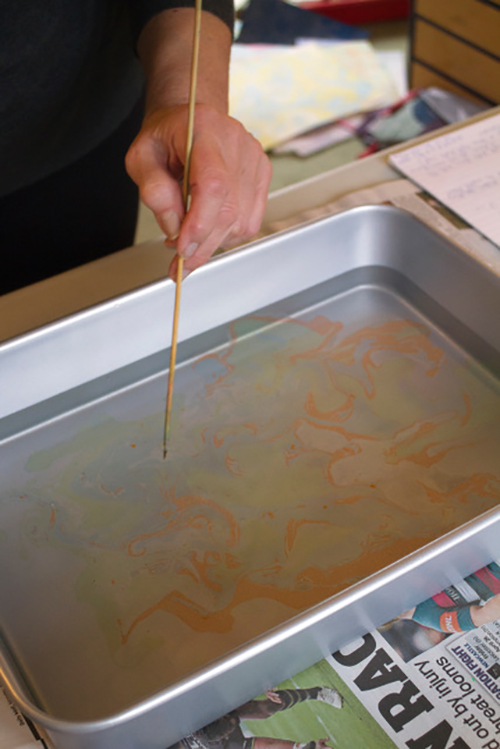
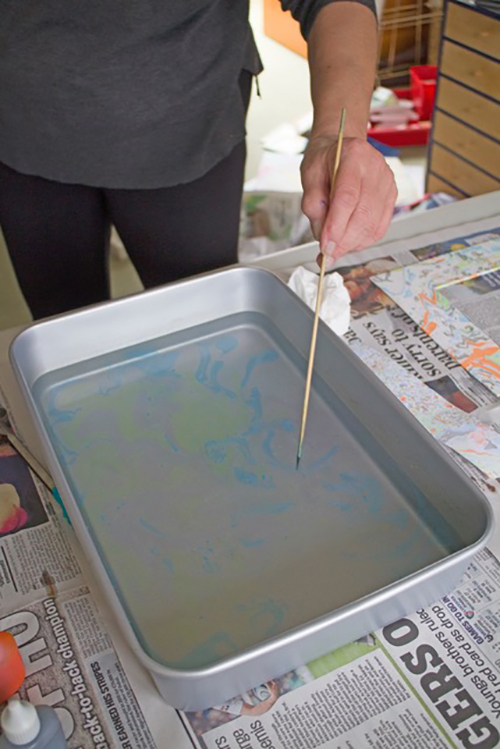
3. Using your skewer, agitate gently just breaking the surface of the water, this is where you create your pattern.
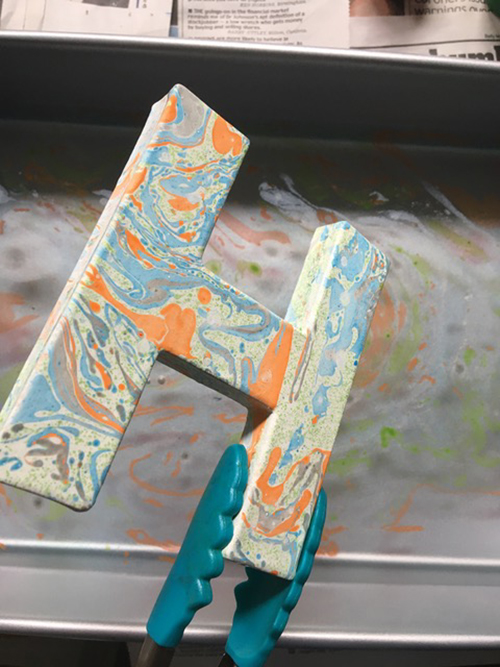
4. Take the first letter H and gently lay it onto the inks toward one side of your tray, don’t attempt to move it around just push it down a little so the sides of letter take up ink. Lift out carefully with your tongs and lie flat to dry.
5. Do the same with the O laying it on the other side of the tray where ink should still be on the surface.
6. Clean the water surface by laying a piece of newspaper on to remove any ink left, then discard the wet newspaper.
7. Re-ink your tray using the same colours, make your pattern and dip the M. Again, place it gently toward one side of the tray and don’t attempt to move it around but push it down a little so the sides take of the ink as well.
8. Lift with your tongs, shake off any water and dry right side up. Repeat with the E on the other side of the tray.
9. Leave for 24 hours to dry, spray with the matte varnish to set the inks.
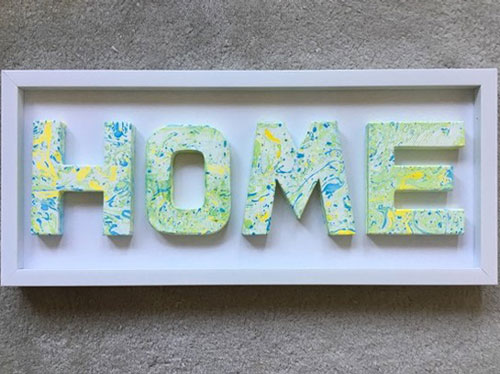
10. When the varnish is dry remove the front of the frame, place the white mount board into the frame and fix the backing back in place. Position your letters on the front of the mount board and use the clear glue to fix in place.
You can use these inks on fabric - iron to set, and on card to make boxes, gift cards and book covers.
Great fun to do with children – just watch the inks as they do stain!
Project design: Pat Lumsdale, Denman tutor and member of Woolwich and Plumstead Rose WI.

