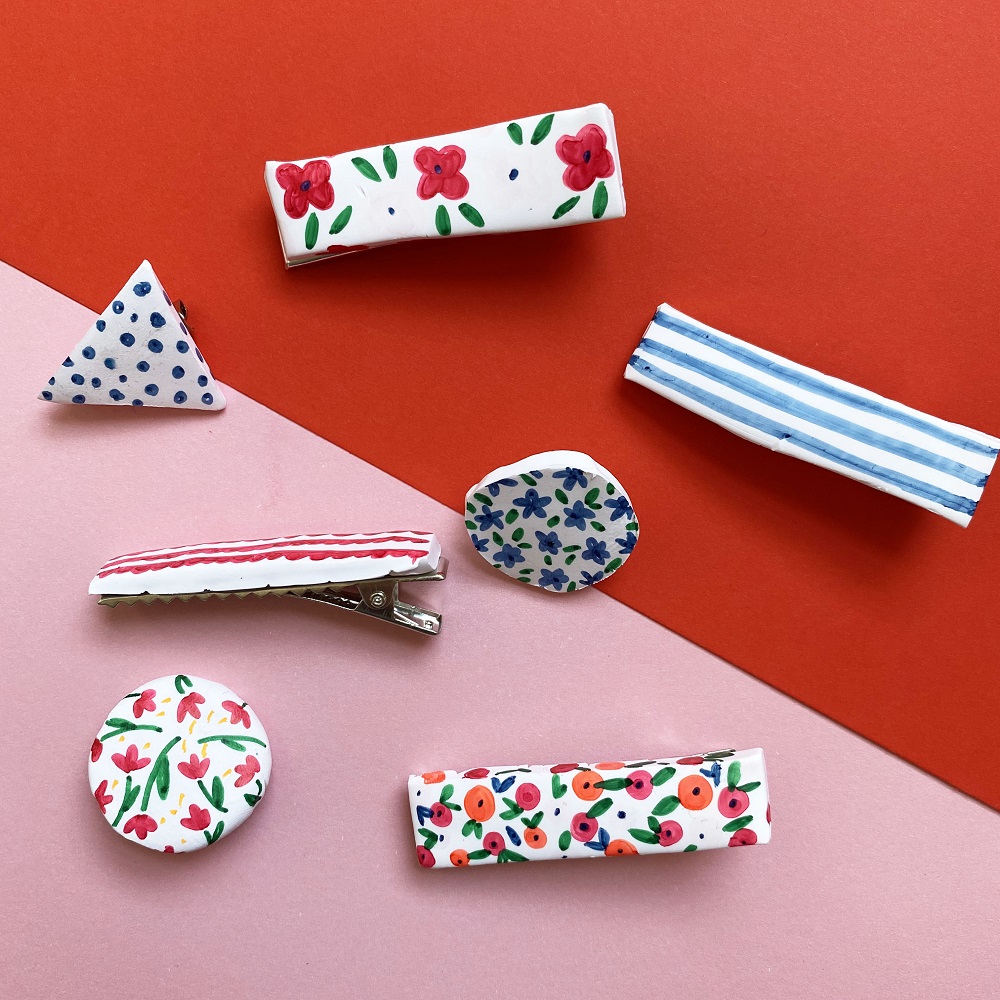
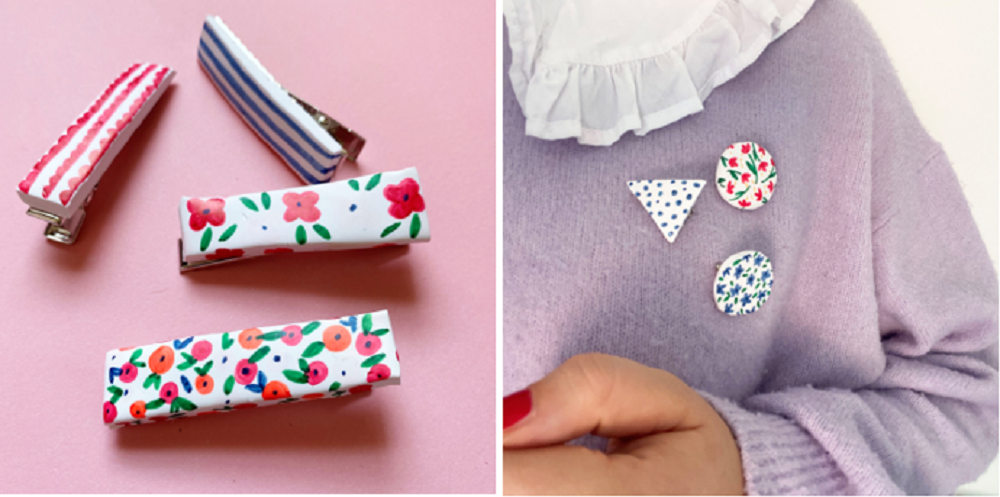
Brooches and Hairclips
You will need
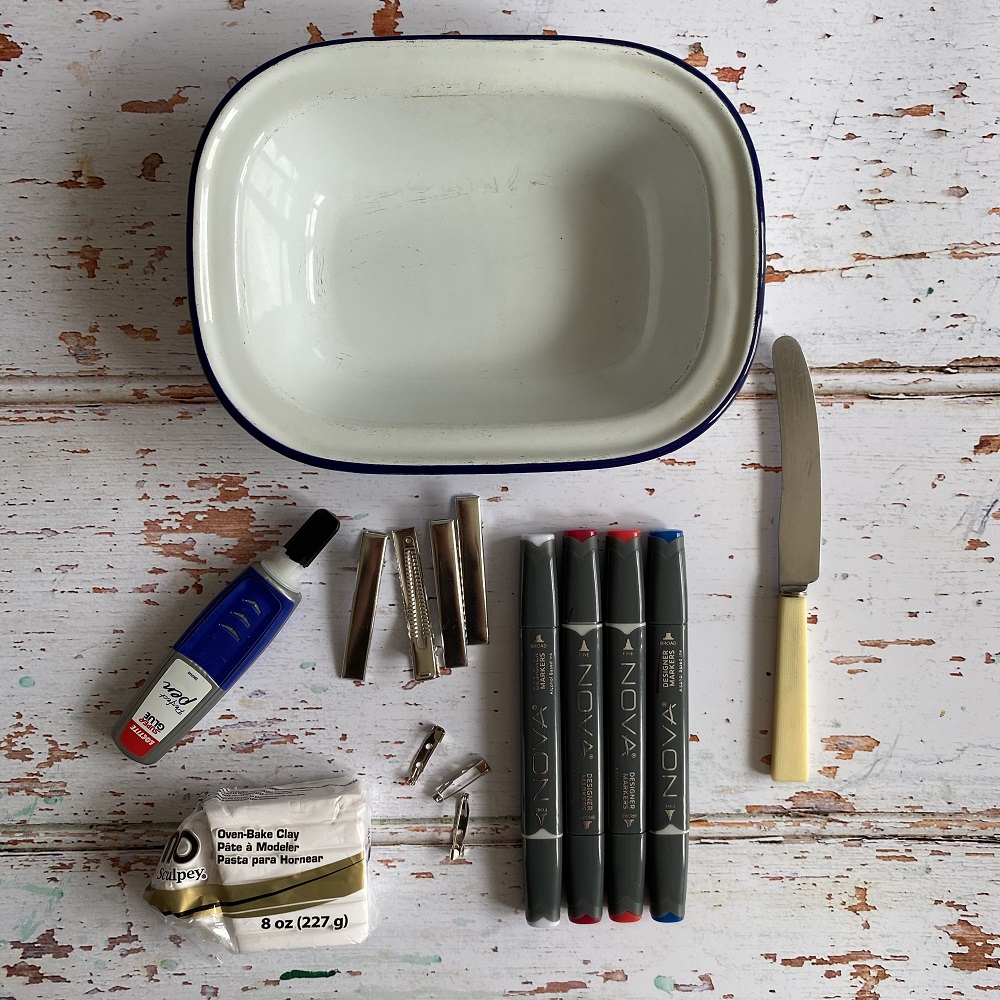
- Oven bake clay
- Superglue
- A selection of coloured marker pens (you can also use paint)
- Hair clip backs
- Brooch backs
- Knife
- Baking tray
- Oven
To make
1. Gather your materials for the project and preheat your oven to 150ºC/300ºF/Gas 2 ready to bake the clay.
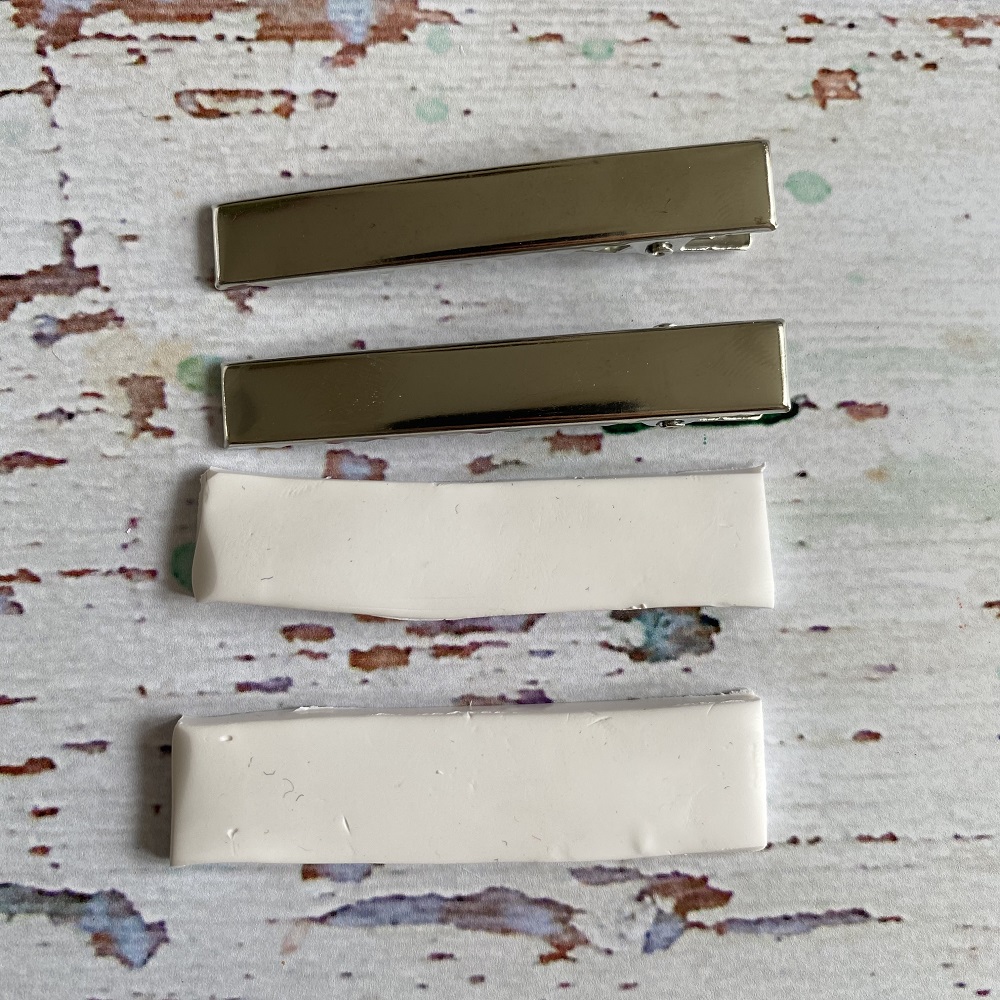
2. Take a piece of the clay and roll it out to approximately 1cm thick. Cut the hair clip shape out, ensuring they are slightly longer and wider than the back of the hair clip so they cover the metal when attached.
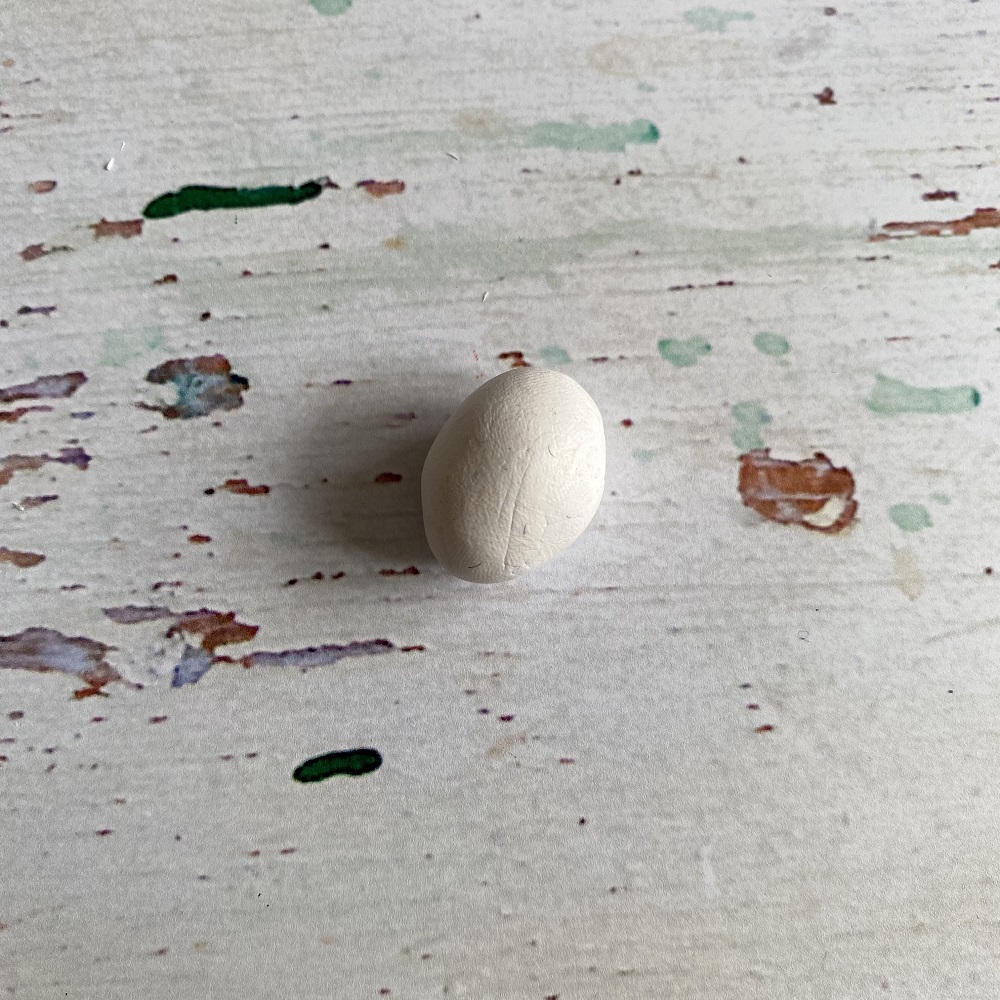
3. For the brooch shapes, make small 2cm sized balls of the clay and squash them flat. Cut fun shapes out of the clay – you can make your brooches whatever shape you like, the clay is easy to manipulate and until baked can be changed.
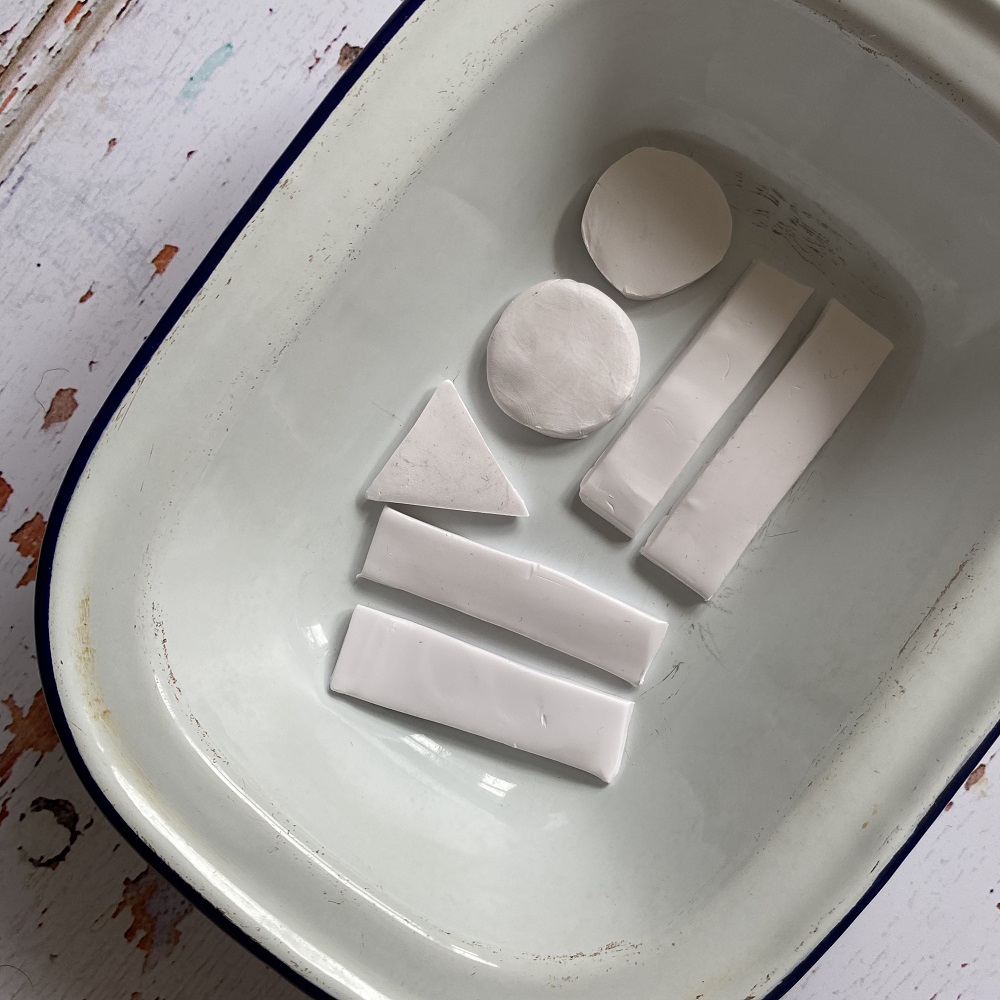
4. Once you are happy with your shapes carefully transfer them on a baking tray, or metal dish and place in the oven for 20 minutes. Once baked, leave to cool and then it’s the fun part – decorating!
Design ideas:
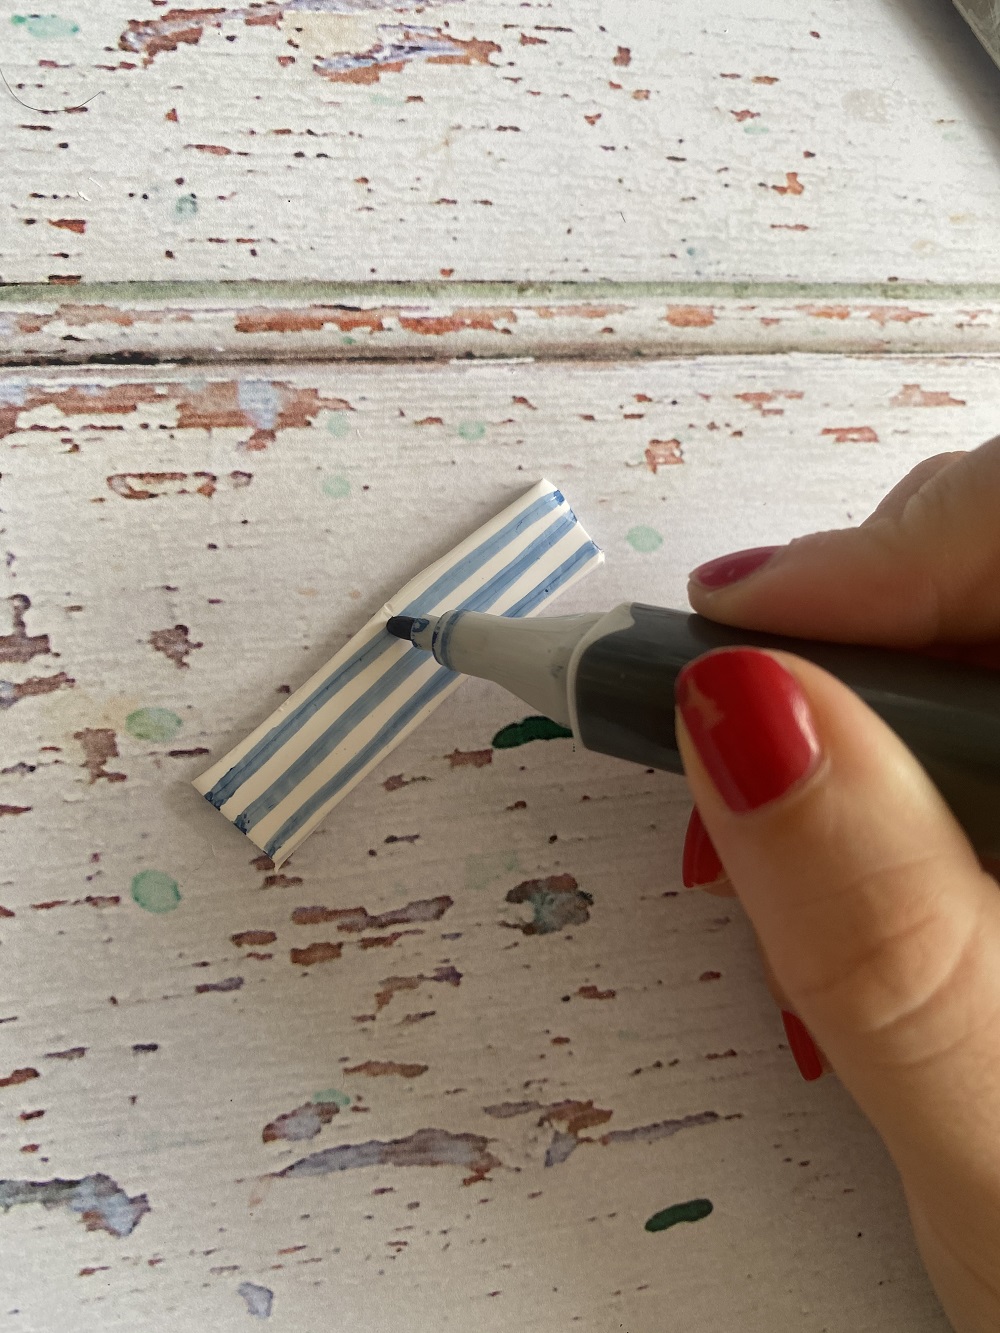
Stripes: For the most basic design draw thin lines along the length of your piece, making sure you carry the design down and around the edges so that the sides of the clay are decorated too.
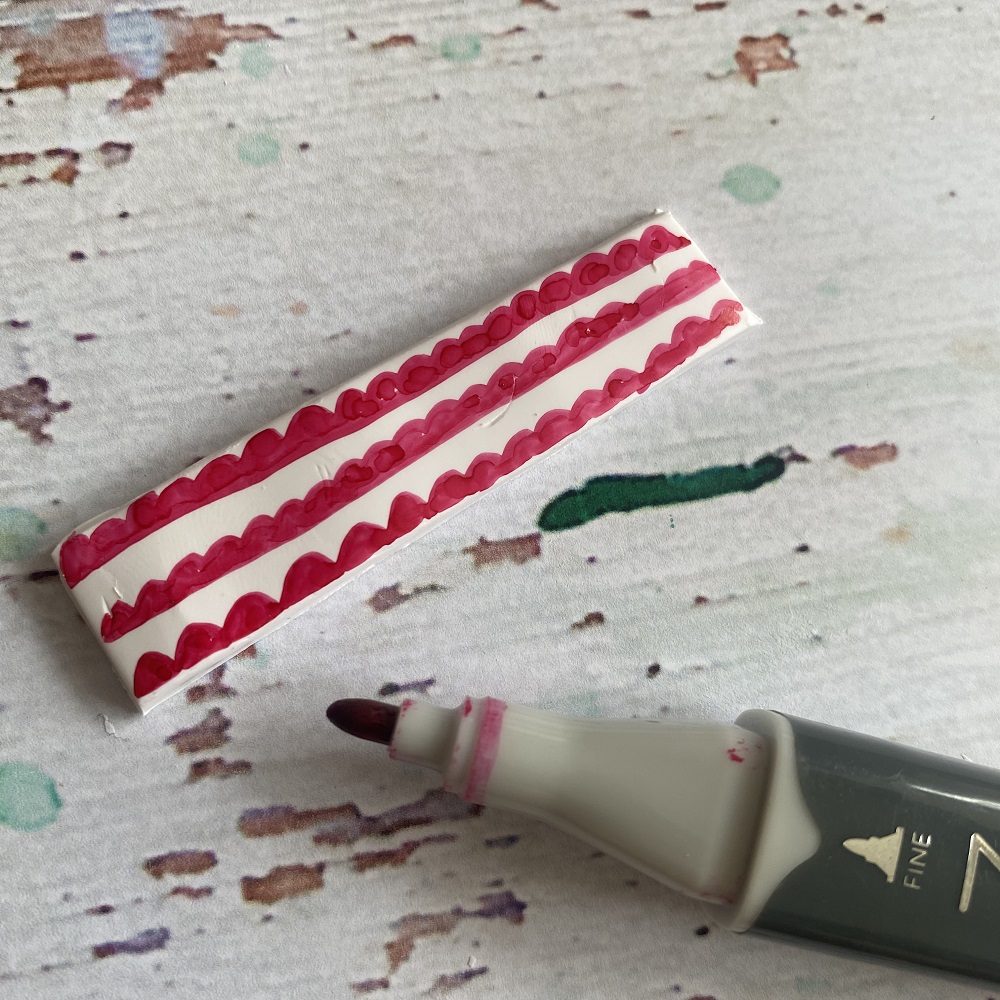
Scallop: Try simple scalloped lines for a quick but effective design. Draw your straight line across the clip and then colour in the scallop shapes at whatever size you like.
Florals
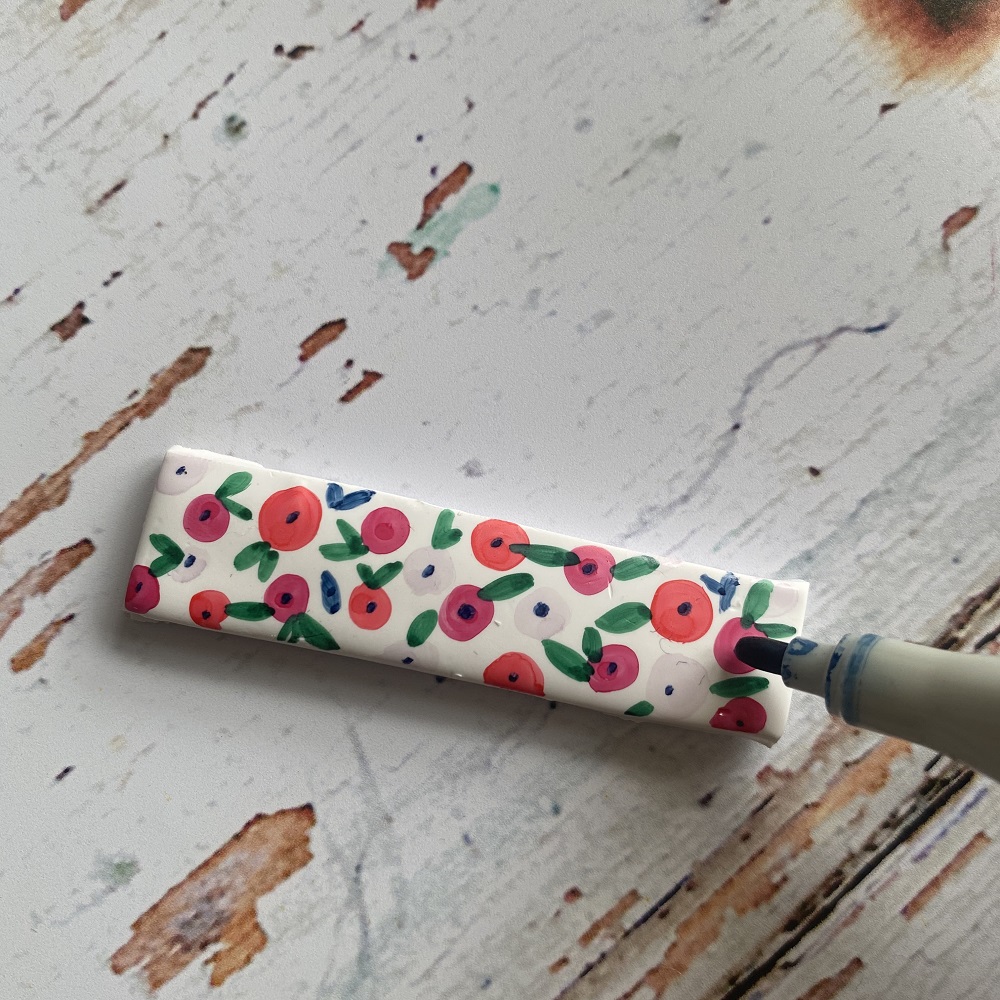
For a simple floral design, cover your clay in different sized spots using a couple of different colours. Add leaf shapes from the circles to create the ditsy style floral pattern. You can then add more leaves with another colour, try a dark blue so that it will show up over the reds and pinks. Add dots to the centre of the circles to finish your floral motifs.
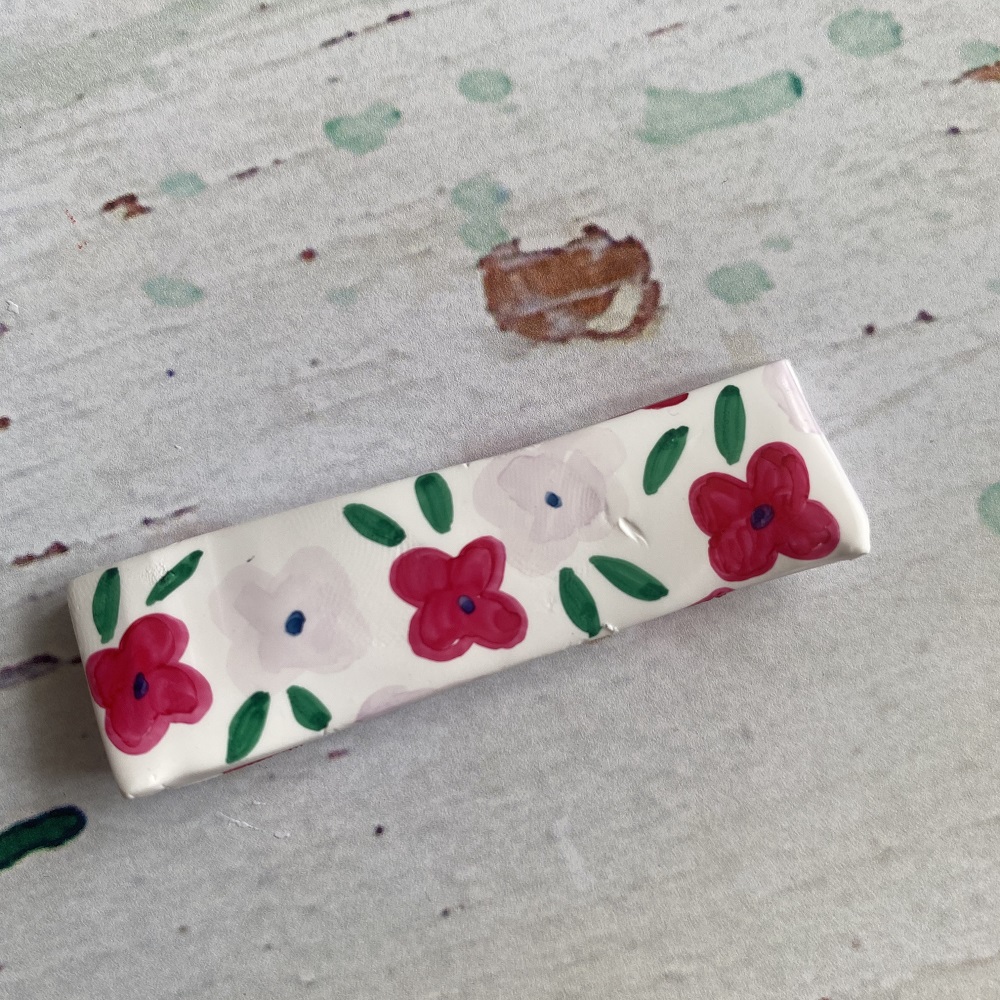
For another floral design, cover your clay with four-point floral shapes – similar to a four-leaf clover. Use two different colours, alternating them as you draw the flowers on.
Similar to the ditsy floral pattern above, a darker colour (lighter pens won’t show up) to finish the floral motifs.
Add leaf shapes coming out from the flowers to fill the space between them.
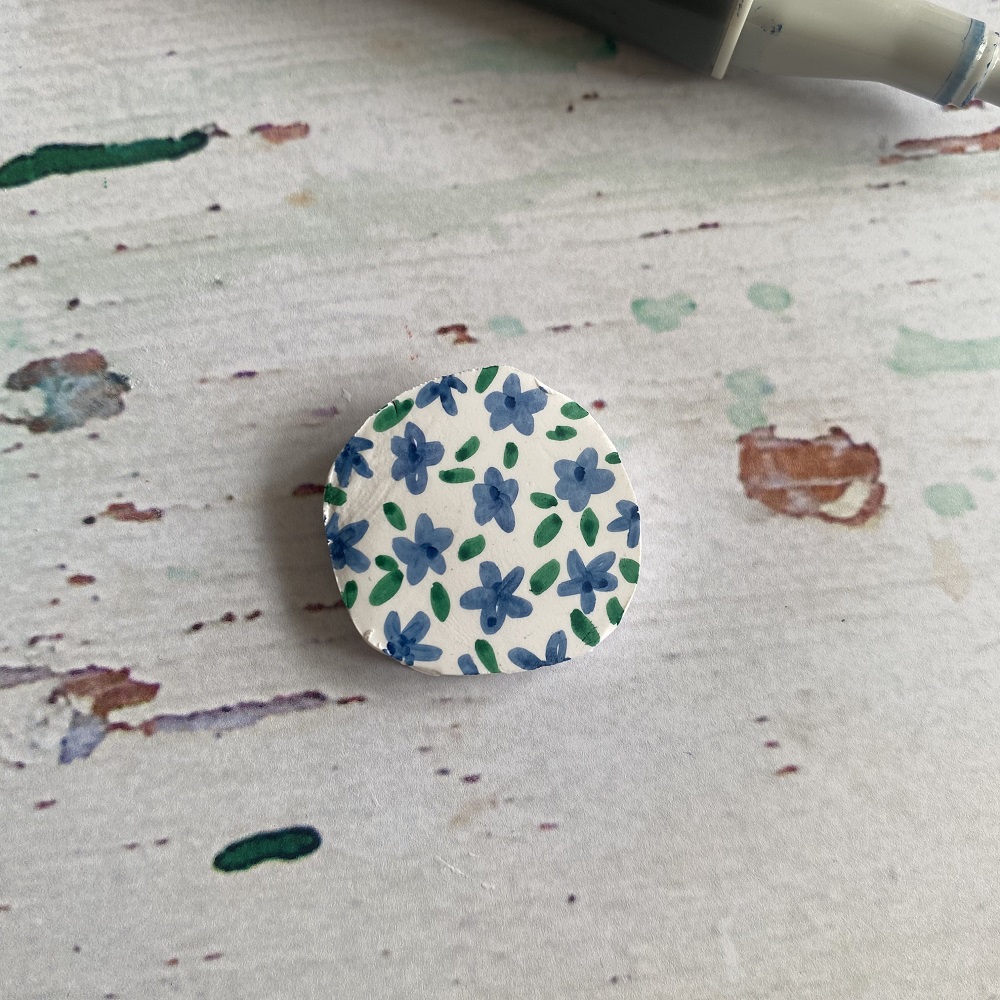
Cover the base with a five-point small, ditsy floral pattern. Don’t worry too much about them all looking the same or being perfect, this all adds to the naïve character.
Add leaves in-between the flowers and a darker spot in the flower centres.
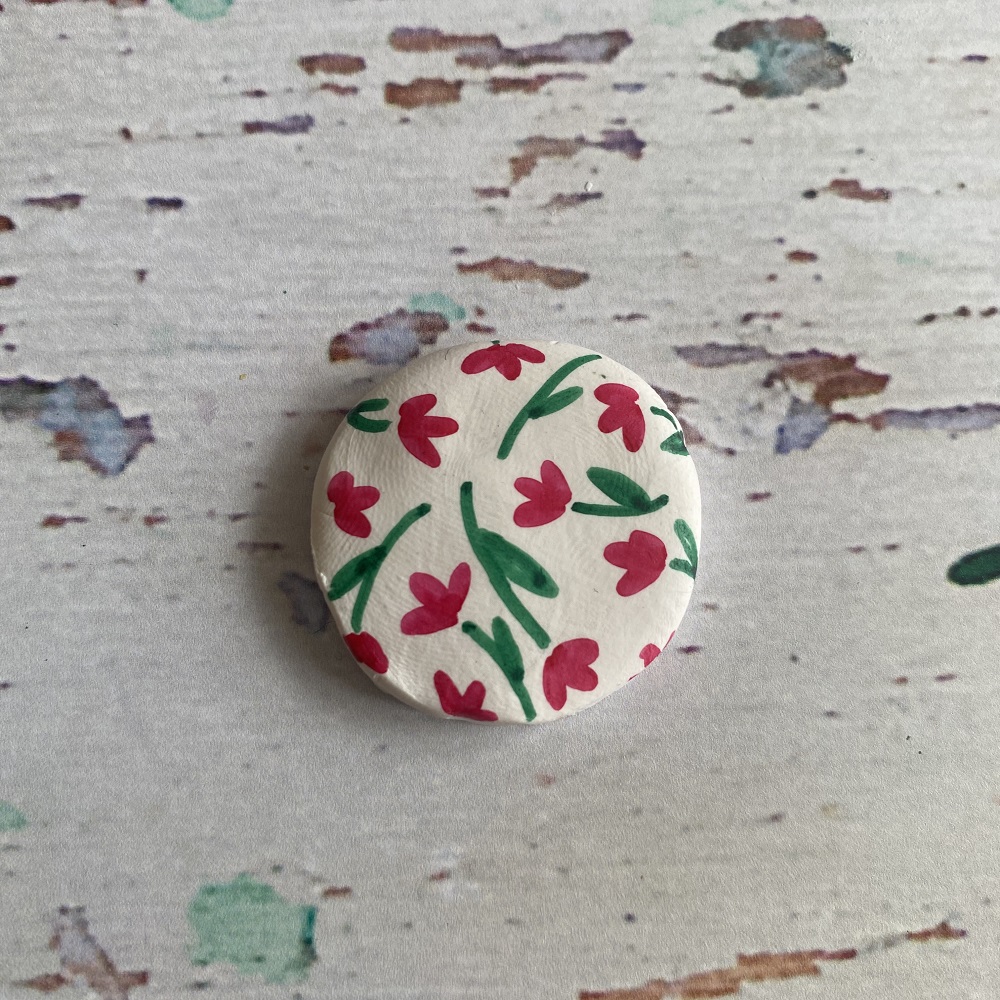
Try a three-point floral head – imagine a teardrop shape and draw three that all join together at the bottom point. Repeat across the brooch.
Add stems and leaves working the stems into the space between the flower heads.
To finish:
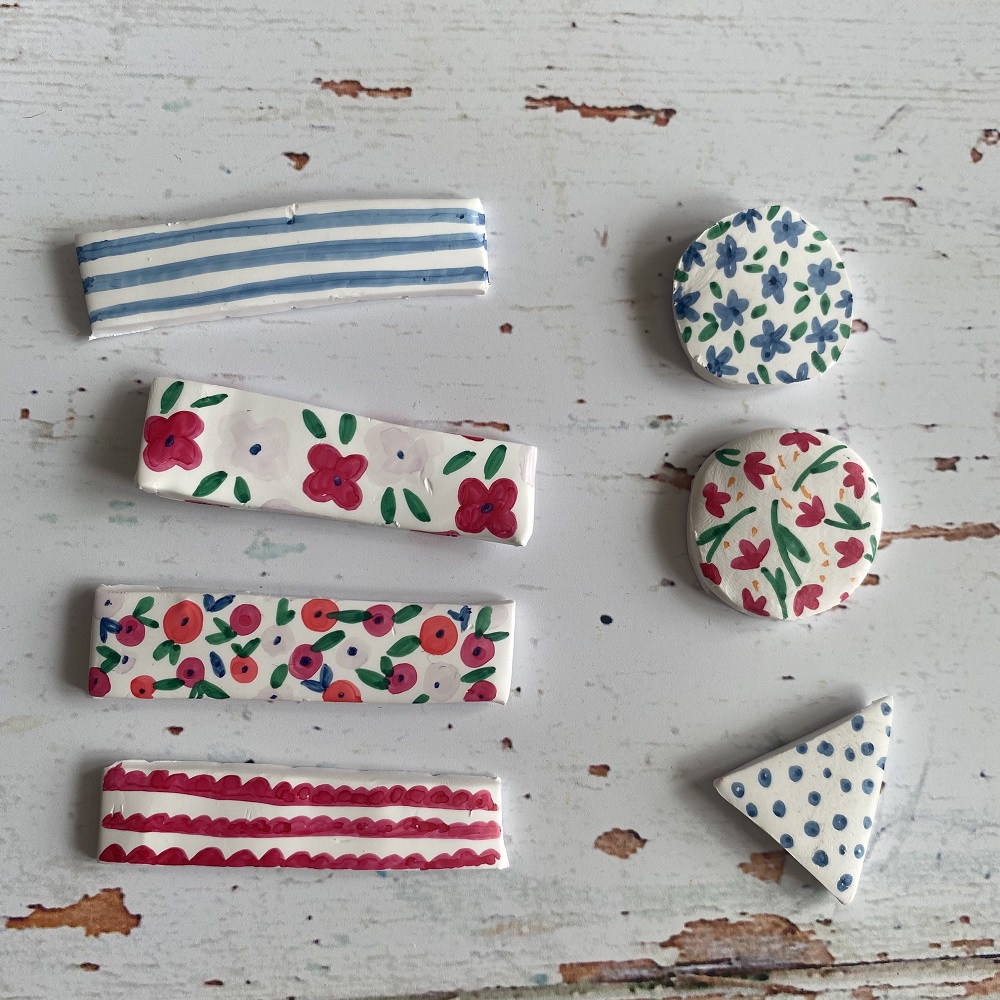
Leave all the designs to dry. If you have used paint rather than markers this may take a little longer, but markers should dry fairly quickly (you don’t want to smudge your hard work).
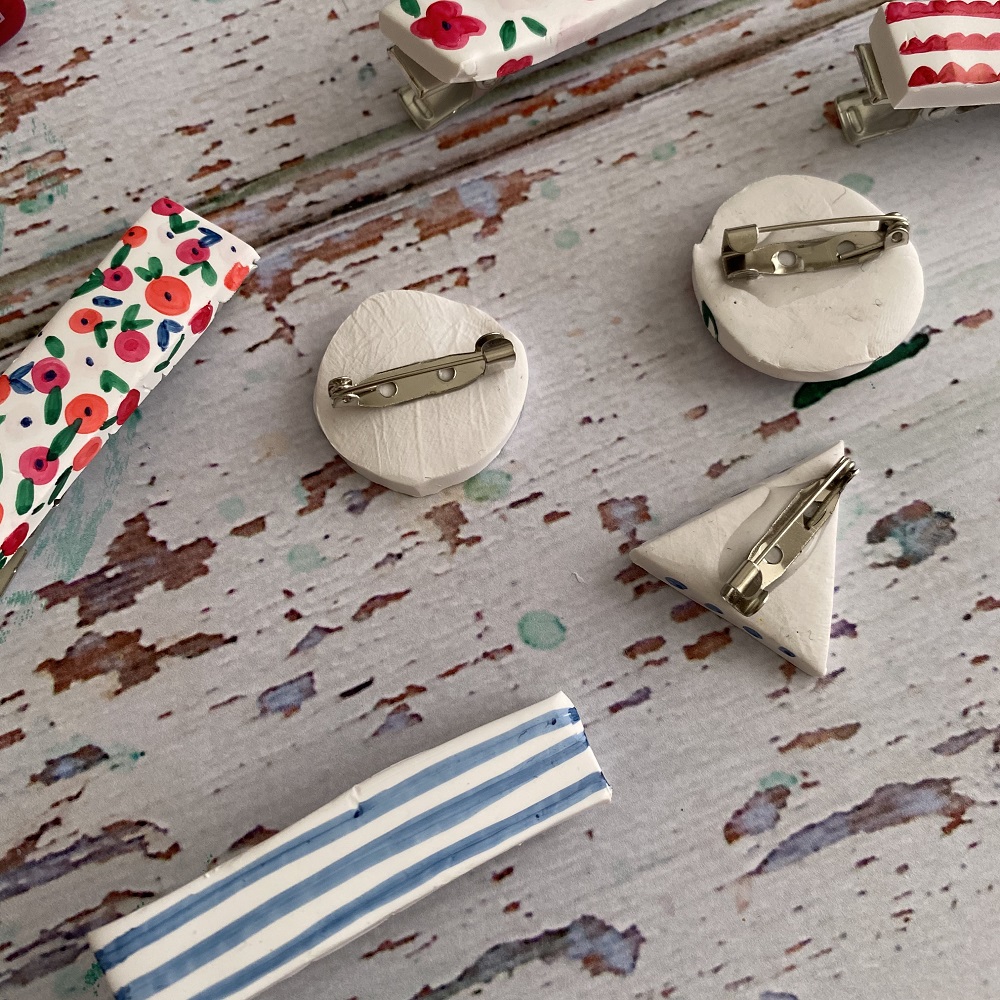
Using the superglue attach the brooch and hair clip backs to the back of your decorated clay shapes and leave to dry.
Project by Becki Clark, a creative designer inspired by the wonders of nature and seasonal changes. She has illustrated and designed surface patterns and designs for cards, wrapping paper and stationery, which have been sold by large retailers in the UK. Becki's work has also been used in magazines and she regularly runs workshops teaching Brush Lettering and Botanical Illustration. Her first book "Modern Brush Lettering'" will be published later this year.

