Embroidered Felt Pincushion
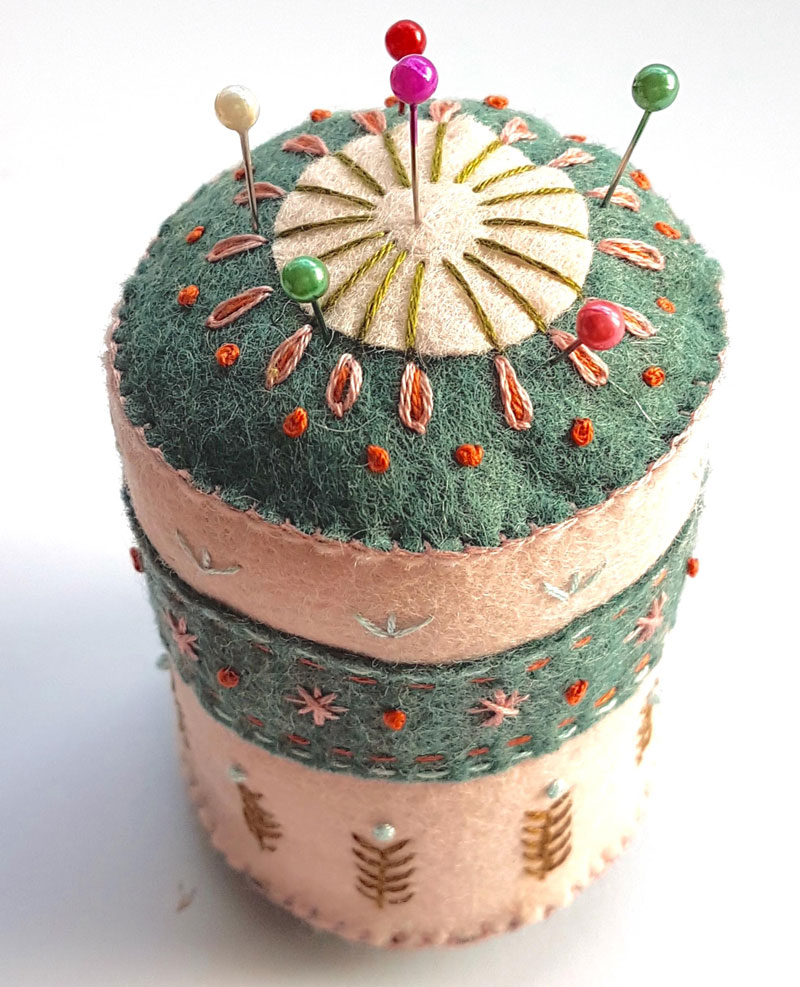
Skill level: Beginner
You will need:
- Sewing templates – download the Embroidery Pin Cushion templates
- Stitch guide – download the Stitchguide by Corinne Lapierre
- 2 pieces of wool mix felt (18 x 10cm) in different colours.
- Stranded embroidery cotton in various colours
- Toy filling
- Handful of dried rice or lentils
- 1 embroidery needle and a pair of scissors
To make:
1. Print and cut out the templates; please use Landscape Orientation for printing as the size will be too small otherwise.
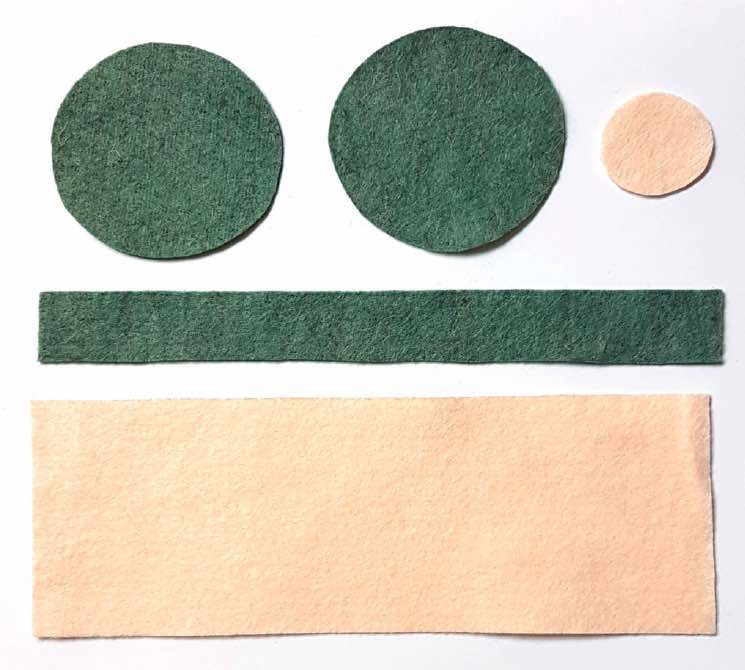
2. Cut the large rectangle of felt in your chosen colour and the small decorative circle in the same colour. Use the other colour of felt to cut the stripe and the 2 large circles for the top and base.
3. Start by placing the stripe on the large rectangle, just above the halfway line. Pin in place and sew securely in place with 2 lines of running stitch on the edges. Use contrasting threads as this forms part of the embroidery.
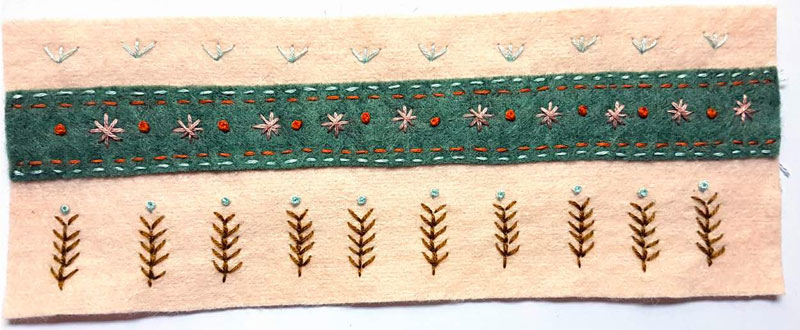
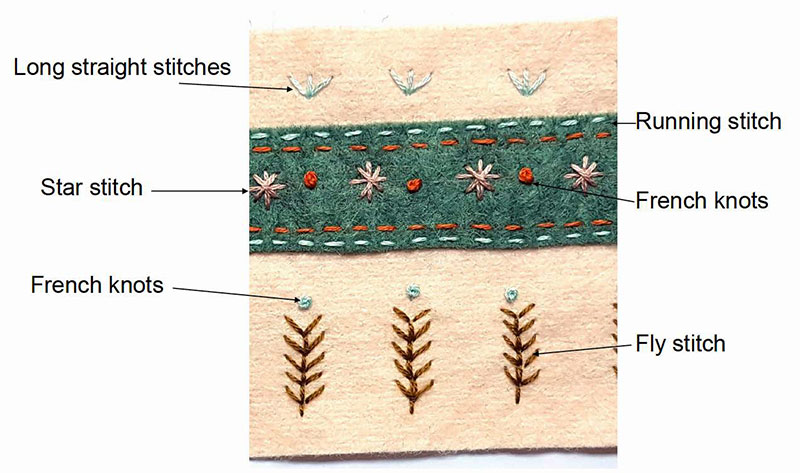
4. Embroider the rest of the stripe as pictured, using our stitch guide as reference. Embroider the rest of the large rectangle following our example or creating your own design.
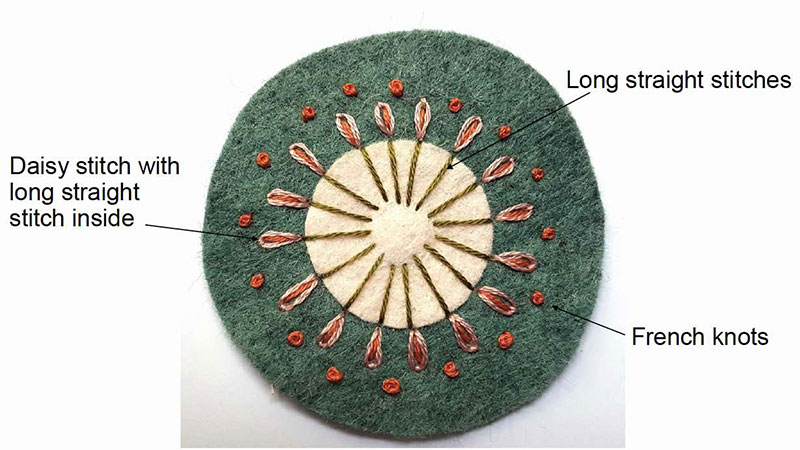
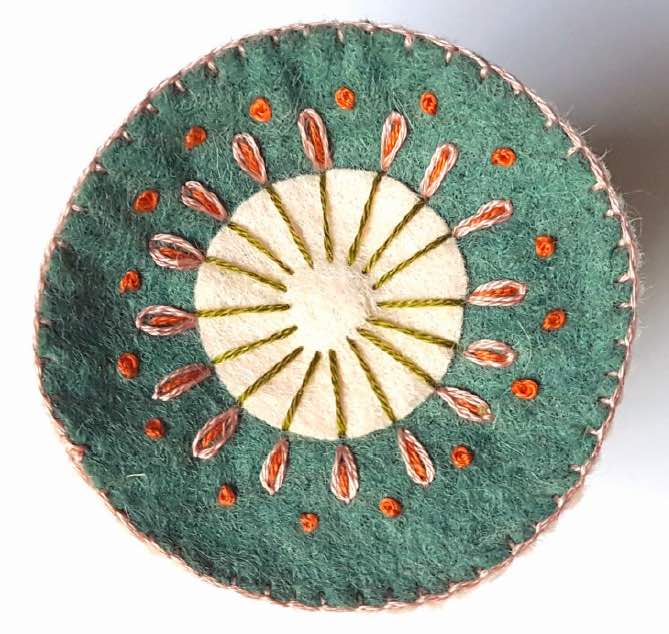
5. Decorate the top circle. Sew the small circle in the centre with long straight stitches in the shape of a star.
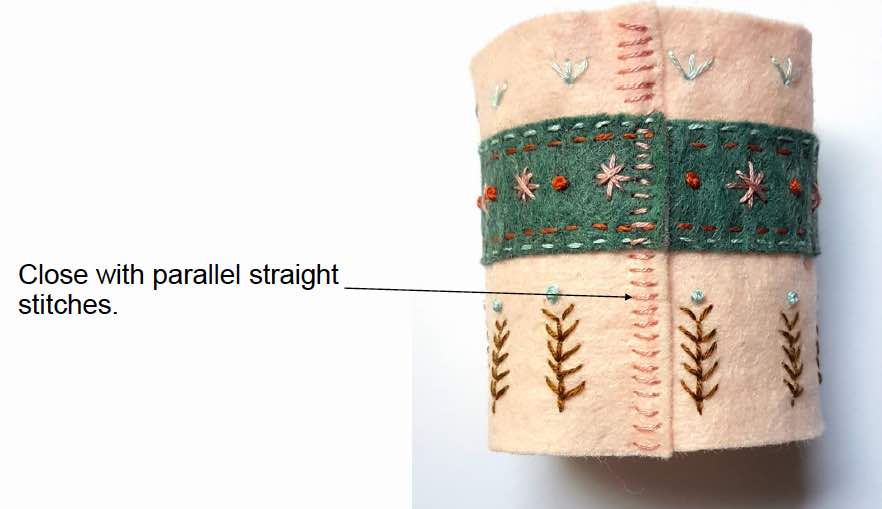
6. Form a cylinder with the rectangle of felt with the embroidery showing on the outside. Overlap the edges slightly to create a flat seam. Close with parallel straight stitches.
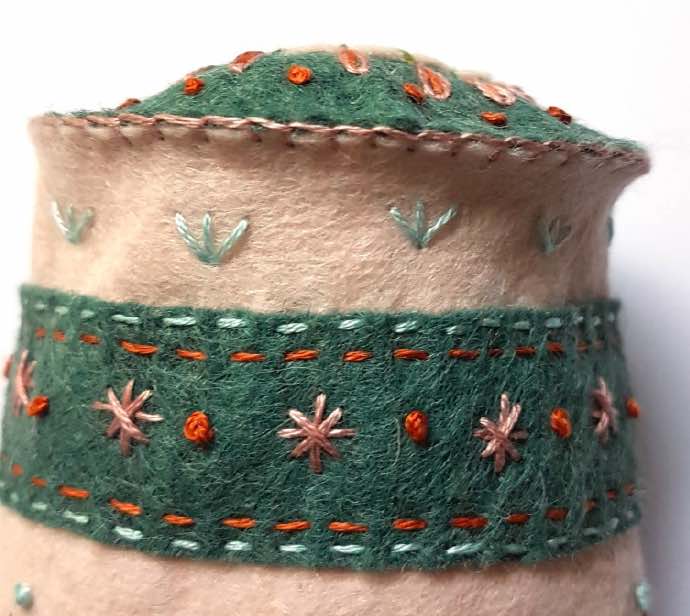
7. Place this cylinder on top of the base circle (left plain) and sew together, all the way around with a blanket stitch. Fill your pin cushion with a little bit of uncooked rice or lentils to give it some weight. Add the toy filling on top.
8. Close by placing the top circle on top (embroidery showing on the outside) and sew all the way around with a blanket stitch.
Project design: Corinne Lapierre. corinnelapierre.com
