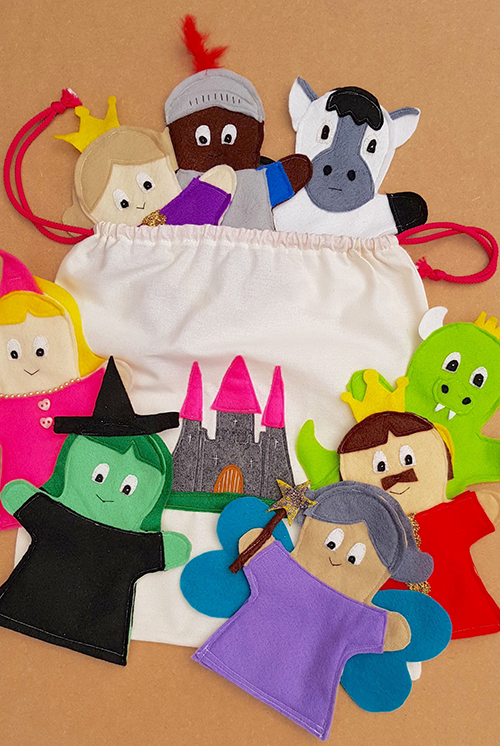
Fairy Tale Storytelling Sack: Games and Activities
Story Sacks
Suitable for ages 2 to 8 years.
Story sacks are simply a bag or box based on a story with a selection of other resources to use with it.
They help to stimulate language activities and make reading a memorable and enjoyable experience. A story sack can include non-fiction books, puppets and any other ‘props’ you can find. Think of a favourite story you share with your child. What could you put with it to create a story sack?
Start off by working closely with your child, reading and using the ‘props’ together. Once your child has got used to the story sack, they will be able to use them independently.
Making Story Sacks
Include in your story sack:
- A copy of their favourite book.
- Models of the characters in the book (this could be puppets, soft toys, plastic figures or face masks).
- Props mentioned in the story (use everyday items or pictures).
- Other reference/non-fiction books around the subject of the book.
- Paper and crayons.
Re-enact the story using the book and props.
Activities ideas and questions for your story sack:
- Ask them if they would like to be a ‘pirate’ or ‘dinosaur’ or other character from their story.
- Children can also draw or design their own ‘spaceship’ or ‘monster’ like in the story.
Fairy Tale Games & Activities
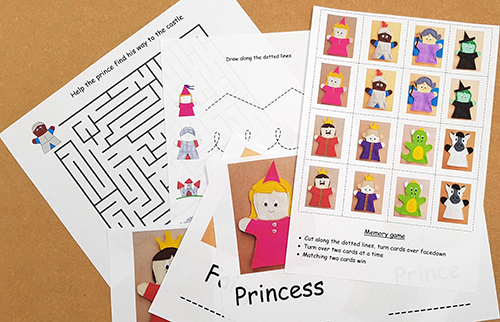
Skill level:
Beginner
You will need:
- Draw along the dotted lines activity sheet [download here]
- Maze activity sheet [download here]
- Pencil Skills activity sheet [download here]
- Memory Game sheet [download here]
- Access to a printer
- Laminating machine and pouches, or clear sticky-backed plastic (available from most large supermarkets)
- A4 sheet of dark coloured paper (Memory game only)
- Glue (Memory game only)
- Paper scissors
- Whiteboard marker pen
- Cleaning cloths
For the activity sheets
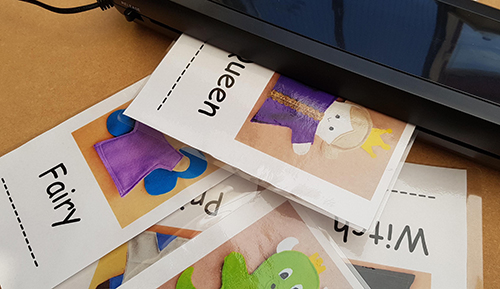
1. Download and print off the activity sheets and laminate.
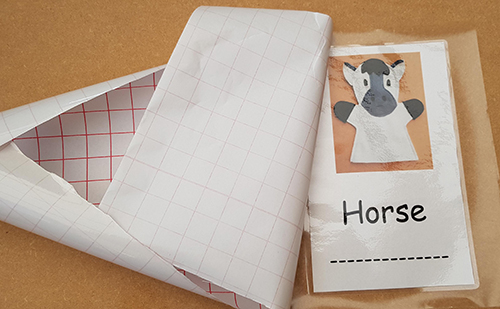
2. If you do not have access to a laminating machine, then use clear sticky back plastic to cover each sheet back and front. Trim away the access plastic to leave a small boarder around the edges.

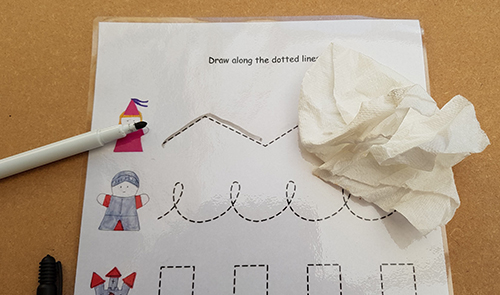
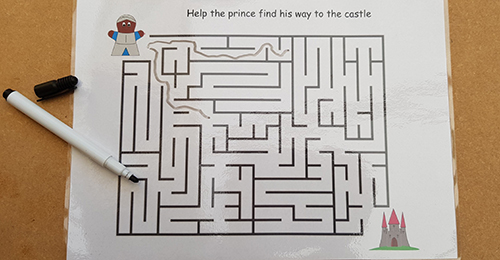
3. Use a white board marker ONLY as this can be wiped clean to re-use over and over again.
For the memory game
1. Download and print off the memory game sheet. Glue a dark coloured sheet of paper to the reverse (as the pictures may show through). When dry cut along the broken lines.
2. Carefully lay out the piece on a laminating pouch and pass through the machine. Alternatively, use clear sticky back plastic to seal, as shown for the Activity sheets.
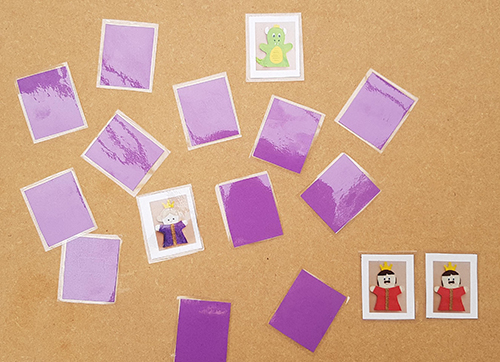
3. Cut around the individual pieces leaving a small plastic edge around each piece. You are now ready to play:
Mix up all the cards face down and lay them in rows.
Turn over any two cards.
If the two cards match, keep them.
If they don't match, turn them back over.
Remember what was on each card and where it was.
Watch and remember during the other player's turn.
The game is over when all the cards have been matched.
Project Design: Ruth Ryan

