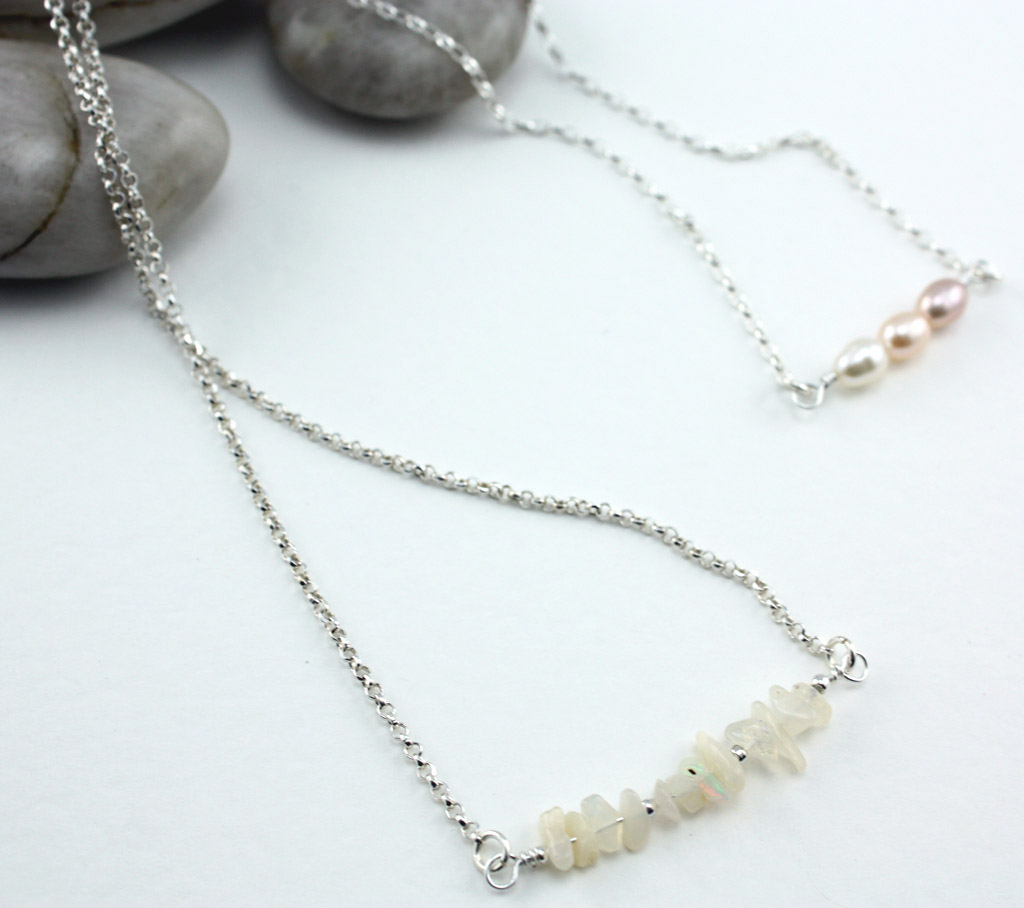
Pearl and Bead Chip Bar Necklaces
Skill level: Beginner
Note: When cutting jewellery wire make sure that the end of the wire being cut it facing away from the body and pointing down towards the beading mat.
Tips: These necklaces are a great way to repurpose any broken necklaces, bracelets and loose beads for a fresh look.
You will need
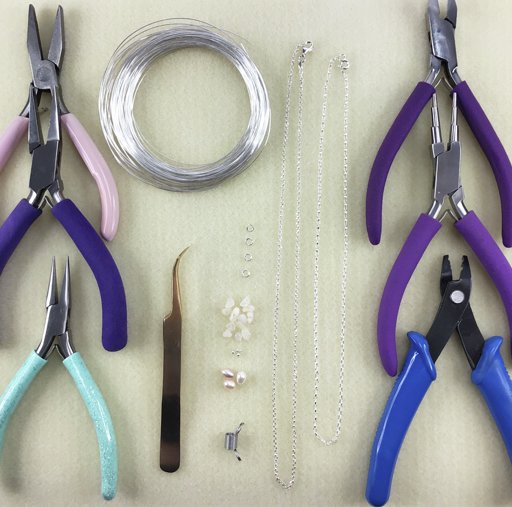
- 3 x 6 mm Freshwater potato pearl beads in neutral tones
- 12 x Opal bead chips
- 4 x 3 mm Silver or silver plated seed beads
- 0.80 mm Silver or silver plated jewellery wire (a non-tarnish, silver-plated copper wire was used for this project)
- 2 x Silver or silver plated chain necklace (one 46cm/18in chain and one 41cm/16in chain were used)
- 4 x 0.84 x 4mm Silver or silver plated jump rings
- Wire cutters
- Flat nose pliers
- Snipe nose pliers
- Round nose or three-step pliers
- Crimping pliers (optional)
- Bent nose tweezers (optional - for helping to pick up small beads
- Large beading mat
- Bead stopper or removable tape
To make
Pearl bead bar necklace

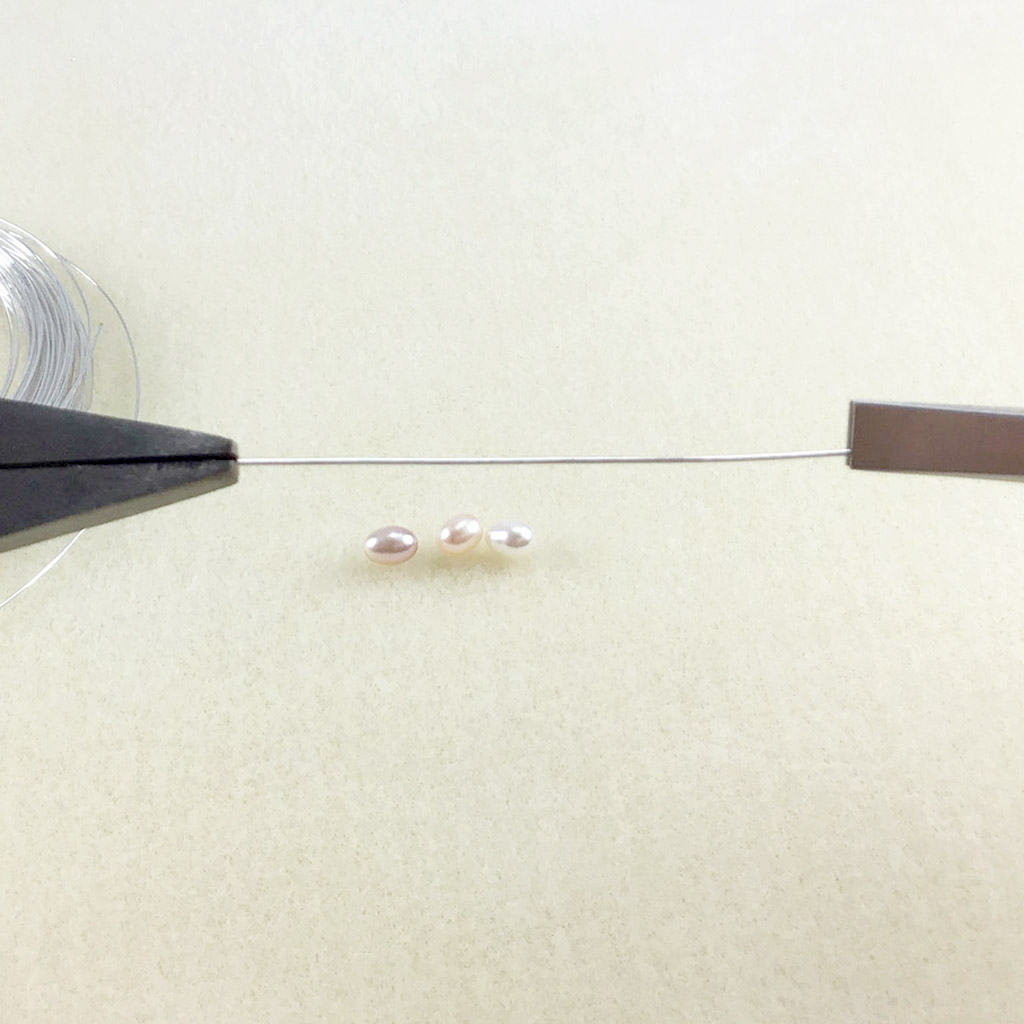
1. Cut a length of silver jewellery wire, for the 6mm potato pearls this will be around 48mm.
2. Using a set of pliers in each hand, hold the length of cut jewellery wire at each end and gently rotate the pliers in a wrist rocking motion back and forth for four half turns. This helps stiffen the wire.

3. Thread the three pearl beads onto the wire and add a bead stopper or small piece of removable tape at about 2mm in from one end of the wire.

4. Using your flat nose pliers or fingers, create a gentle bend to the left-hand side at the top of the wire (or to the right if you’re left-handed), just above the top bead. This is the base for creating your wrapped loop.
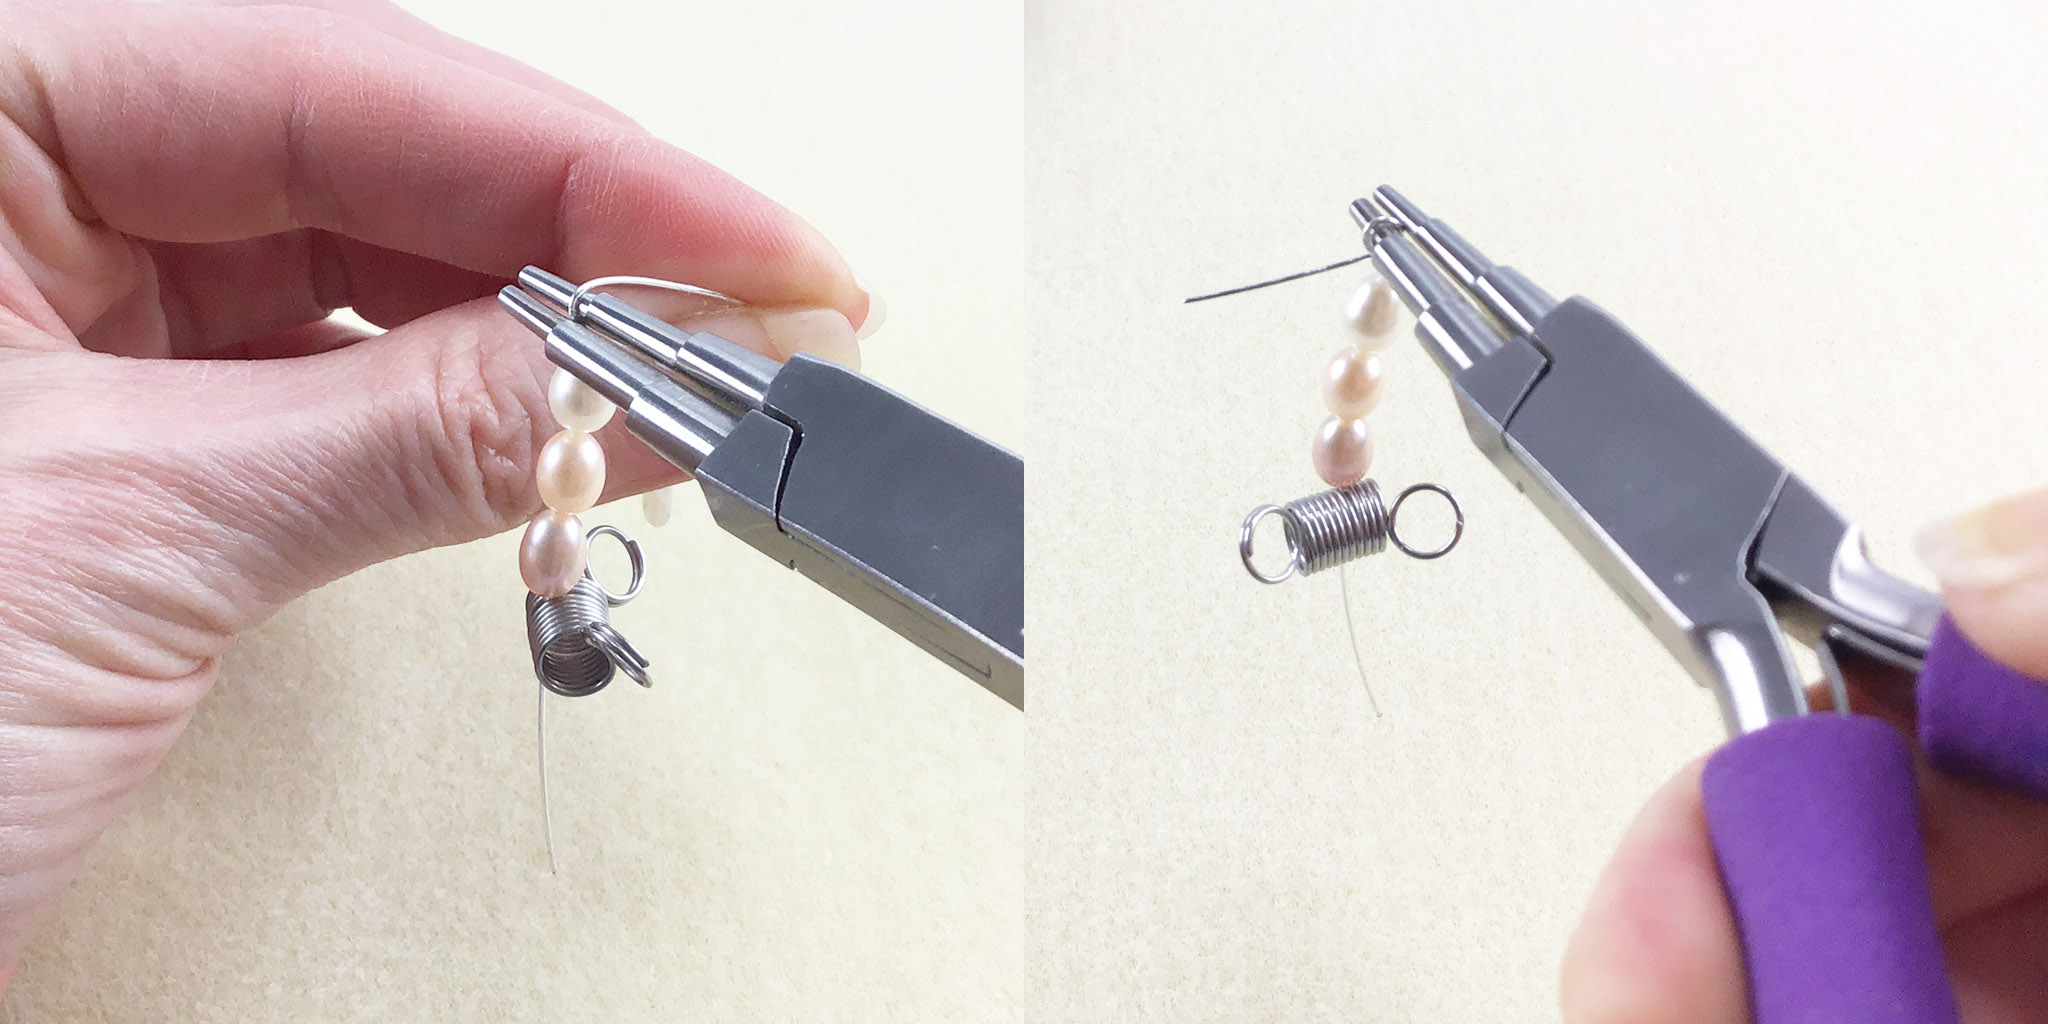
5. Grip the wire in your round nose or three-step pliers, where the curve is most pronounced. Using the free length of wire, bend the wire around the tip of your pliers. You will need to move the pliers slightly as the wire rounds so that you create a full loop. The free wire should be at a right angle to where the beads are but without touching the tip of your pliers.
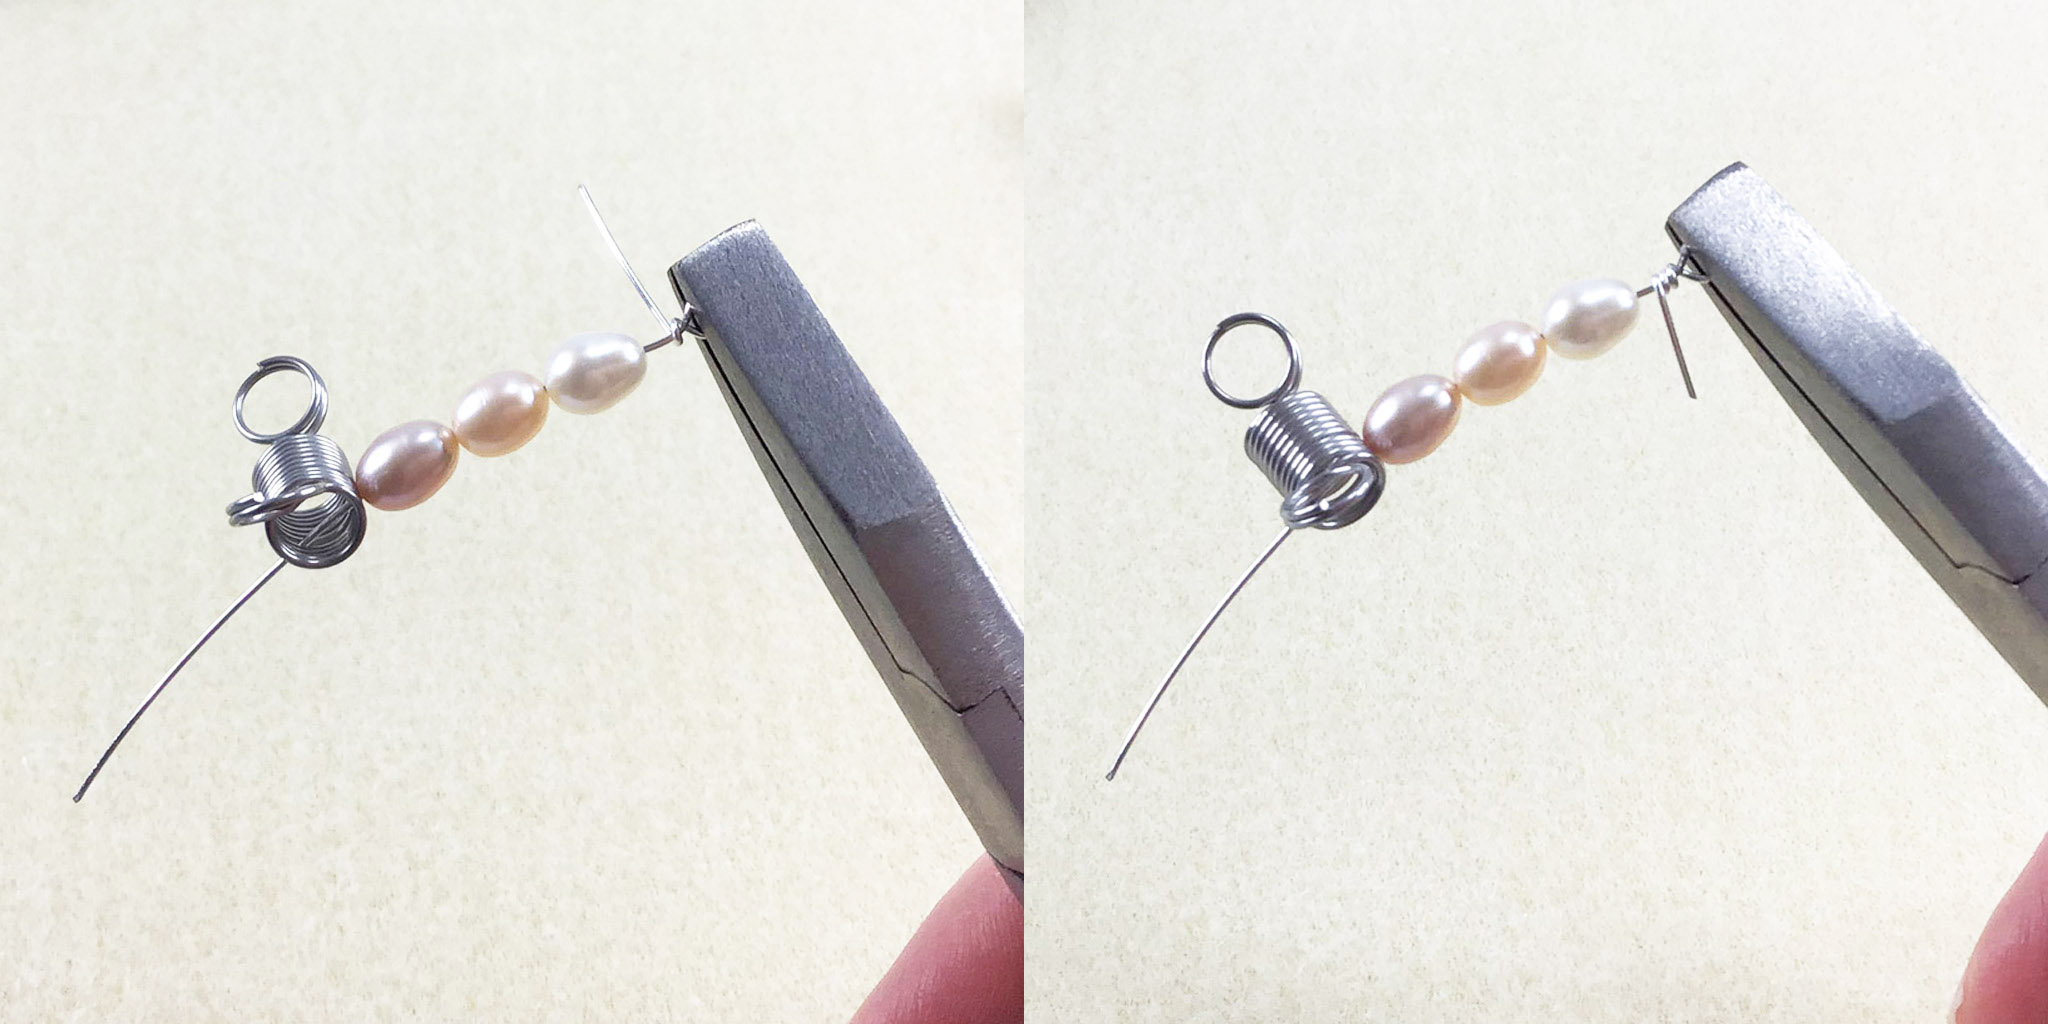
6. Holding the loop in your flat nose pliers; start to wrap the wire around the base of the loop, until it sits against the beads. For this necklace, three or four turns should do. You can use your snipe nose pliers or fingers to pull the wire around.
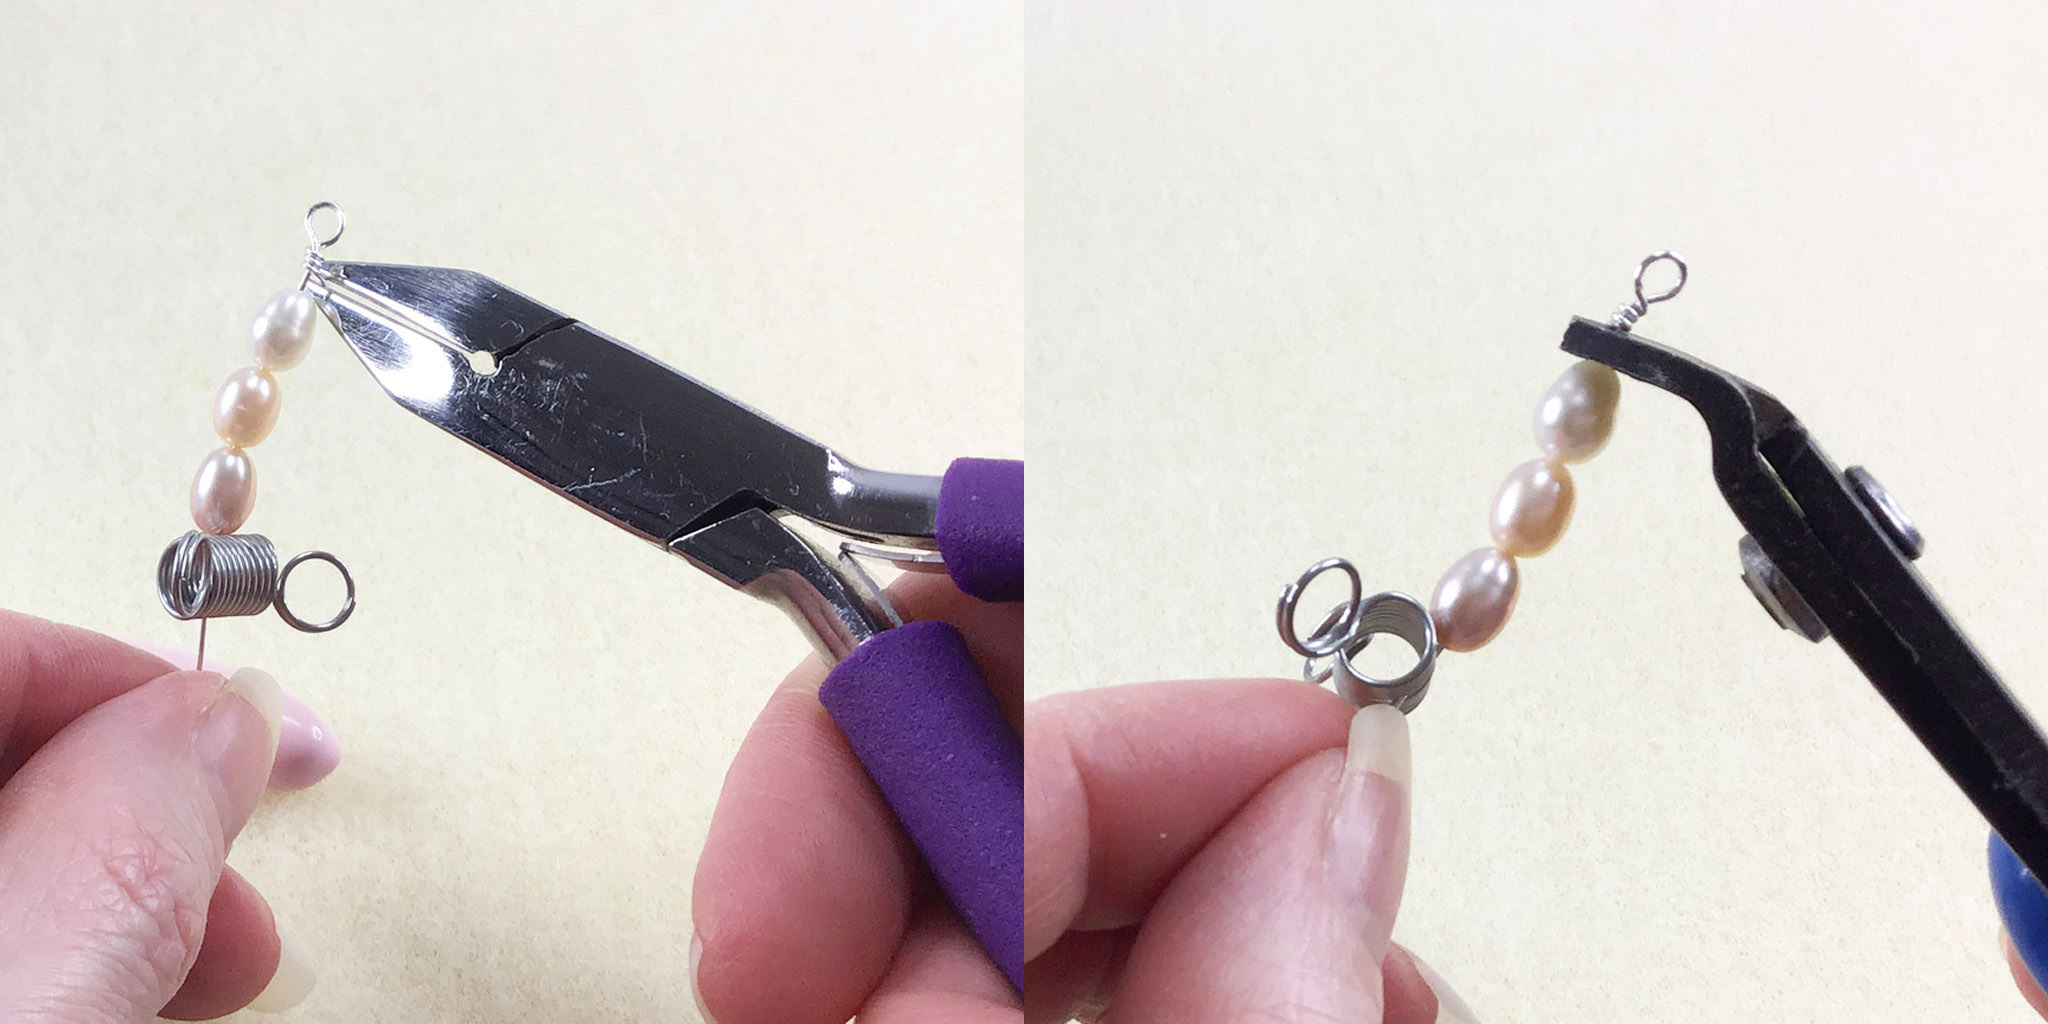
7. Trim the end with your cutters. You can use either the snipe nose pliers or crimping pliers to make sure the sharp end is tucked in tightly and doesn’t catch.
8. Turn the wire to the other end and remove the bead stopper or piece of tape. Repeat steps 4 to 7 to create your wrapped loop.
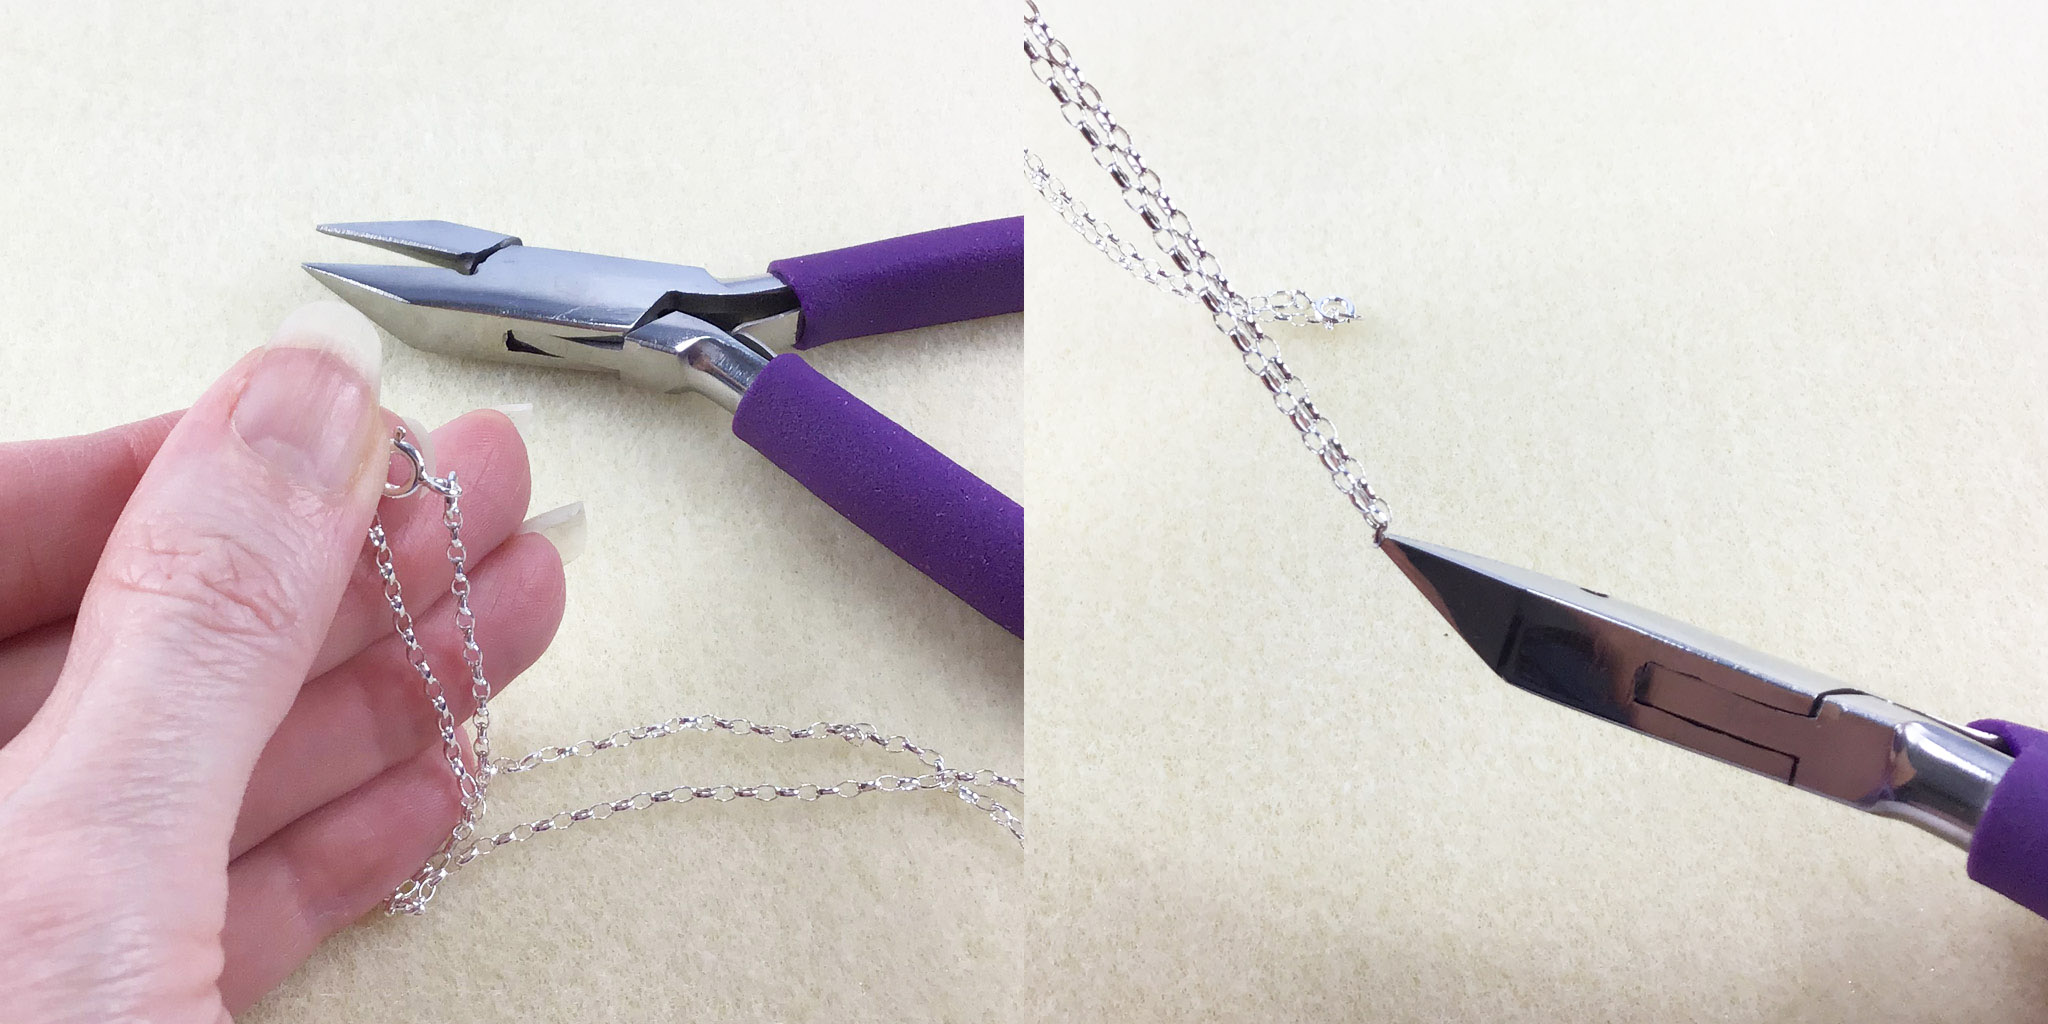
9. Holding your necklace chain by the clasp, let the necklace dangle to find the centre and snip out one link with your wire cutting pliers.
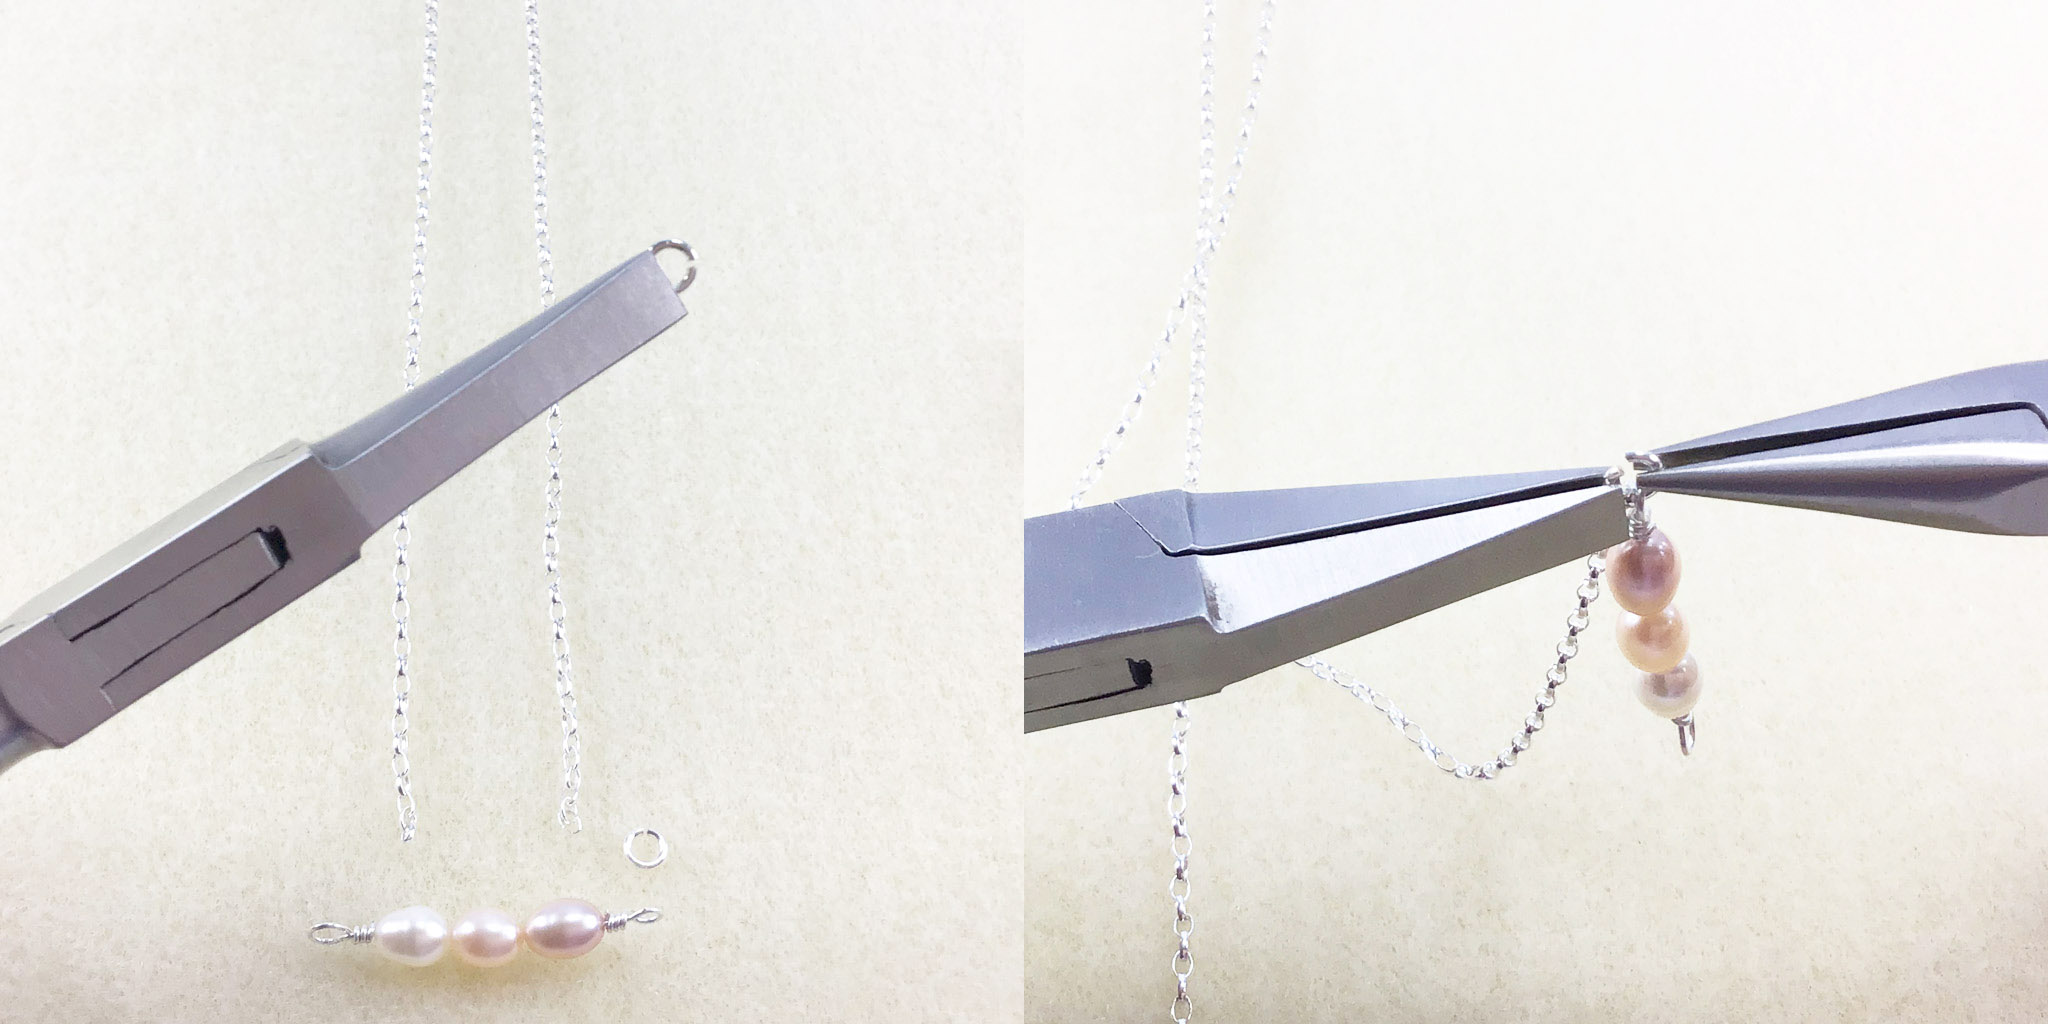
10. Using the flat nose pliers to hold the jump ring, gently twist it open with your snipe nose pliers until one end of the chain can fit onto the ring. Attach one of the wrapped loops to the open jump ring and then twist it closed. Check to make sure that the wrapped loop will not slip through the gap in the jump ring. If so, grip the jump ring again with the pliers and add little more pressure as you twist it closed.
11. Repeat Step 10 for the other side of the chain and pearl bead bar.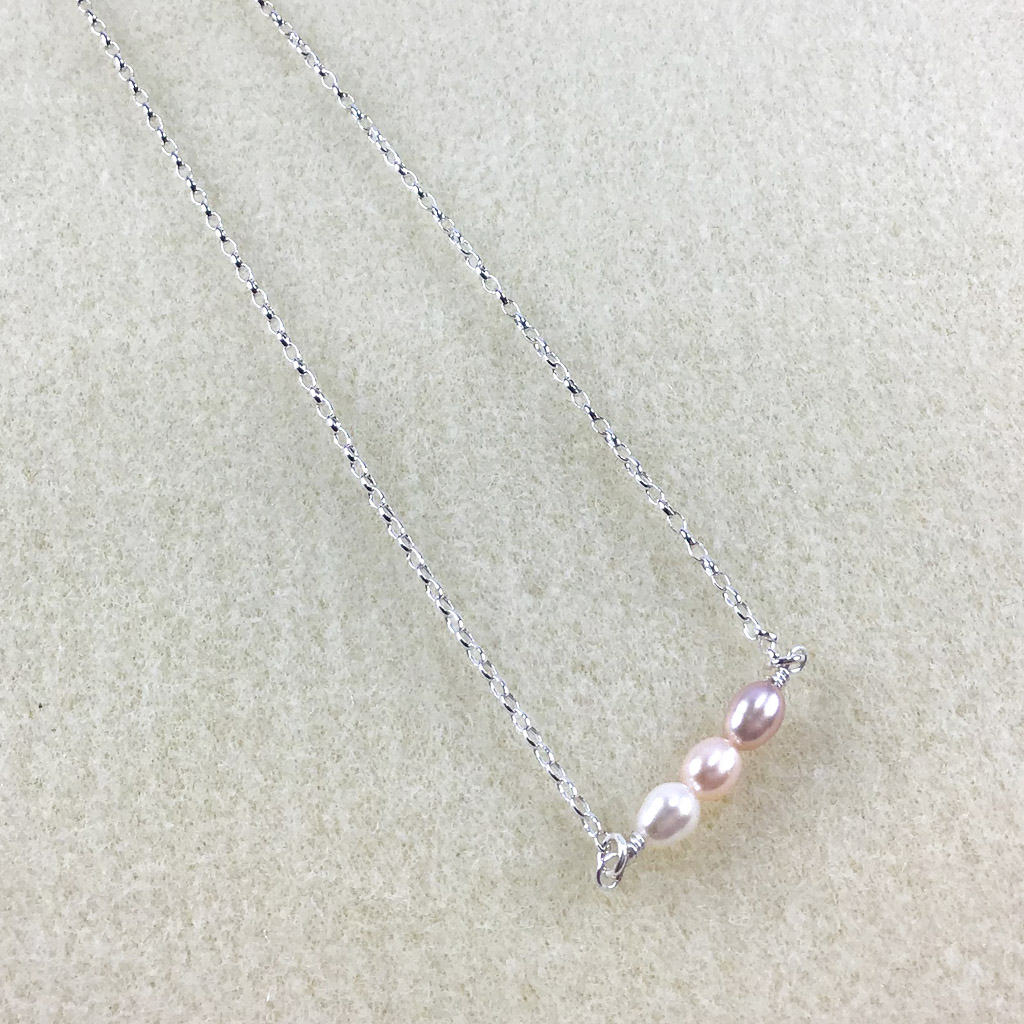
Your pearl bar necklace is now ready to wear!
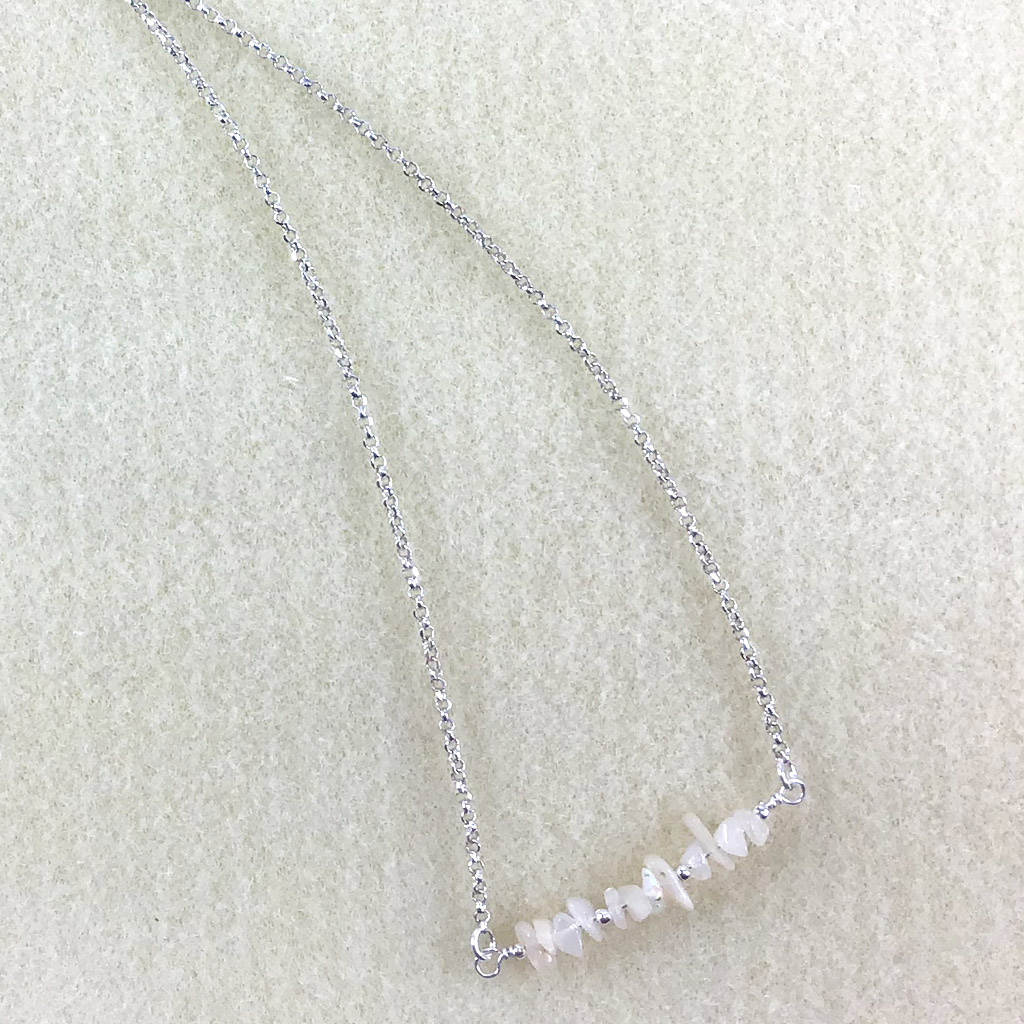
Opal bead chip bar necklace
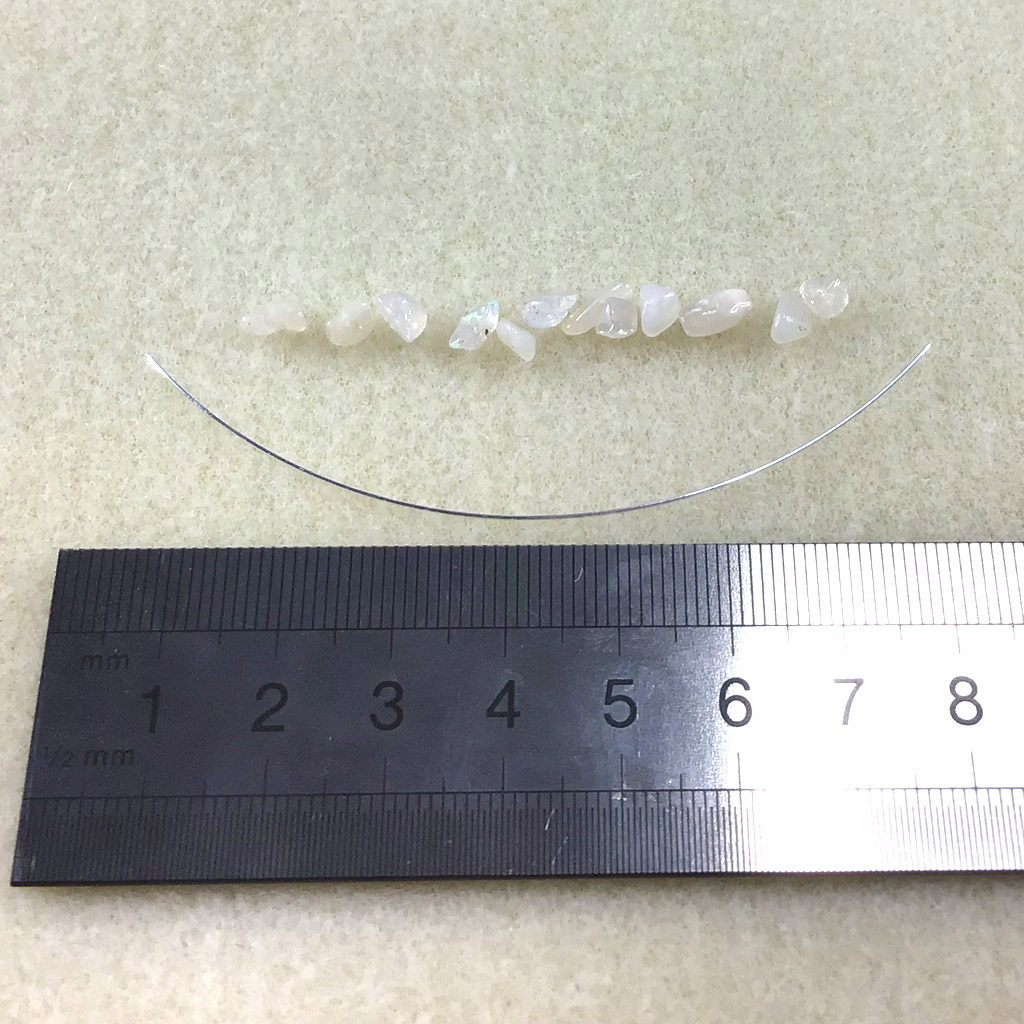
1. Cut a length of silver jewellery wire, for the opal chip and silver beads. This will be 8cm for 16 beads (varying on the size and shape of bead chip).
2. Stiffen your jewellery wire, as described in Step 2 for the Pearl Bead necklace.
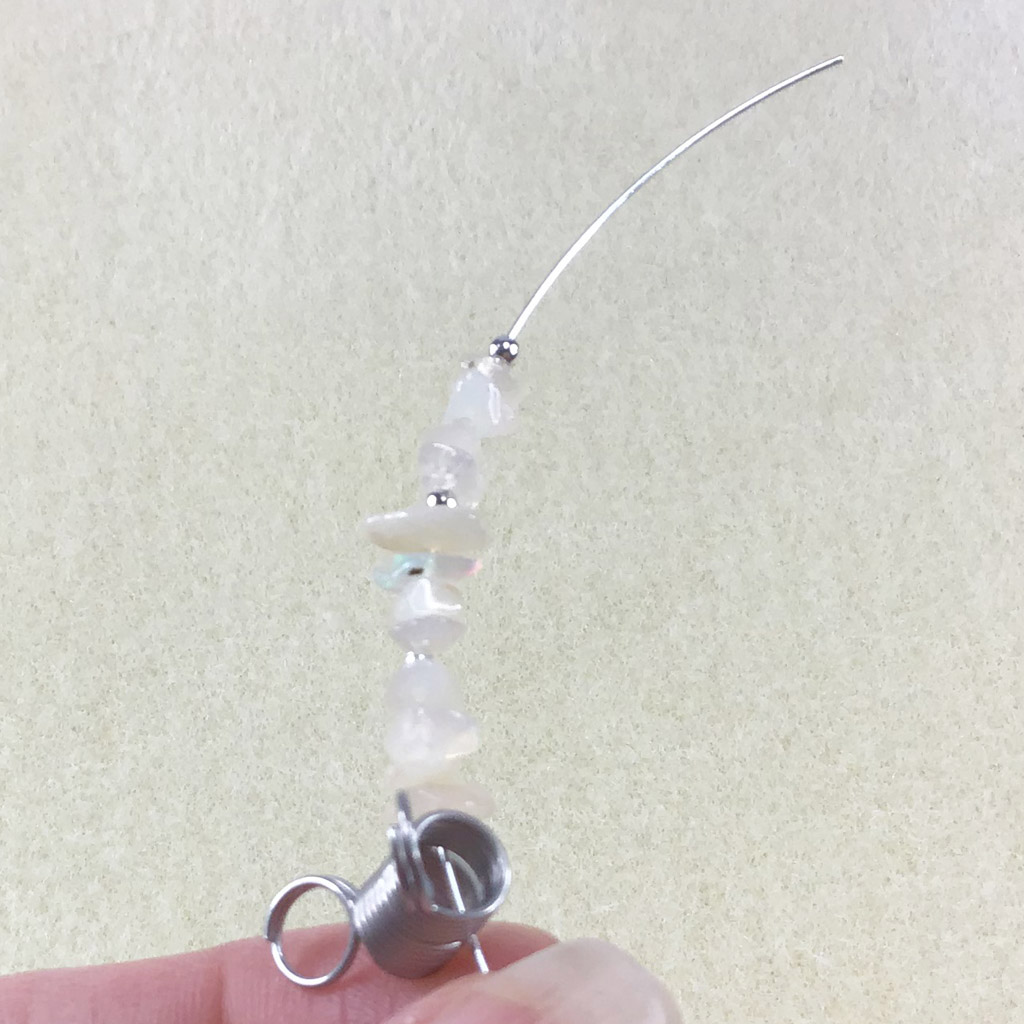
3. Thread one silver or silver plated seed bead, followed by four opal chips onto the wire and add a bead stopper or small piece of removable tape at about 3mm in from one end of the wire. Repeat the one seed bead and four opal chips pattern.
4. Follow Steps 4 to 10 for the Pearl Bead necklace to create the wrapped loops and attaching the chain necklace.
Project credit: Addison Evans

