Jewellery Craft - Part 1
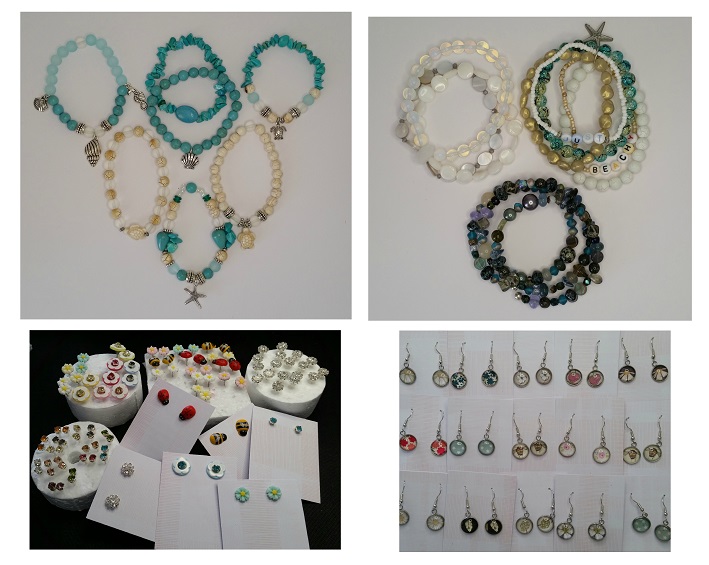
This month I’ve created beginner jewellery makes - elasticated bracelets and easy-to-assemble earrings.
As the weather gets warmer we start to wear fewer layers and bare our skin, what better way of adorning ourselves to celebrate Summer than with some gorgeous jewellery? I’ve based these on friendship bracelets to tie in with the International Day of Friendship at the end of the month and Thank You Day at the beginning, a lovely idea to celebrate friendship and say thank you.
Part 2 next month will go into more detail on advanced techniques for ‘findings’, names, tools and how they are used to assemble your makes, achievable with a bit of practice. A finding is a construction component that links, fastens, and connects in the jewellery-making process.
You will need:
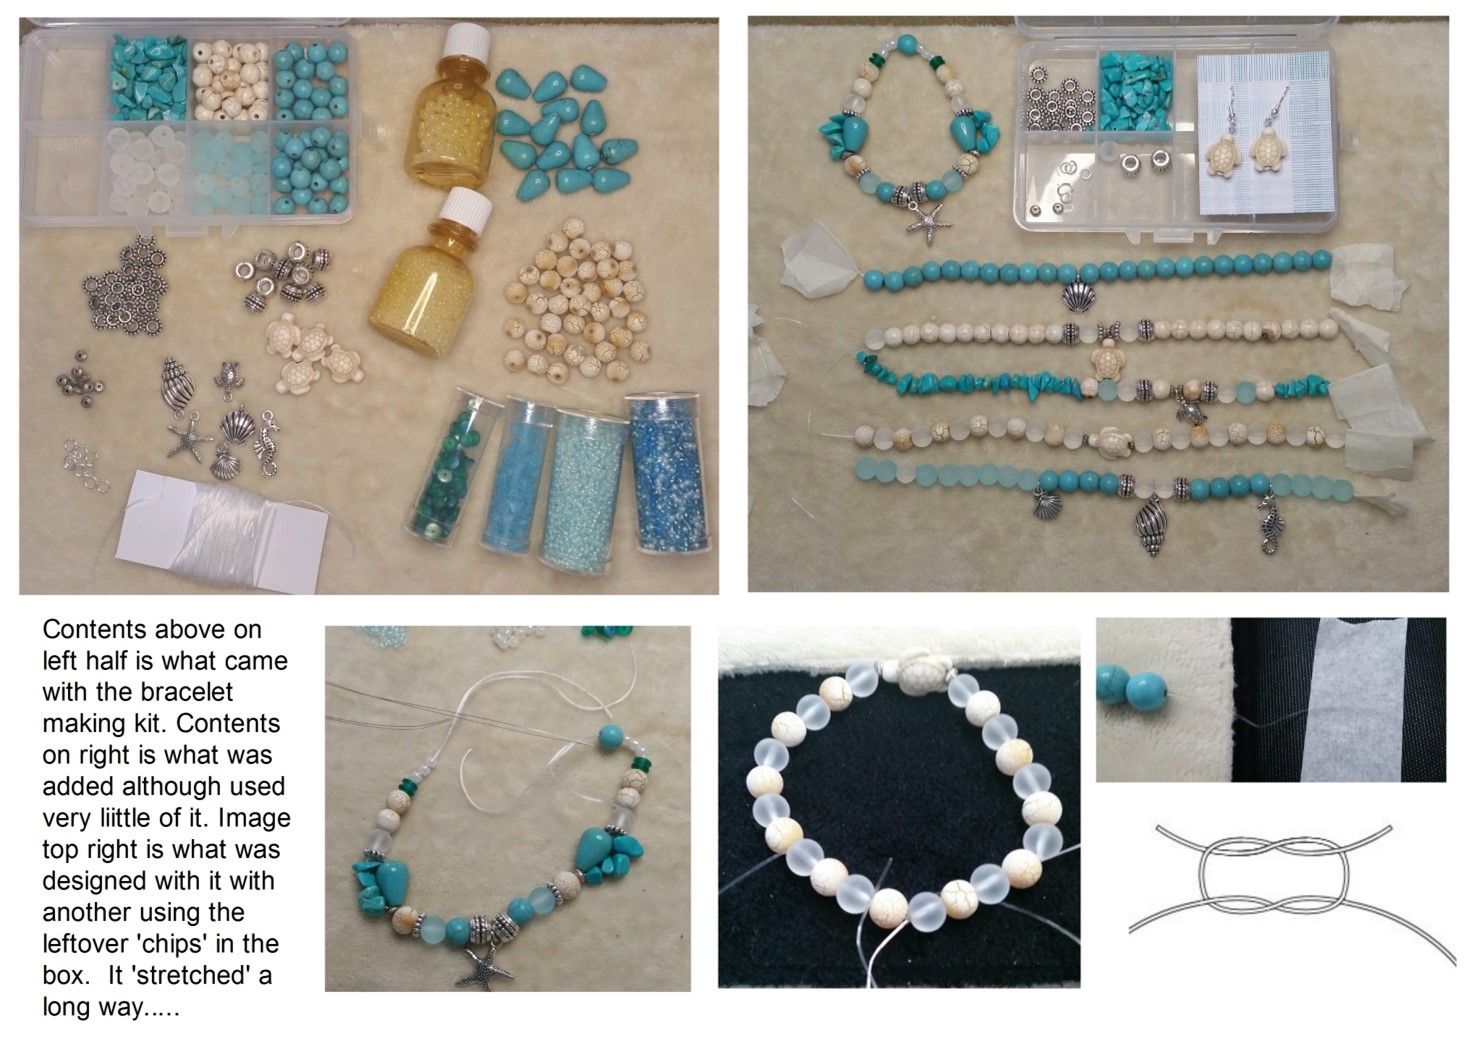
- Bracelet-making kit with charms and additional matching beads. The elastic in this kit was not great to thread through beads as it was multi-stranded and unravelled at the cut ends the more it was threaded. I persevered with two before replacing them with the brand I normally use which is a thicker-stranded version
- Dries clear strong glue. My preference is ‘glossy accents’ as it dries to a hard transparent finish, creates a strong bond and does not yellow but use what you have
- Bead mat or fluffy fabric to contain beads from rolling away, masking tape, collapsible beading needle (optional but most helpful for these makes), jewellery pliers or similar
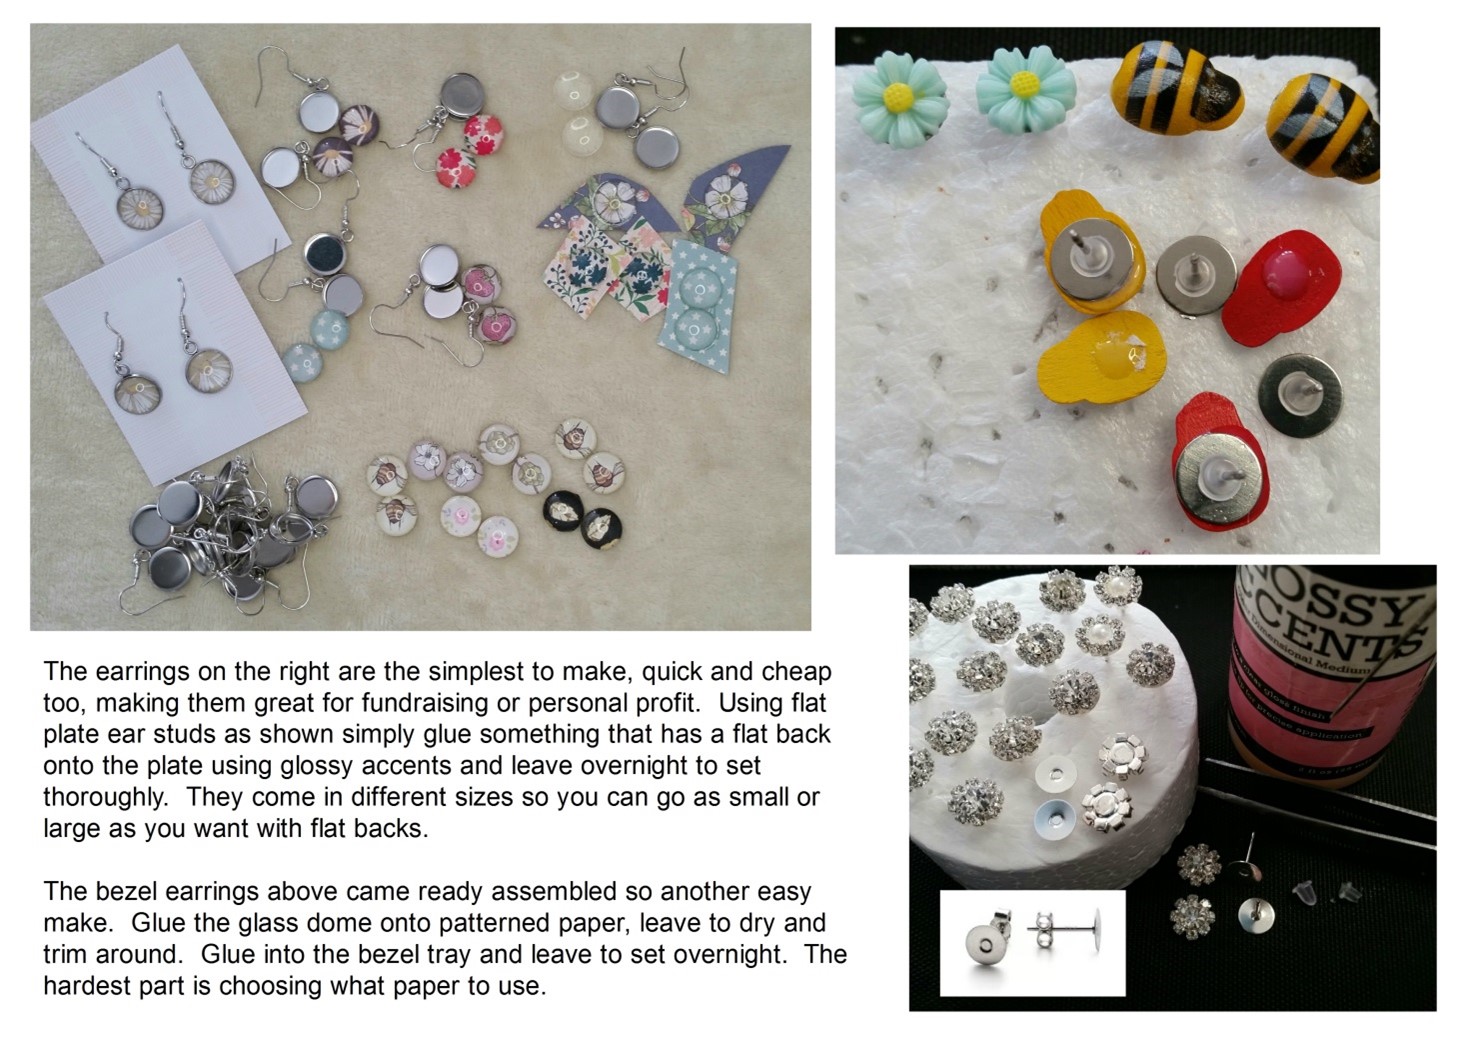
- Ready assembled bezel earring kit, pretty papers
- Ear studs with flat plate and butterfly backs, flat backed embellishments to glue on
To make:
Before starting assemble and sort all your items so you know what you are working with making it easier to plan designs.
To make an elasticated bracelet measure your wrist and cut at least twice that length of elastic. Tape down one end onto your working surface with masking tape to prevent beads from falling off when threading on and accidentally pulling elastic all the way through – easily done! If you have a collapsible beading needle it is most helpful to use one. A collapsible needle is flexible and has a specially designed eye that automatically collapses and reshapes when pulled through a bead.
When you have threaded all your beads, add masking tape to both ends and try around your wrist to check the fit. All the bracelets I made to fit my wrist were about 19cm and had some give so not too tight, which is surprisingly the most common length for a woman’s bracelet.
To fasten, hold the bracelet in mid-air to let the weight of the beads settle in, and knot as shown below as many times as needed to secure (the elastic is strong pull tight to close any gaps). Add a small blob of glue and leave to set. When the glue has hardened you can trim the ends (they won’t show much as the elastic is transparent) or feed ends through the beads on either side of the knot and then trim, whatever is easiest.

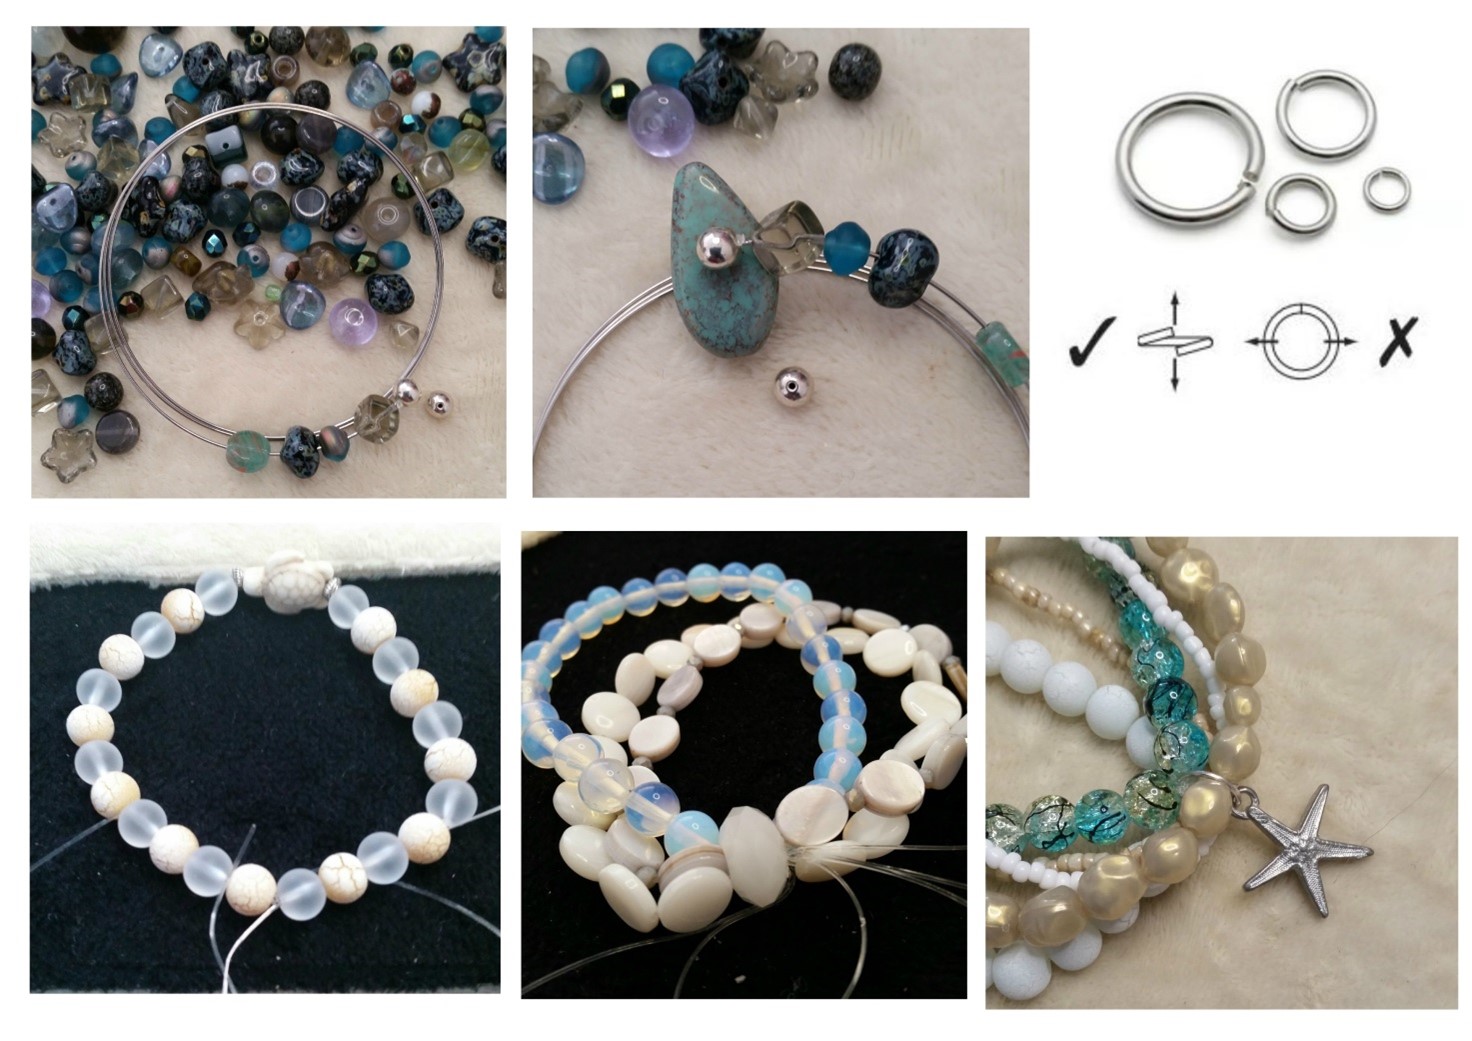
The bracelets above had hanging metal charms added, attached with jump rings. The image below on the far right shows what one is and how to open up reversing the action to close up again. If you have pliers use them to hold while doing this, if not it is possible to use tweezers.

I also made multi-stranded versions with multiple bracelets joined together using a larger jump ring and added a hanging charm. The other had all ends threaded through a large holed bead before fastening off and glueing.
The blue version uses memory wire made from hard steel which maintains its shape. They unfurl and wrap around the wrist with no need for a fastener. Glue a memory wire end cap or bead to one end and leave to set. Thread on beads (I used my bead soup which is leftover beads from other projects) and keep threading till the wire is fully covered. This is the difficult part as the memory wire is very springy - hold the last bead in place and glue on an end cap or bead, and keep hold temporarily till you feel it is holding.


