Tooth Fairy
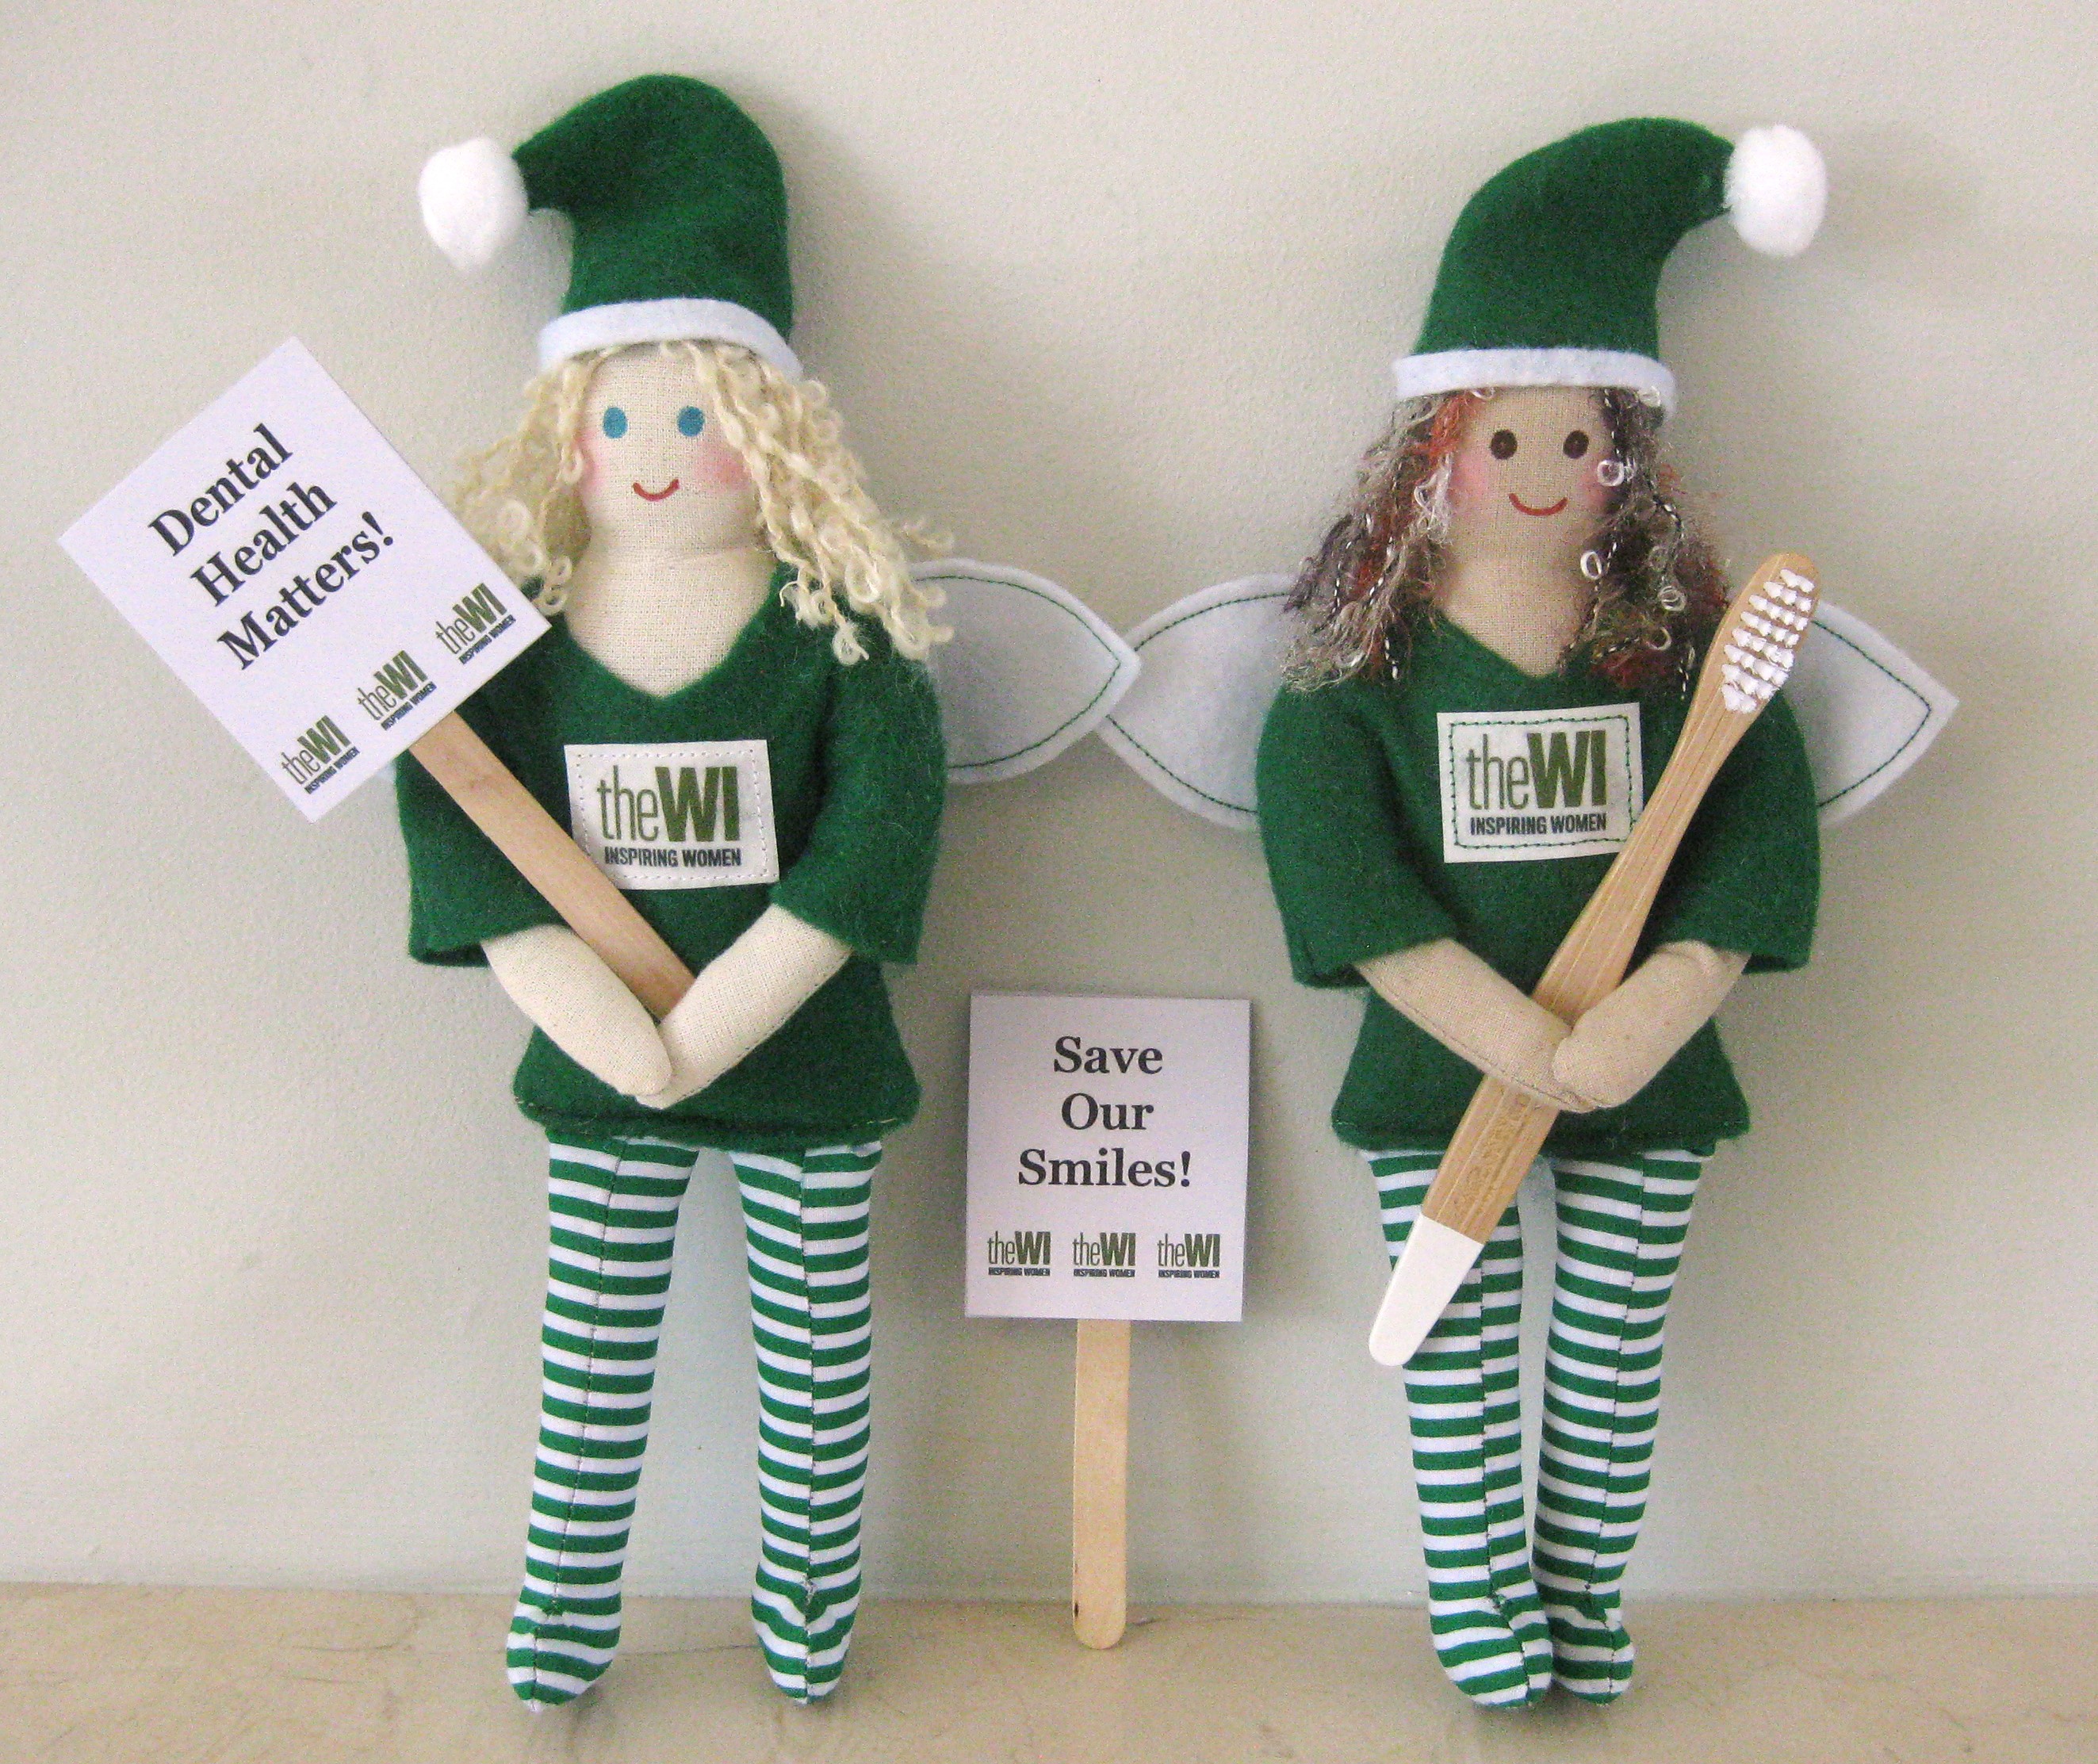
Designed by Claire Salmon
The Tooth Fairy can be stitched by hand or machine, and is made from easily available materials. The finished fairy is about 26cm/10” tall.
Materials
- Striped or plain cotton or polycotton for the legs (13cm x 22cm)
- *Green felt for the top and hat (20 x 25cm)
- Unbleached calico or plain cotton in your chosen skin tone for the head/body section (16cm x 32cm)
- White felt for the wings and hat band (6cm x 16cm)
- Knitting yarn for the hair- something with a bit of texture looks best (10-12 strands, each 16cm long)
- Toy stuffing
- Optional: small pom-pom for the hat
- Optional: wooden lolly stick and white card to make a placard
- Optional: child size toothbrush to accessorise
* Alternative: Use fleece, jersey or T-shirting for the top instead of felt. You will need to turn under a small hem at the neck edge and ends of the sleeves to prevent fraying.
If your fabric is very stretchy, you may need to reduce the size of the top slightly.
Equipment
- Pencil, biro or tailor’s chalk to draw around the pattern pieces
- (Sewing machine), needle for hand sewing, thread, scissors, pins
- Chopstick or blunt knitting needle to help with turning and stuffing
- Fabric pens or permanent marker pens for the face
- Optional: Glue gun or fabric glue
Instructions
Most of the fabrics used here such as the calico and felt don’t have a distinct right or wrong side, but if your fabrics do have a clear difference, make sure they are placed with right sides together before stitching.
When sewing small items such as the fairy, the easiest method is to stitch the pieces together before cutting them out. Follow the instructions below, stitching around the body, legs, top and hat shapes first, and then cutting them out about 4-5mm from the stitch line. You can either machine sew, or sew by hand with a small backstitch.
1. Prepare the pattern pieces. Print out the pattern onto paper or card. Cut out the pattern pieces. | 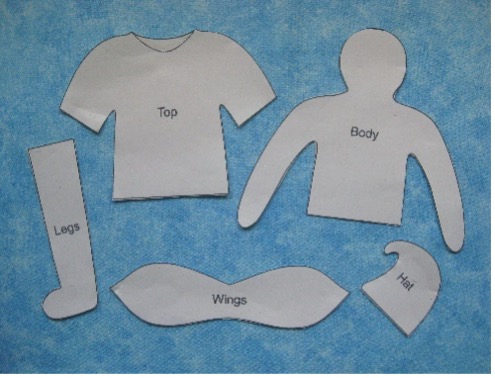
|
2. Make the body. Fold the piece of calico or plain cotton with right sides together. Place the body pattern on the fabric and draw around it. Stitch the pieces together along this line, leaving the bottom edge of the body open. | 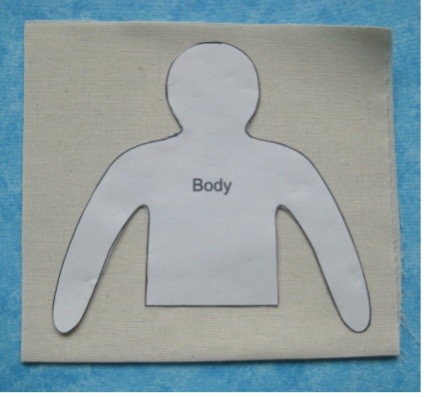
|
3. Cut the body out about 4-5mm from the stitch line. Make a small snip under each armpit to help ease through, but be careful not to cut the stitches. Turn right side out and press. | 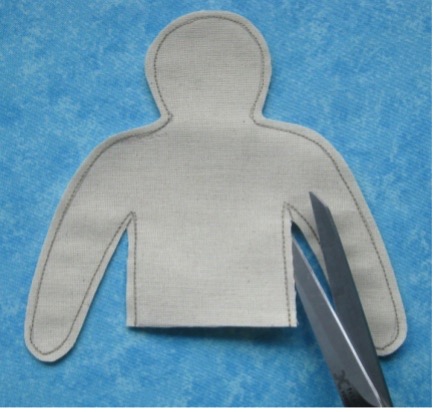
|
4. Stuff the ARMS ONLY using a chopstick or blunt knitting needle. Add the stuffing just a little bit at a time to avoid blockages, leaving the head and body unstuffed at this stage will make it easier to get the top on. TIP: To help get the stuffing into the arms, fold up the bottom edge of the body so it is out of the way. | 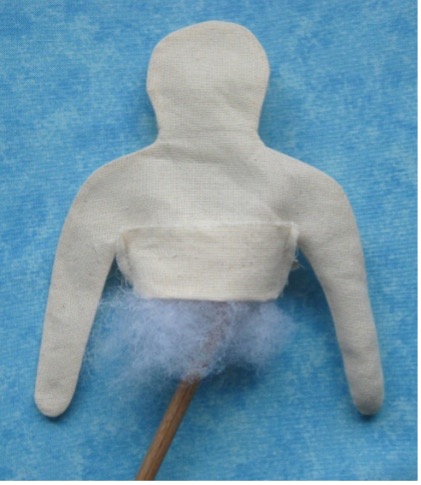
|
5. Make the top and hat. Fold the green felt in half. Draw around the top and hat pattern. Stitch the top together along the lines, leaving the neck, sleeve ends and bottom edge open. Stitch the hat together along the lines, leaving the bottom edge open. | 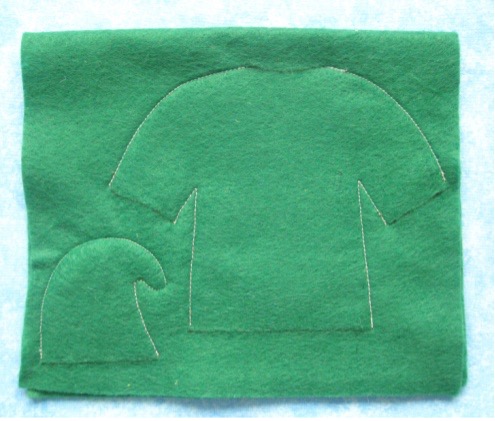
|
6. Cut out the top and hat about 4-5mm from the stitch line. Make a small snip under each armpit and under the curve of the hat to help ease. Carefully turn right sides out, to prevent the felt from stretching, and press. NOTE: Craft felt needs a cool- medium iron setting. Wool blend felt can tolerate more heat. Trim a soft curve or v- shape at the front neck edge of the top as shown on the pattern. | 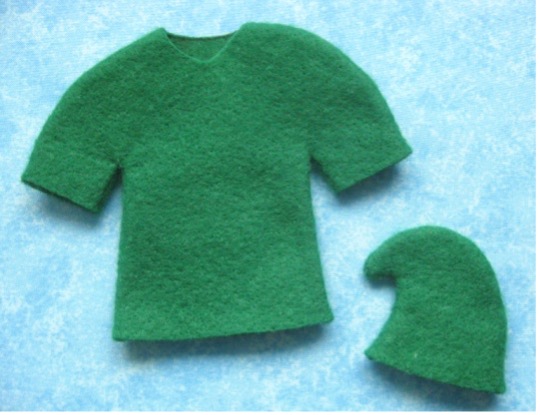
|
7. Put the body into the top. Push the body up inside the felt top, pulling the arms into the sleeves and pushing the head through the neck opening. The body pattern is intentionally a bit shorter than the top, so fold up the bottom edge of the top and/or pin the body to each side of the top to hold it open while stuffing. Stuff the head and neck firmly, then the torso, leaving about 2cm at the bottom edge with no stuffing. Turn up the bottom edge of the top to the inside by 1cm and press carefully. | 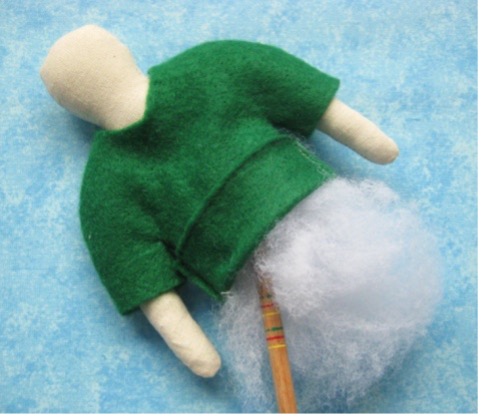
|
8. Make and add the legs. Fold the striped cotton fabric in half with right sides together. Place the leg pattern on the fabric and draw around it twice. Stitch the leg pieces together on this line, leaving the top edge of each leg open. Cut out the legs about 4-5mm from the stitch line. | 
|
9. Make a small snip towards the inner ankle joint to help ease, being careful not to cut the stitches. Turn right side out and press. Stuff firmly, leaving the top 1cm- 1.5cm of the leg empty. | 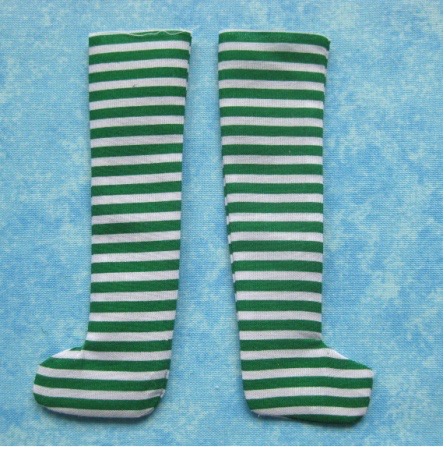
|
10. Insert the legs into the bottom edge of the body, with toes pointing forwards, and stitch across firmly to secure. | 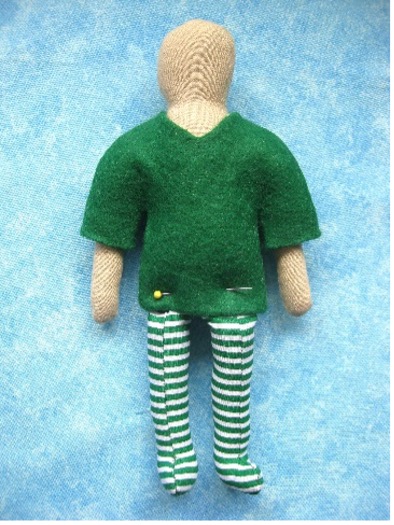
|
11. Make the wings. Use the wing pattern to mark and cut out one wing shape from white felt. Cut a narrow strip from the remaining white felt for the hat band. If your felt is thin, and the wings feel a bit floppy, you can cut two pieces instead and stitch or glue them together, or add a layer of interfacing to the back of the felt. Optional: With a contrasting green thread, stitch all around the edge of the wings for decoration. | 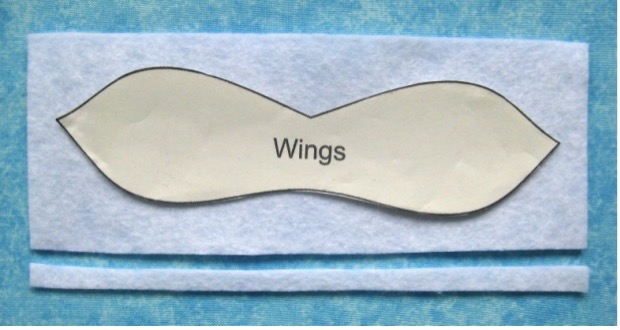
|
12. Add the hair. Cut 10-12 strands of yarn, each around 16cm long. Stitch the hair along the centre top of the head. The hat will also help to secure the hair to the head, but if your yarn is rather ‘fly away’, you can add a bit of glue around the head to help keep the strands in place. | 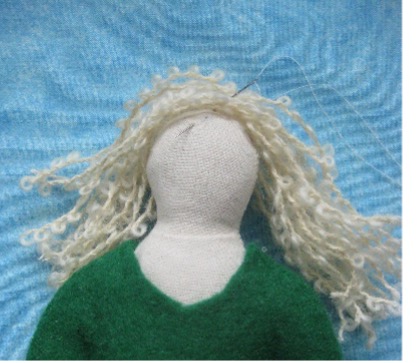
|
13. Add the hat. Pull the hat down over the hair. Stitch the hat onto the head. | 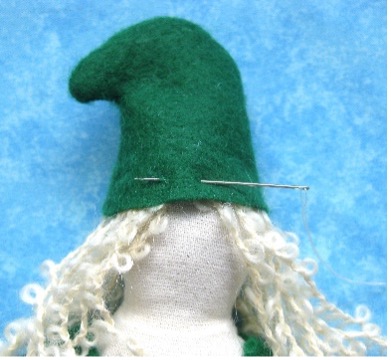
|
14. Use the narrow strip cut from the remaining white felt, and stitch around the hat edge to create a band. Optional: Stitch on a small pop-pom. | 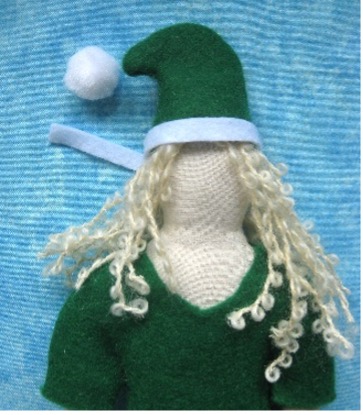
|
15. Add the wings. Position the wings on the upper back of the fairy, and stitch through the top and body to hold them in place. Make sure the stitches go right through into the body so that it can’t be pulled out of the top. | 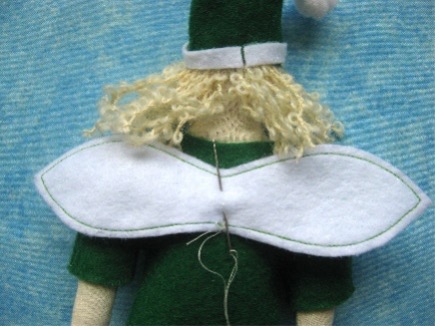
|
16. Finish the Fairy. Stitch the hands together so that she can hold her toothbrush or placard. | 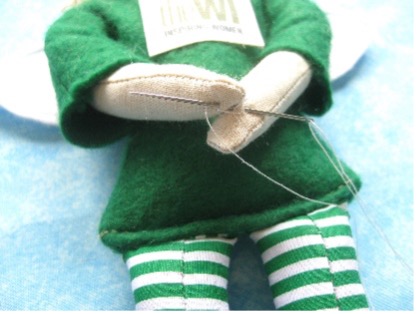
|
17. Add the eyes and mouth with fabric pens, or markers/felt tips. Check pens on a scrap of fabric first (or on the back of the head) to make sure they won’t run, and have a tissue ready to blot just in case. Add rosy cheeks with blusher or diluted pink pen. If you prefer, you could embroider the eyes and mouth instead. | 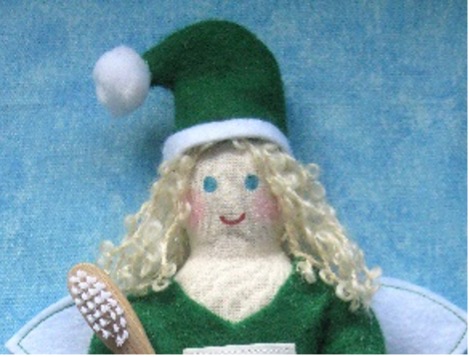 |
Optional accessories
The toothbrush used in the photo is a bamboo child size toothbrush. These can be bought in many supermarkets and high street retailers.
To make a placard, you will need a wooden lolly stick, white card and some glue or double-sided sticky tape. Print out the sample placards from the download sheet, cut to size and use glue or double-sided sticky tape to secure to the stick. You can make the placard single-sided or double-sided.
Optional WI Logo
- Print the WI logo in reverse onto Inkjet Transfer paper. The size of the logo should be around 3cm wide.
- Cut out the logo with a small margin of paper all around.
- Following the instructions on the paper, iron the transfer onto a small piece of non-woven fabric, such as interfacing. Using a non-woven fabric means that the edge won’t fray when cut.
- Trim the interfacing to size. (You could use a woven fabric, such as cotton, and cut out with pinking scissors to help reduce fraying.)
For machine sewing:
- Before making up the fairy’s top, mark the position of the logo by putting a pin through the front centre of the body pattern piece on one layer of green felt.
- Stitch the logo onto the top, using the position of the pin to guide you- a green stitch looks nice.
- Now place this piece of felt with the right side (logo side) down onto the other half of the felt, and continue to make up the top as per the instructions. You’ll be able to see the stitching around the logo to help position the body pattern piece correctly.
NOTE: Don’t iron over the logo once printed as the design will melt and smudge.
For hand sewing:
- Print the logo onto fabric as above and then either hand sew to the top in the same method as for the machine sewing option, or sew it onto the front of the finished top.
Happy Sewing!
Claire
Members are permitted to reproduce this design for their own personal use without the permission of the copyright holder (NFWI). The pattern and the Tooth Fairy may not be reproduced or made for sale.
It is the responsibility of the maker that any variation of this design must comply with the relevant regulations. For more information of Toy Safety regulations as they apply in the UK, please follow the link below. Further advice may also be available from your local Trading Standards Office.
https://www.gov.uk/government/publications/toys-safety-regulations-2011/