Rainbow Ribbon Wreath
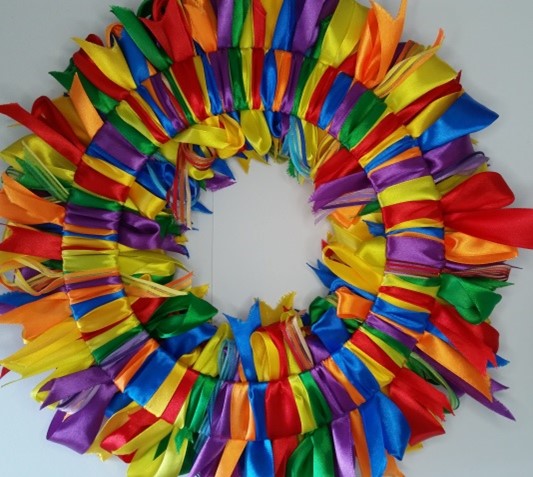
February is LGBTQ+ history month focussing on the present and future rather than the past of the Pride movement. So rainbow was the running theme this month symbolising hope, inclusivity, diversity and a sign of social change.
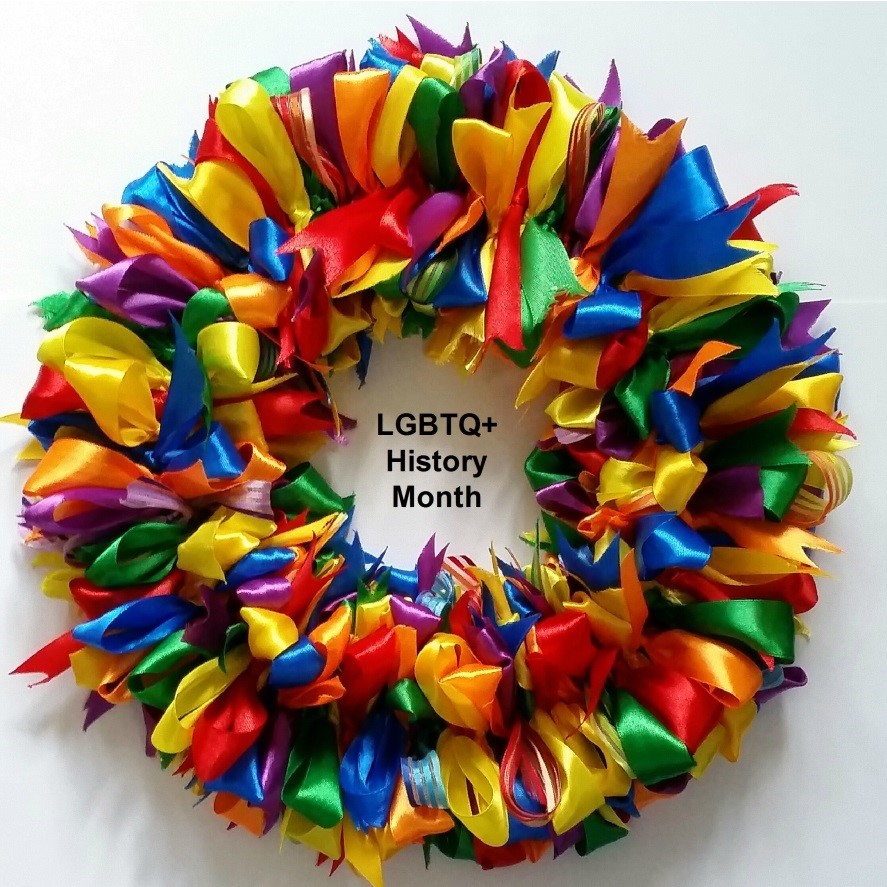
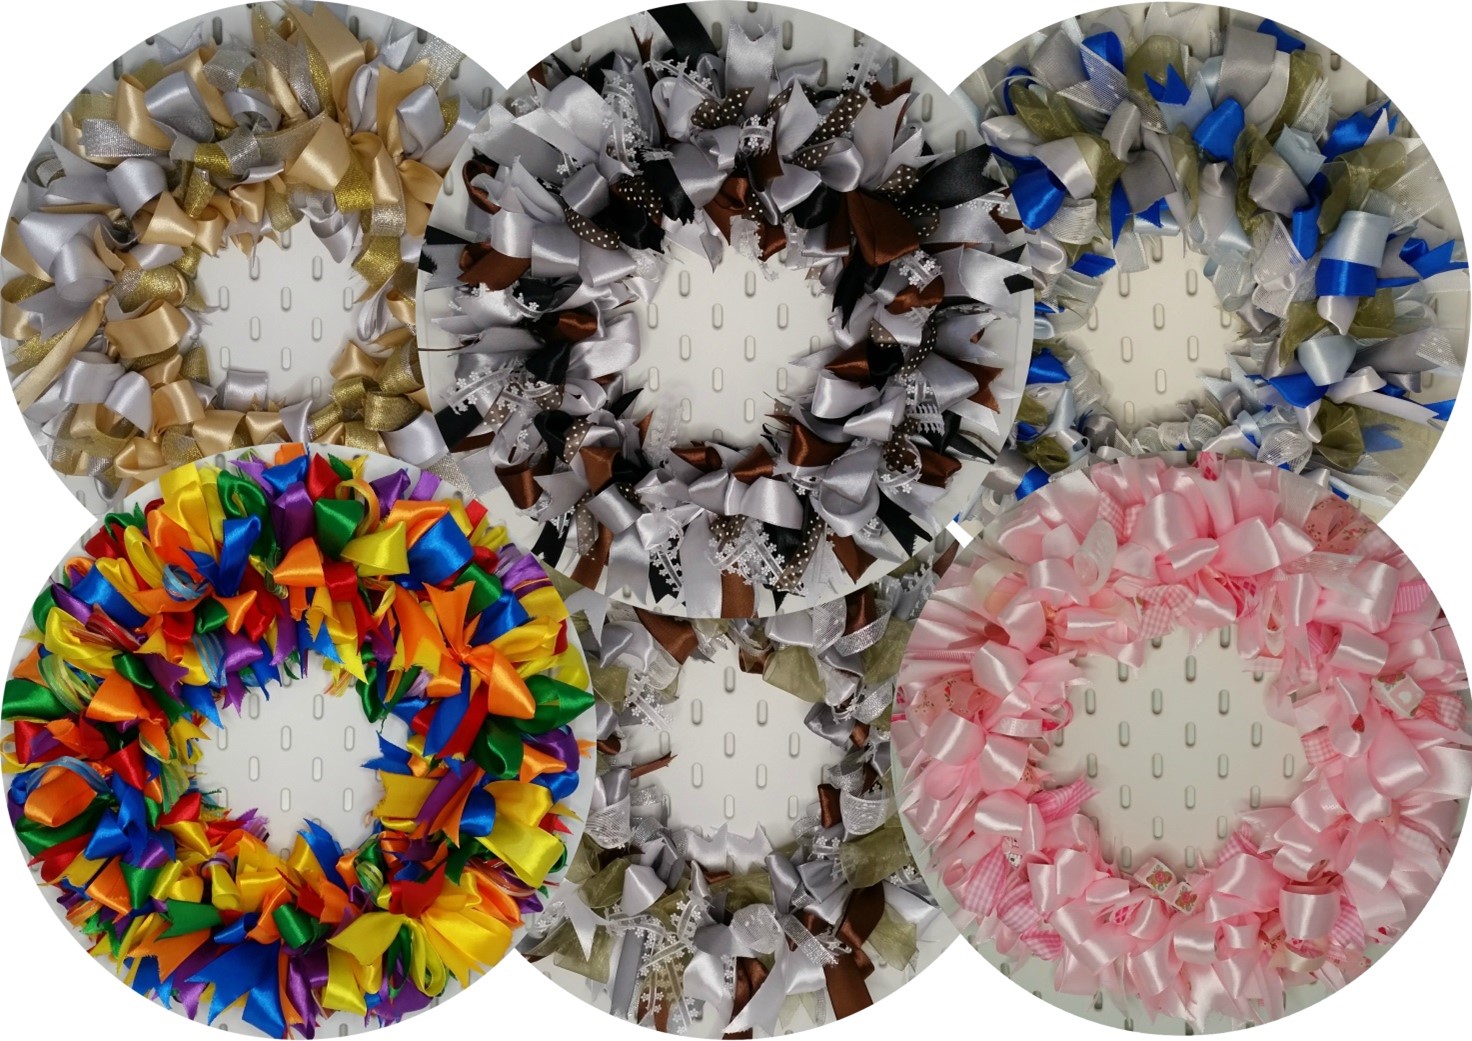
The beginning of the year is dull weather wise so a rainbow wreath is a great way to bring back colour and joy. I may have gotten a bit carried away with all the wreaths I ended up making but loved experimenting with different colourways. It was also a way of using up my ribbon stash from past frequent visits to a floristry warehouse where the odd reels kept jumping into the trolley. Pink is not usually a colour I use very often but it became a favourite and I think would make a great addition to a baby shower. The wreaths can be used outdoors and indoors.
You will need:
- 10-inch diameter wire wreath base, widely available in various sizes and shapes
Once the ribbon is added this will increase by about 4 inches - Ribbons in colour and finish of choice
I used mostly 2.5 cm wide ribbon – approximately 100-120 (20 inch/50 cm) cut lengths depending on colour pattern – the more added the fuller it becomes. Total length required about 56 yards/50 metres – 67 yards/60 metres. More cost-effective to buy full reels so check yardage before starting to make sure you have enough to finish. - Sharp scissors, sewing/bulldog clips
To make:
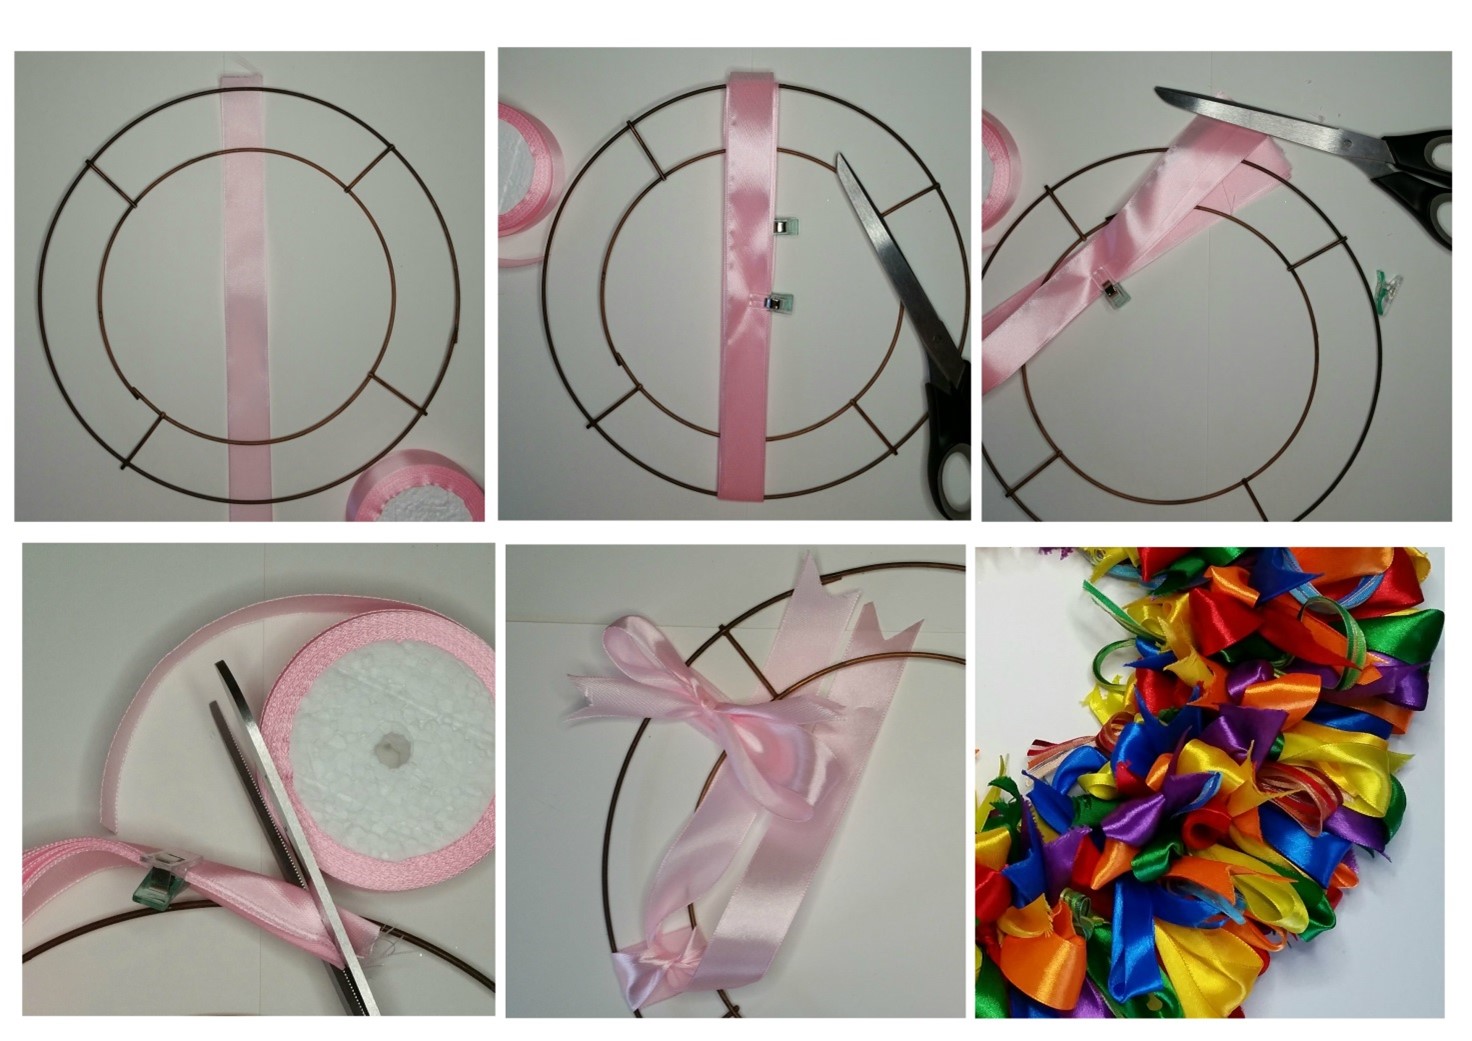
Prepare and cut ribbon lengths. Place one ribbon end underneath the wire base at the top and wrap as many times as you dare finishing with the other end at the top again. This can be done in stages if you find it easier. Keep adding clips to keep the ribbon together to prevent slipping. This is a good way of counting lengths from your ribbon instead of having to measure and cut individually.
Slide the ribbon wraps to the side and cut through at the top to separate. Carefully remove and clip back together. Fold the ribbon ends in half as shown and cut in swag tails at both ends to prevent fraying or cut diagonally if preferred.
Tie the ribbons with a standard shoelace knot/bow in your colour pattern around both rims. Push close together after tying. Make sure both ends are the same length when tying for an equal-looking bow.
Neaten the ‘bunny ears’ after tying each ribbon rather than doing this at the end, much easier and you won’t miss any. Keep the bows flat until finished tying them all especially if you are using a specific colour order. When happy with the amount added finish by ‘fluffing out’ the bows to create a fuller finish.
I’ve used mostly satin ribbon but have incorporated organza and lace ribbon on some. You could add embellishments such as fake flowers or baubles for a seasonal wreath. The wreath back shown below has a neat finish if hanging on a glass-fronted door.
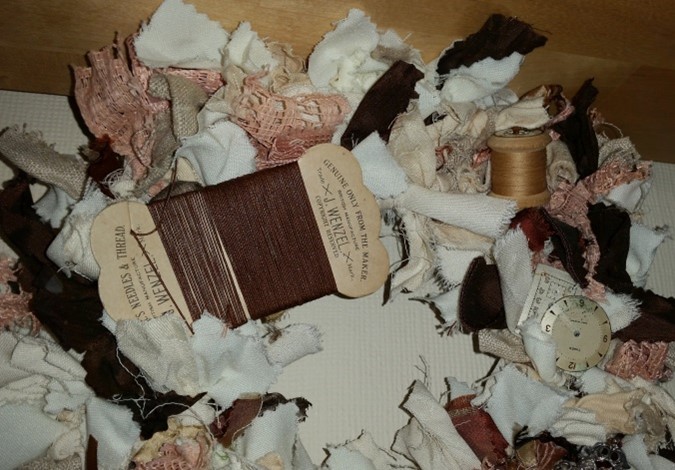
If you are not great at tying bows then simply knot smaller lengths on the inside and outside rim as shown on the vintage sewing ephemera example below.