WI Jubilee Care Box
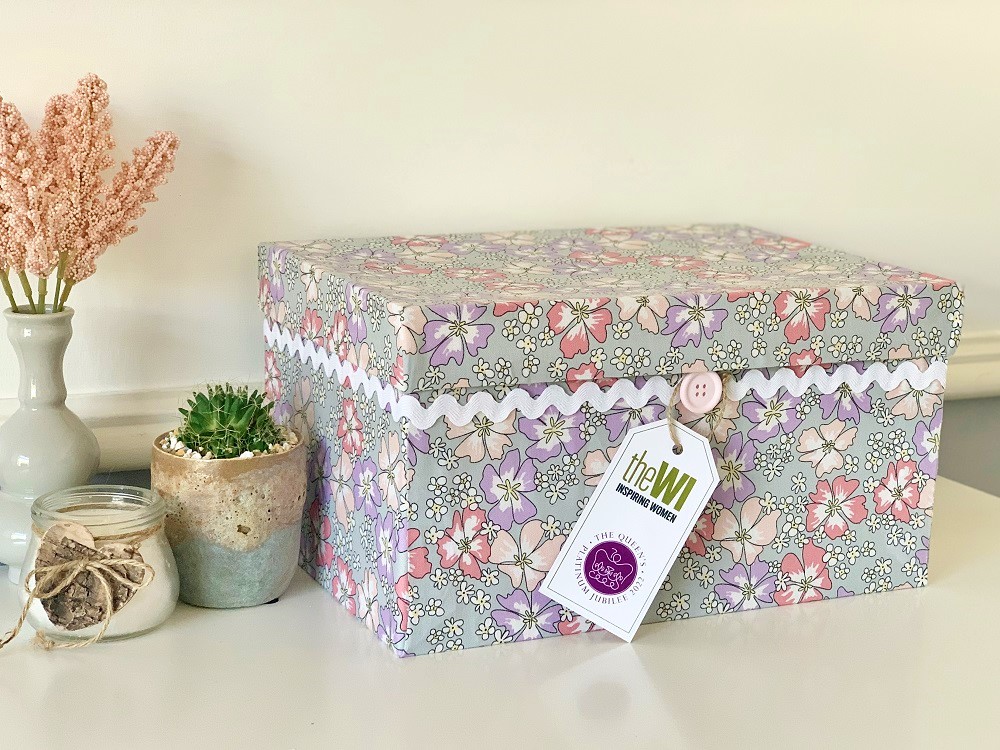
Skill level: Beginner
You will need:
- A cardboard box/shoebox – Choose a box that is the appropriate size for what you would like to put inside. This box is 31cm (width) x 21cm (depth) x 16cm (height).
- A piece of thick card slightly smaller than the size of the bottom of your box. This piece was 29cm x 19cm.
- Fabric
- Fabric piece 1 - The fabric must be the correct size to cover the bottom of the box, wrap around the outside, and also to fold into the inside (also allowing an additional 2cm on all sides for an overlap).
- Fabric piece 2 - You will also need a piece of fabric the same size (plus 2cm on each side) as the bottom of your box.
- If your box has a lid, you will need a third piece of fabric to cover the top and all sides (outside and inside) of this too.
- Ricrac – A length to wrap around the box. This piece was 104cm.
- Button
- Jute string/ribbon – 10cm
- Printed tag on a piece of white card – English and Welsh versions supplied
- Hole punch
- Fabric scissors
- Scissors
- Spray adhesive
- Pencil/Fabric pen or chalk
- Measuring tape/ruler
- Superglue/Hot glue gun
- Glue stick
- Face mask
- Rubber gloves
- Iron
- Table covering (optional - to protect work surface)
To make:
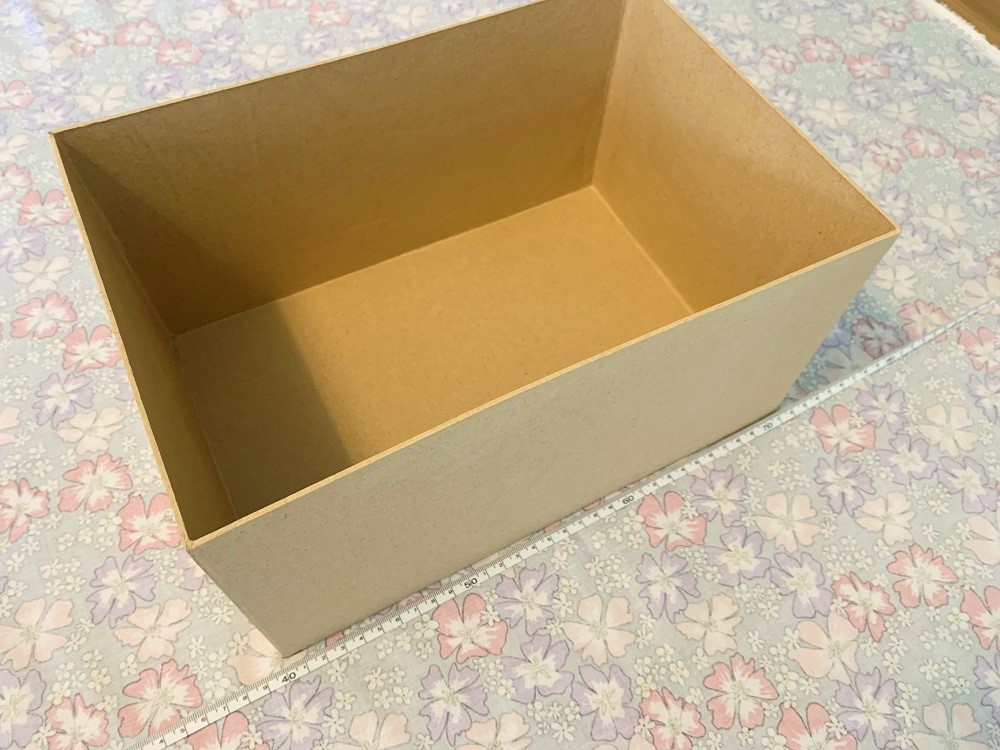
Iron your fabric to remove any creases. Lay your fabric right-side down on to your work surface. Place your box in the centre.
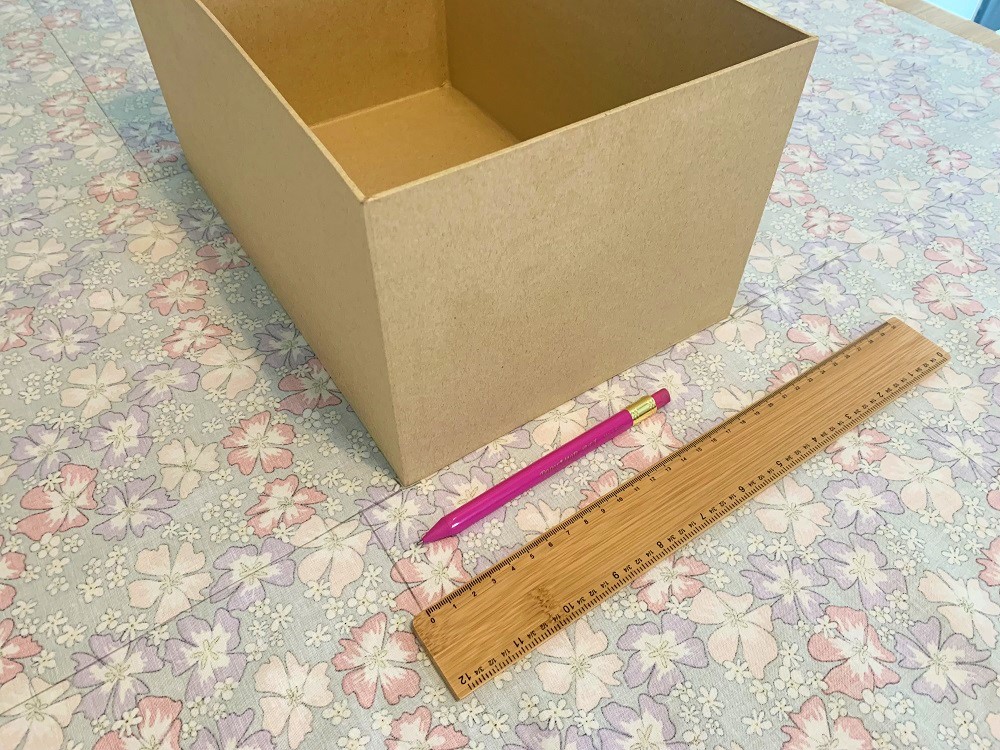
From the base of the box, measure and mark out lines on the fabric in order to cut it out to cover the sides (outside and inside). On the fabric on one of the sides of the box, add an extra 2.5cm to either side of the width to allow for an overlap, then repeat on the piece of fabric on the opposite side. This will give a neater finish.
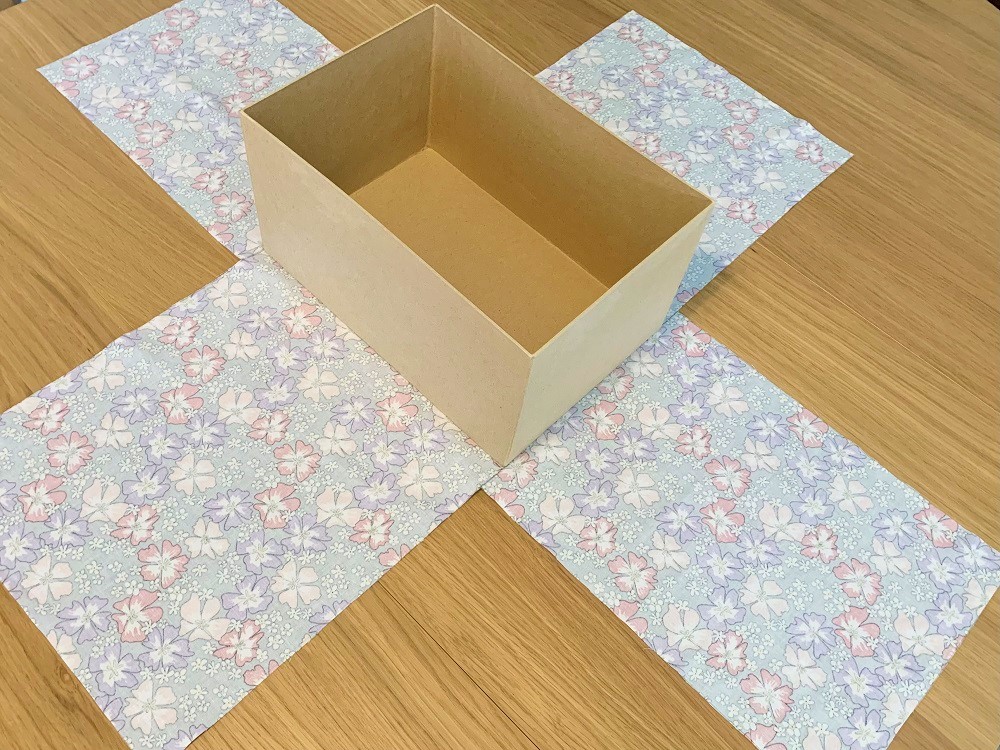
Cut along the lines you have drawn.
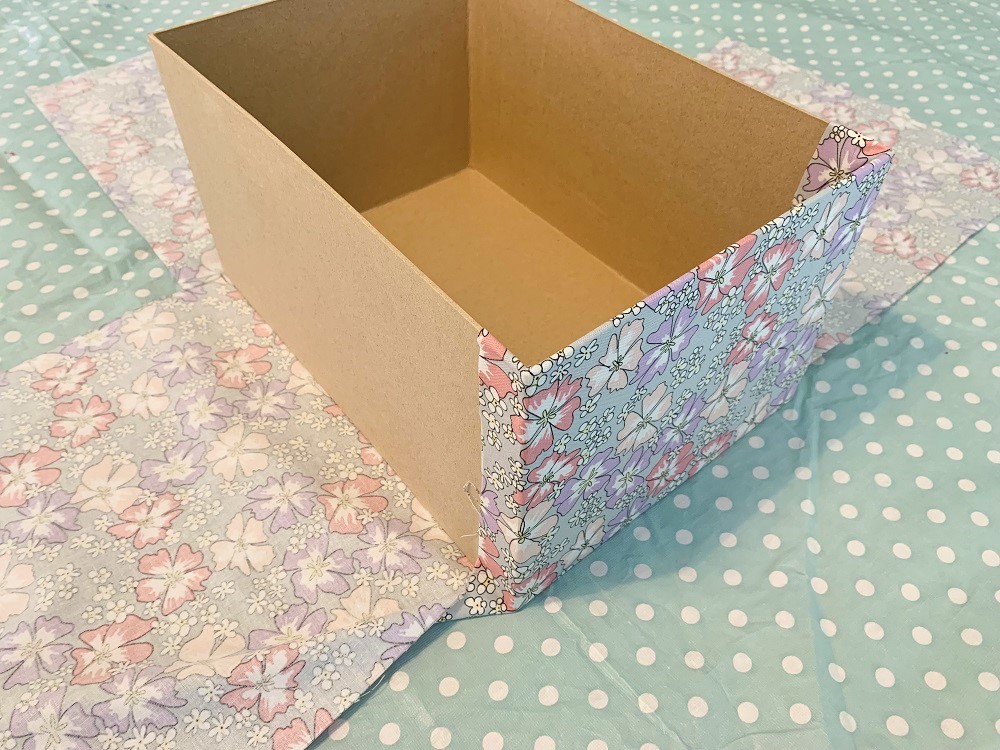
Put on your gloves and cover your working area with a table covering. Shake the adhesive spray and, in a well-ventilated area, spray (following the directions on the can) onto the outside of one of the sides where you have allowed the extra width. Pull the fabric taut and press on to the box. If any bubbles form, press them out with your fingertips. Then, spray a little adhesive to the sides of the box where there is the overlap in fabric. Stick the fabric to the box.
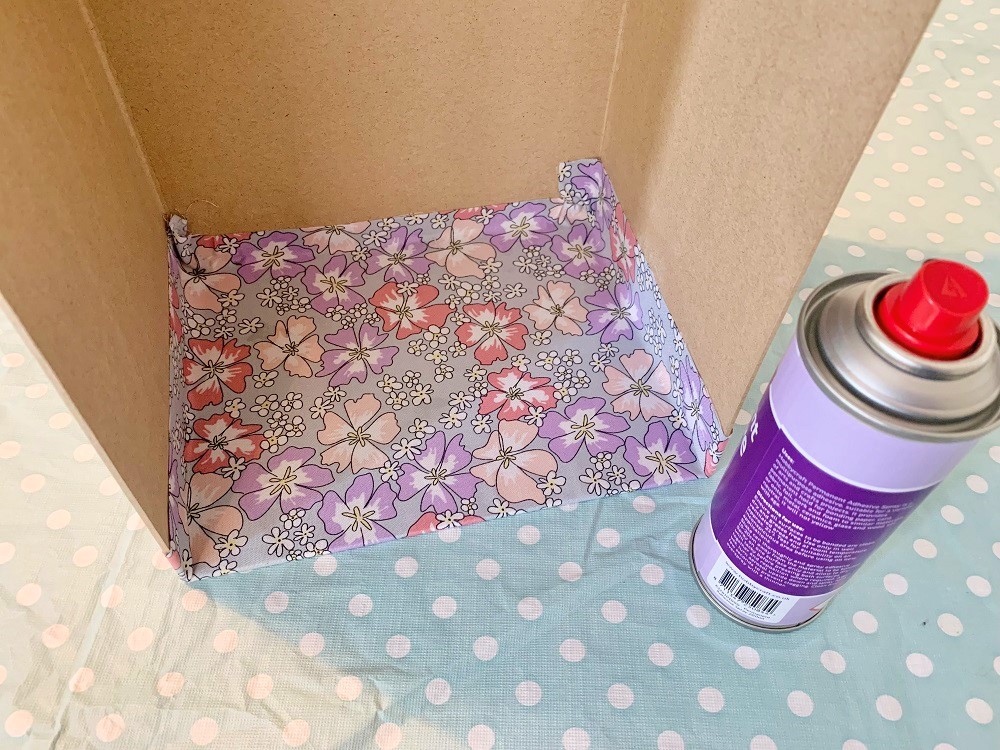
Spray the same side of the box but on the inside this time. Fold the fabric in to the box and stick. If you have any small gathers inside at the bottom corners do not worry, as these will be covered up later.
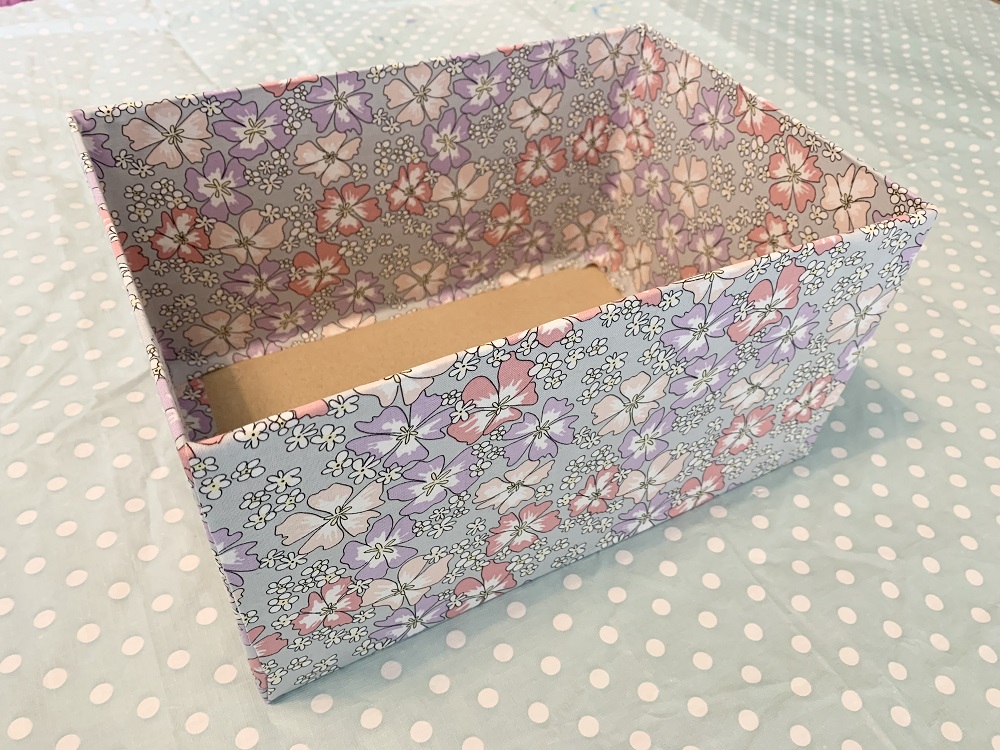
Repeat steps 4 and 5 for the opposite side of the box. Then repeat for the two remaining sides. You will need to neatly fold the bottom corners of fabric on the outside as you stick them to the box or trim them appropriately.
If applicable, repeat steps 4-6 to cover your box lid.
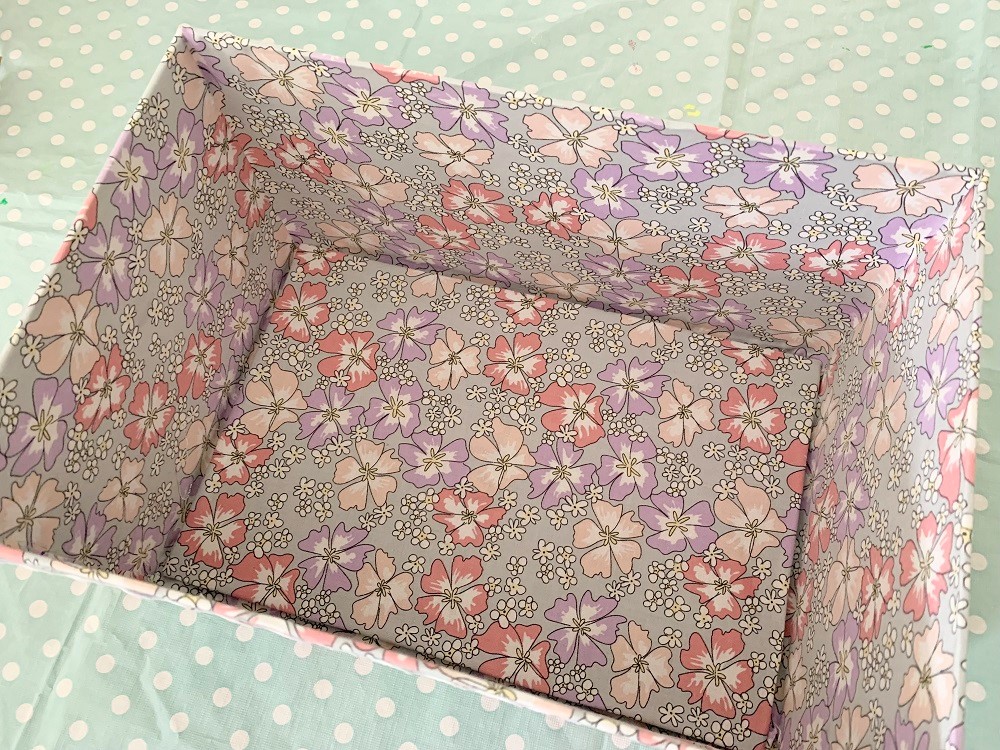
Take the piece of card you have cut for the bottom. Place a piece of fabric right-side down on your work surface, add spray adhesive to one side of the card and stick to the fabric. Then, spray around the edge of the back of the card, pull the fabric taut and stick the edges. Glue to the bottom of the inside of the box.
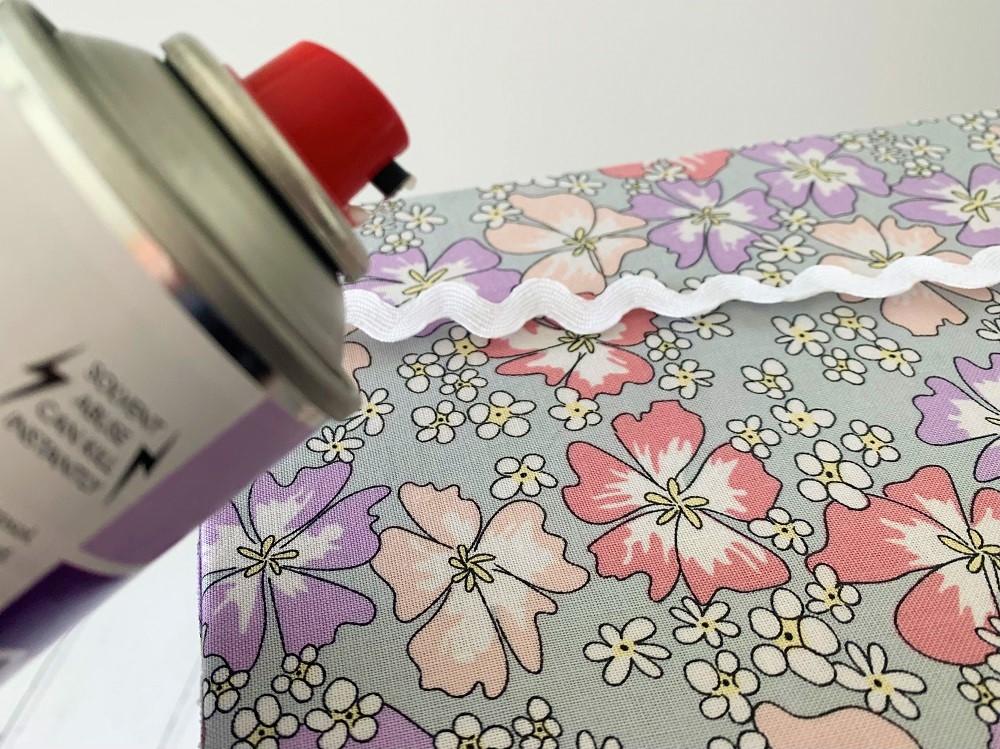
Spray the adhesive carefully around the box, approx. 3cm from the top, and stick on your ricrac. Start in the centre of the front of the box as the join will be covered by the button.
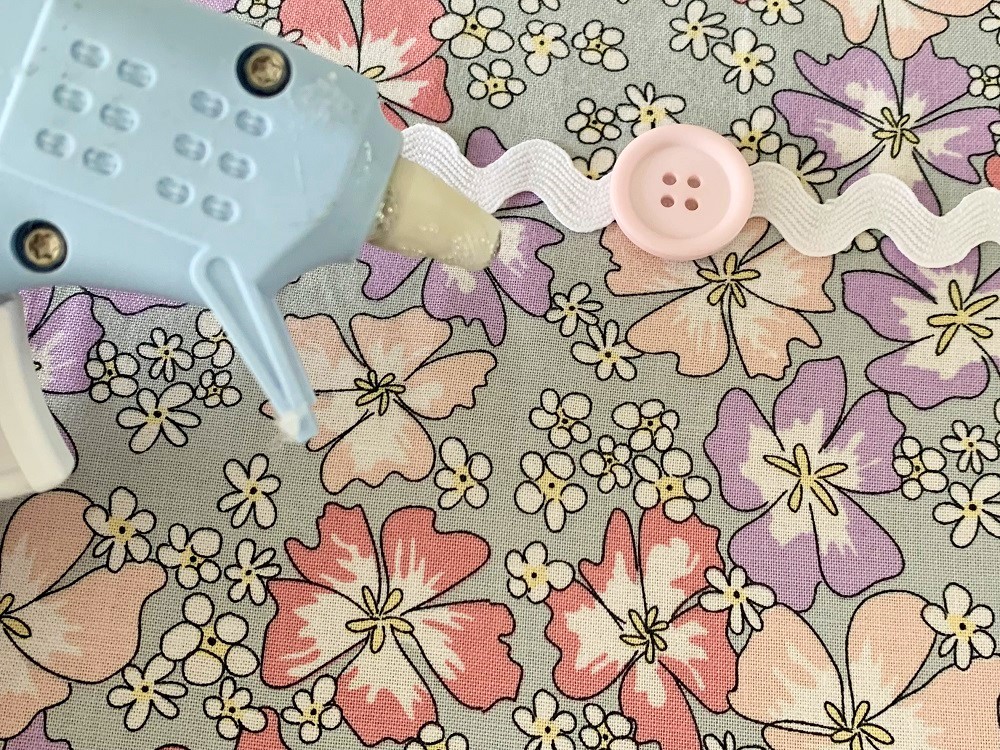
Using a hot glue gun or super glue, attach the button to the centre of the front of the box, covering the join in the ricrac.
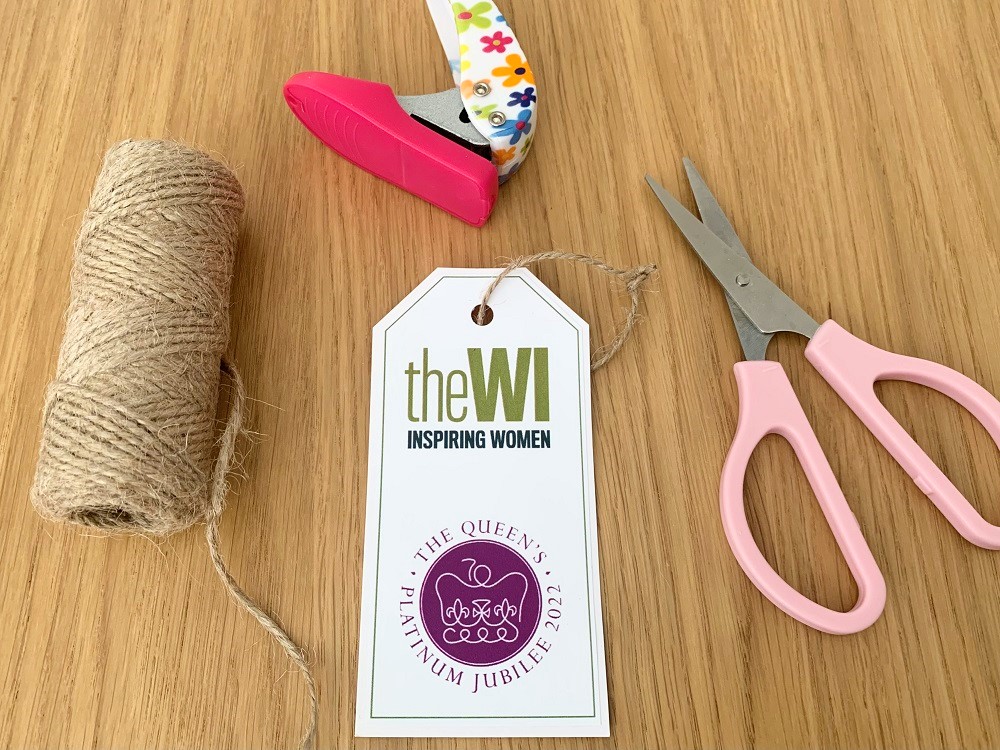
Cut out the tag and punch a hole at the top. Thread your jute string through the hole and knot. Hang the label off of the button.
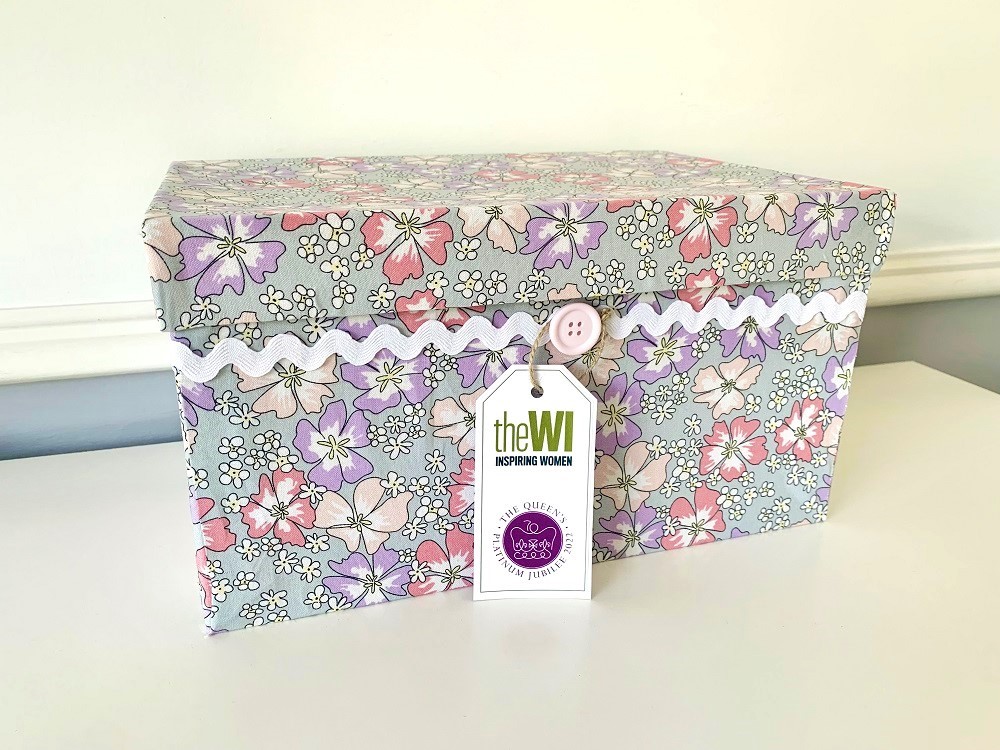
Your box is ready to fill with items for your local food bank, women’s refuge, or charity.
Tips
- Choose a fabric with a design that can be viewed in all directions – otherwise, the pattern might be the wrong way round on some of the sides.
- Make sure the fabric is thick enough (eg. cotton) or has a dark pattern that won’t show any text or colouring on your shoebox.
- If you have any other trim items, you could add them to the box too.
- If you have various small pieces of fabric or fat quarters, you could use these and alter the steps accordingly.
- You could also cover a box in this way to gift presents to friends and family.
